What is style Attribute in HTML?

Style attribute of HTML is used to apply CSS to an HTML element through the inline method.
We can add CSS inside the style attribute used within the HTML tag using property and value pair inside the double quotes of the style attribute. If we have multiple property-value pairs, then they are separated by a semicolon (;).
We will learn about the syntax in detail, and we will also see a few examples below.
The style attribute will override any style set globally except the style set using the !important keyword, e.g., styles specified in the style tag in HTML or an external style sheet.
The style attribute is part of global HTML attributes, hence, it can be used with any HTML tag.
Syntax
List of Properties of the Style Attribute in HTML
Style attribute has multiple properties through which a developer can affect various aspects of an HTML element in many ways like font color, font size, background color, background image, margin, padding, etc.
1. Color
This property is used to specify the font color of the text using the color name, HEX code, or the RGB code of the color.
Example
Output

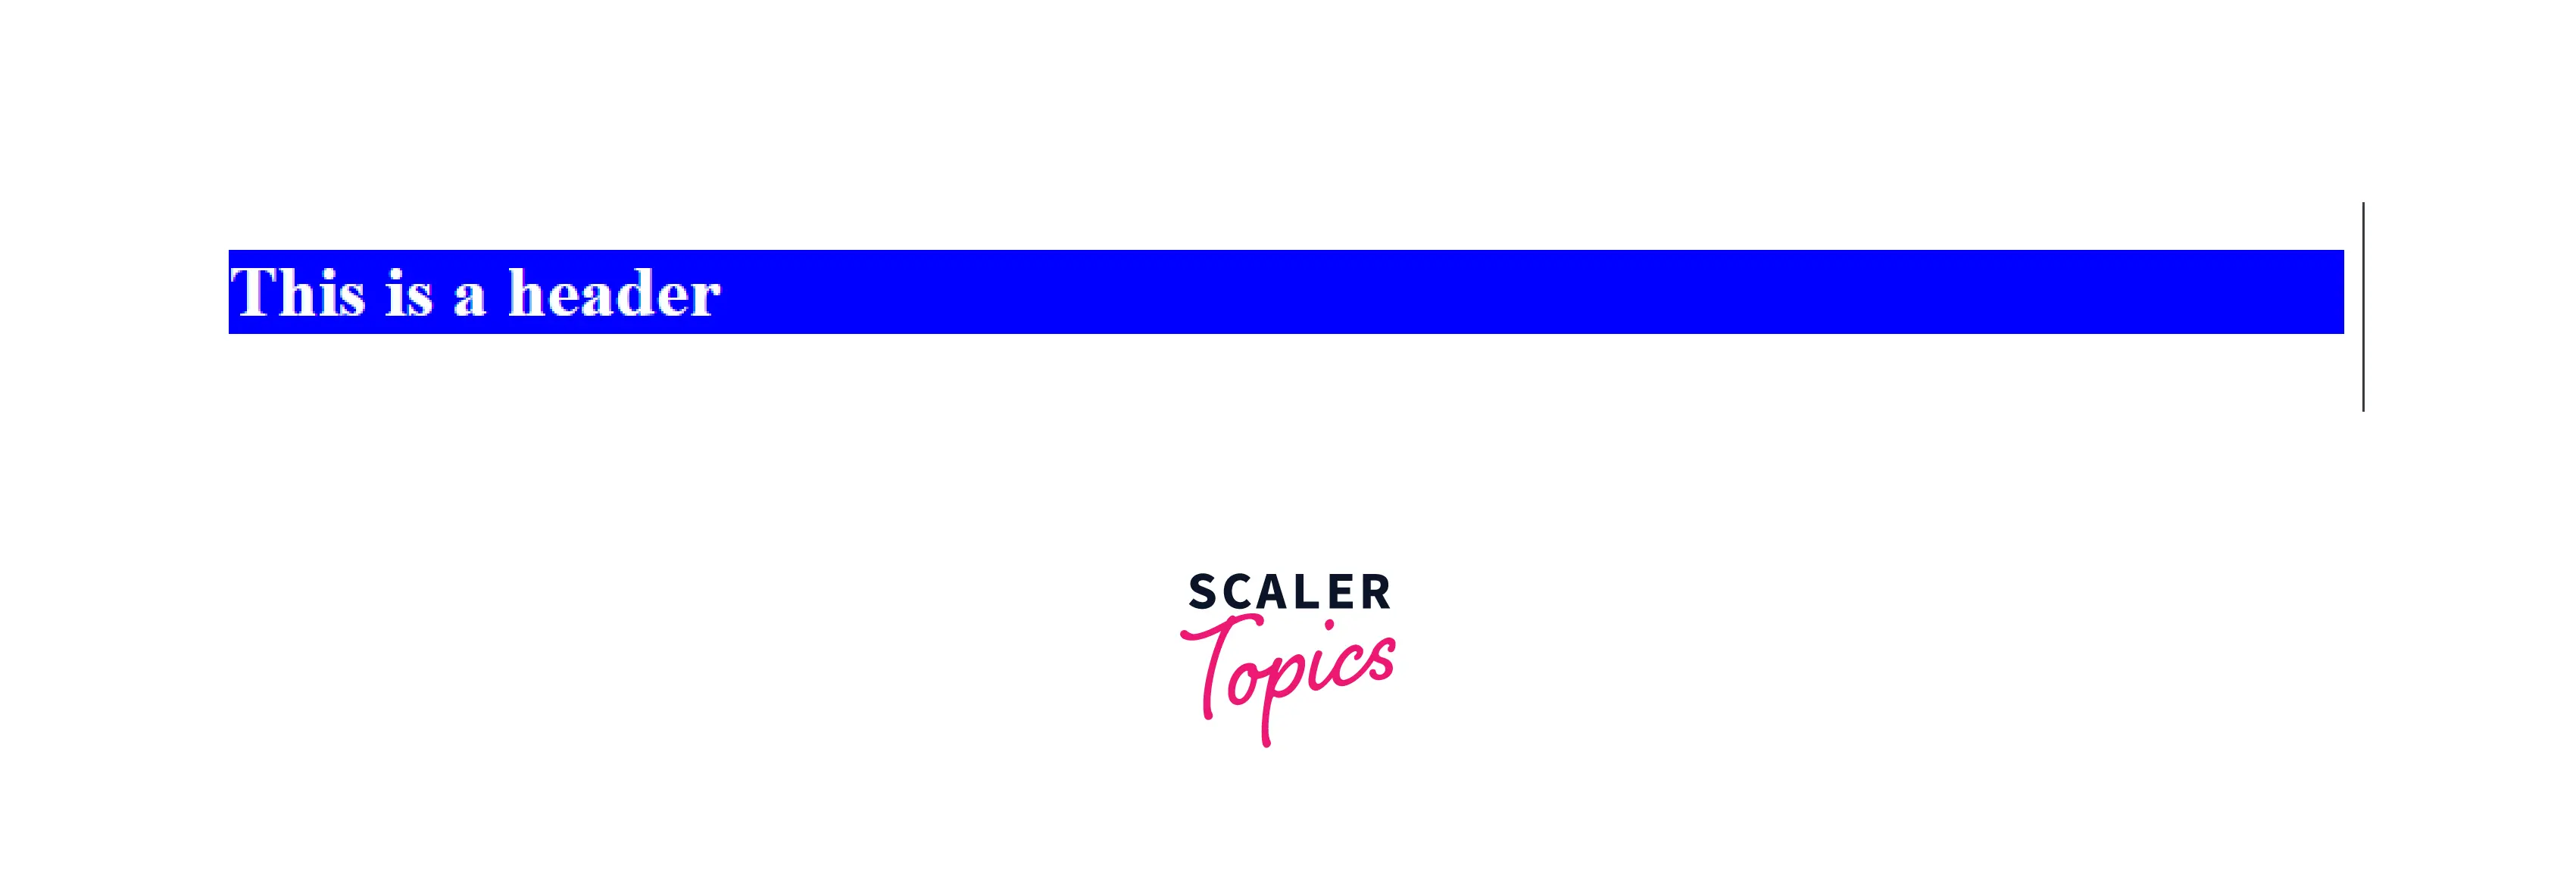
2. background-color
This property is used to set the background color of various HTML elements like div, span, body, etc. Use the HEX code or RGB code or the color name of the color you want.
Example
Output
3. font-size
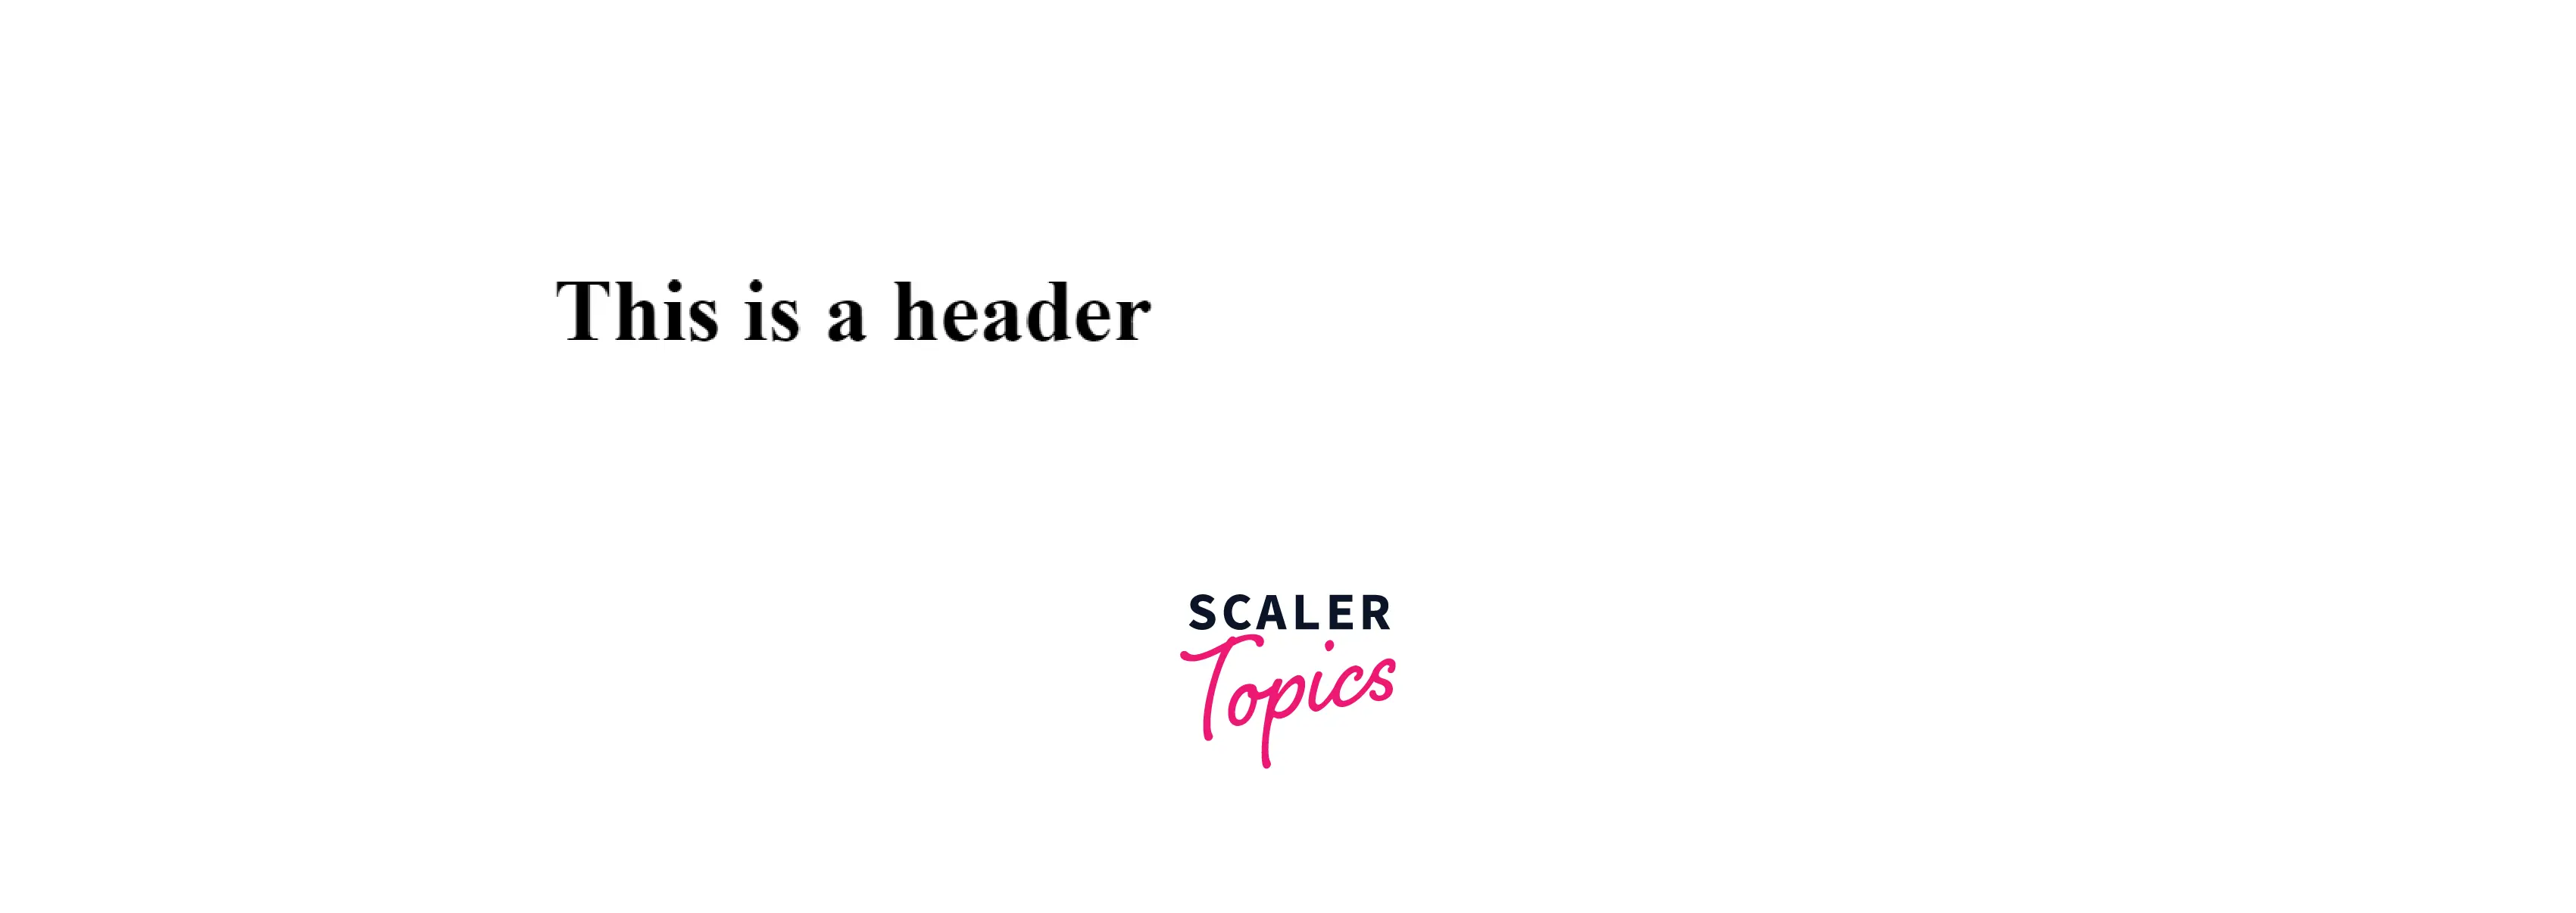
This property is used to set the font size of the text. You can use different units for this like rem, em, or px.
Example
Output
4. border
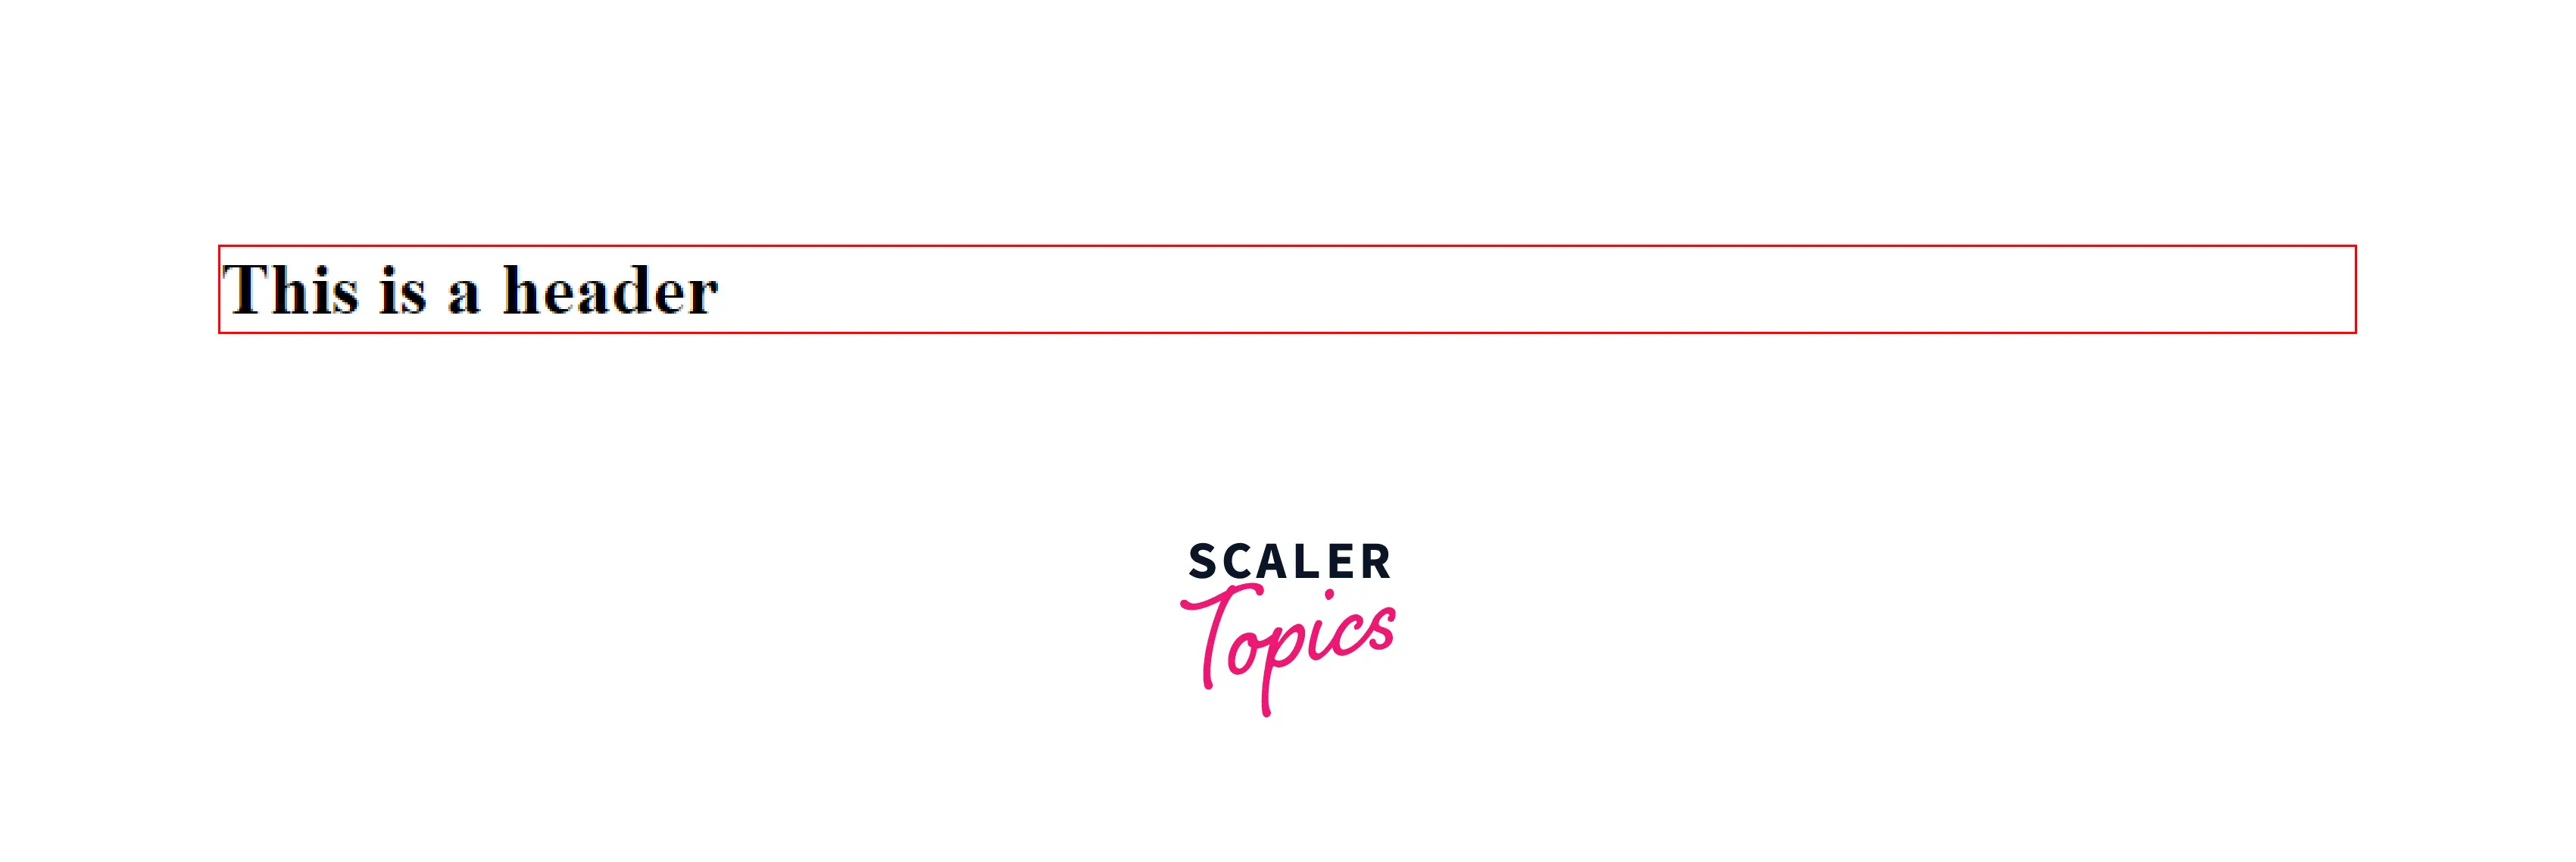
This property is used to set the border width, border type, and border color.
Example
Output
5. background-image
This property is used to set a background image to a div, HTML body, etc. We use url() and paste the image URL link inside the brackets.
Example
Output

6. background-repeat
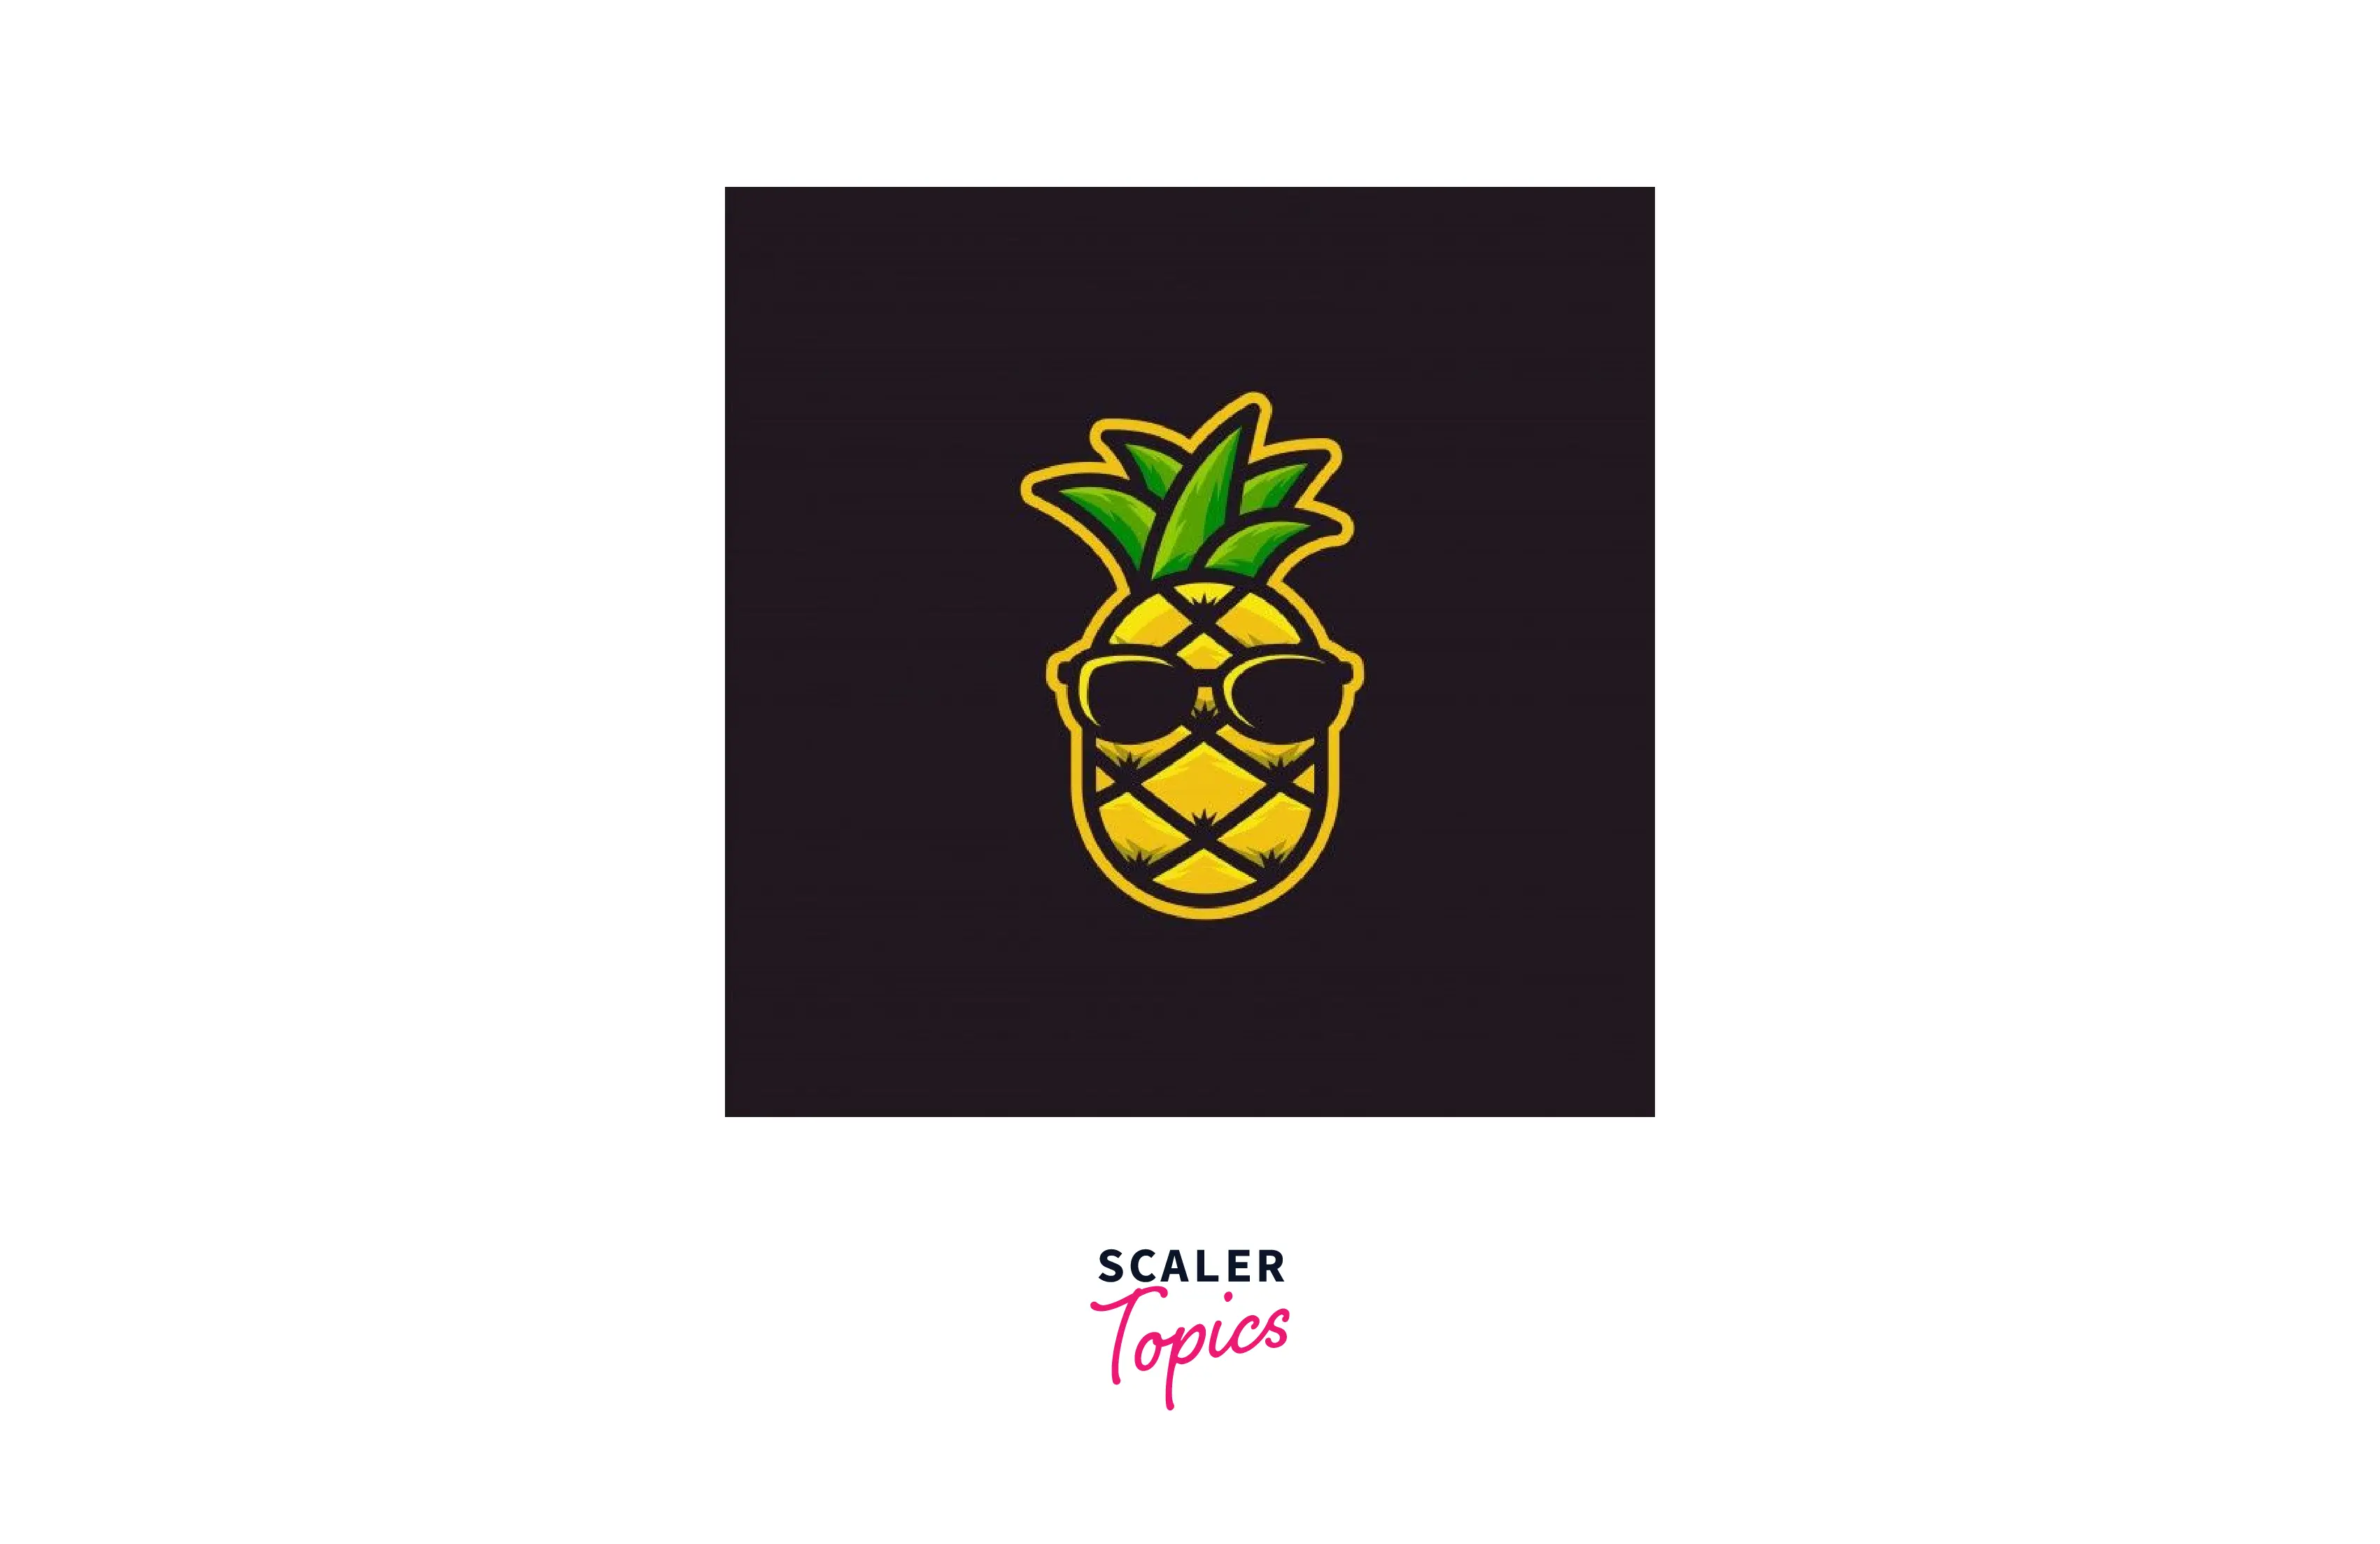
This property is used to control the repeat behavior of the background image used. It controls whether the background image will be repeated or not to fill the background if the image is smaller than the background.
Example
Without using the background-repeat property.
Output

Example
With the background-repeat property.
Output
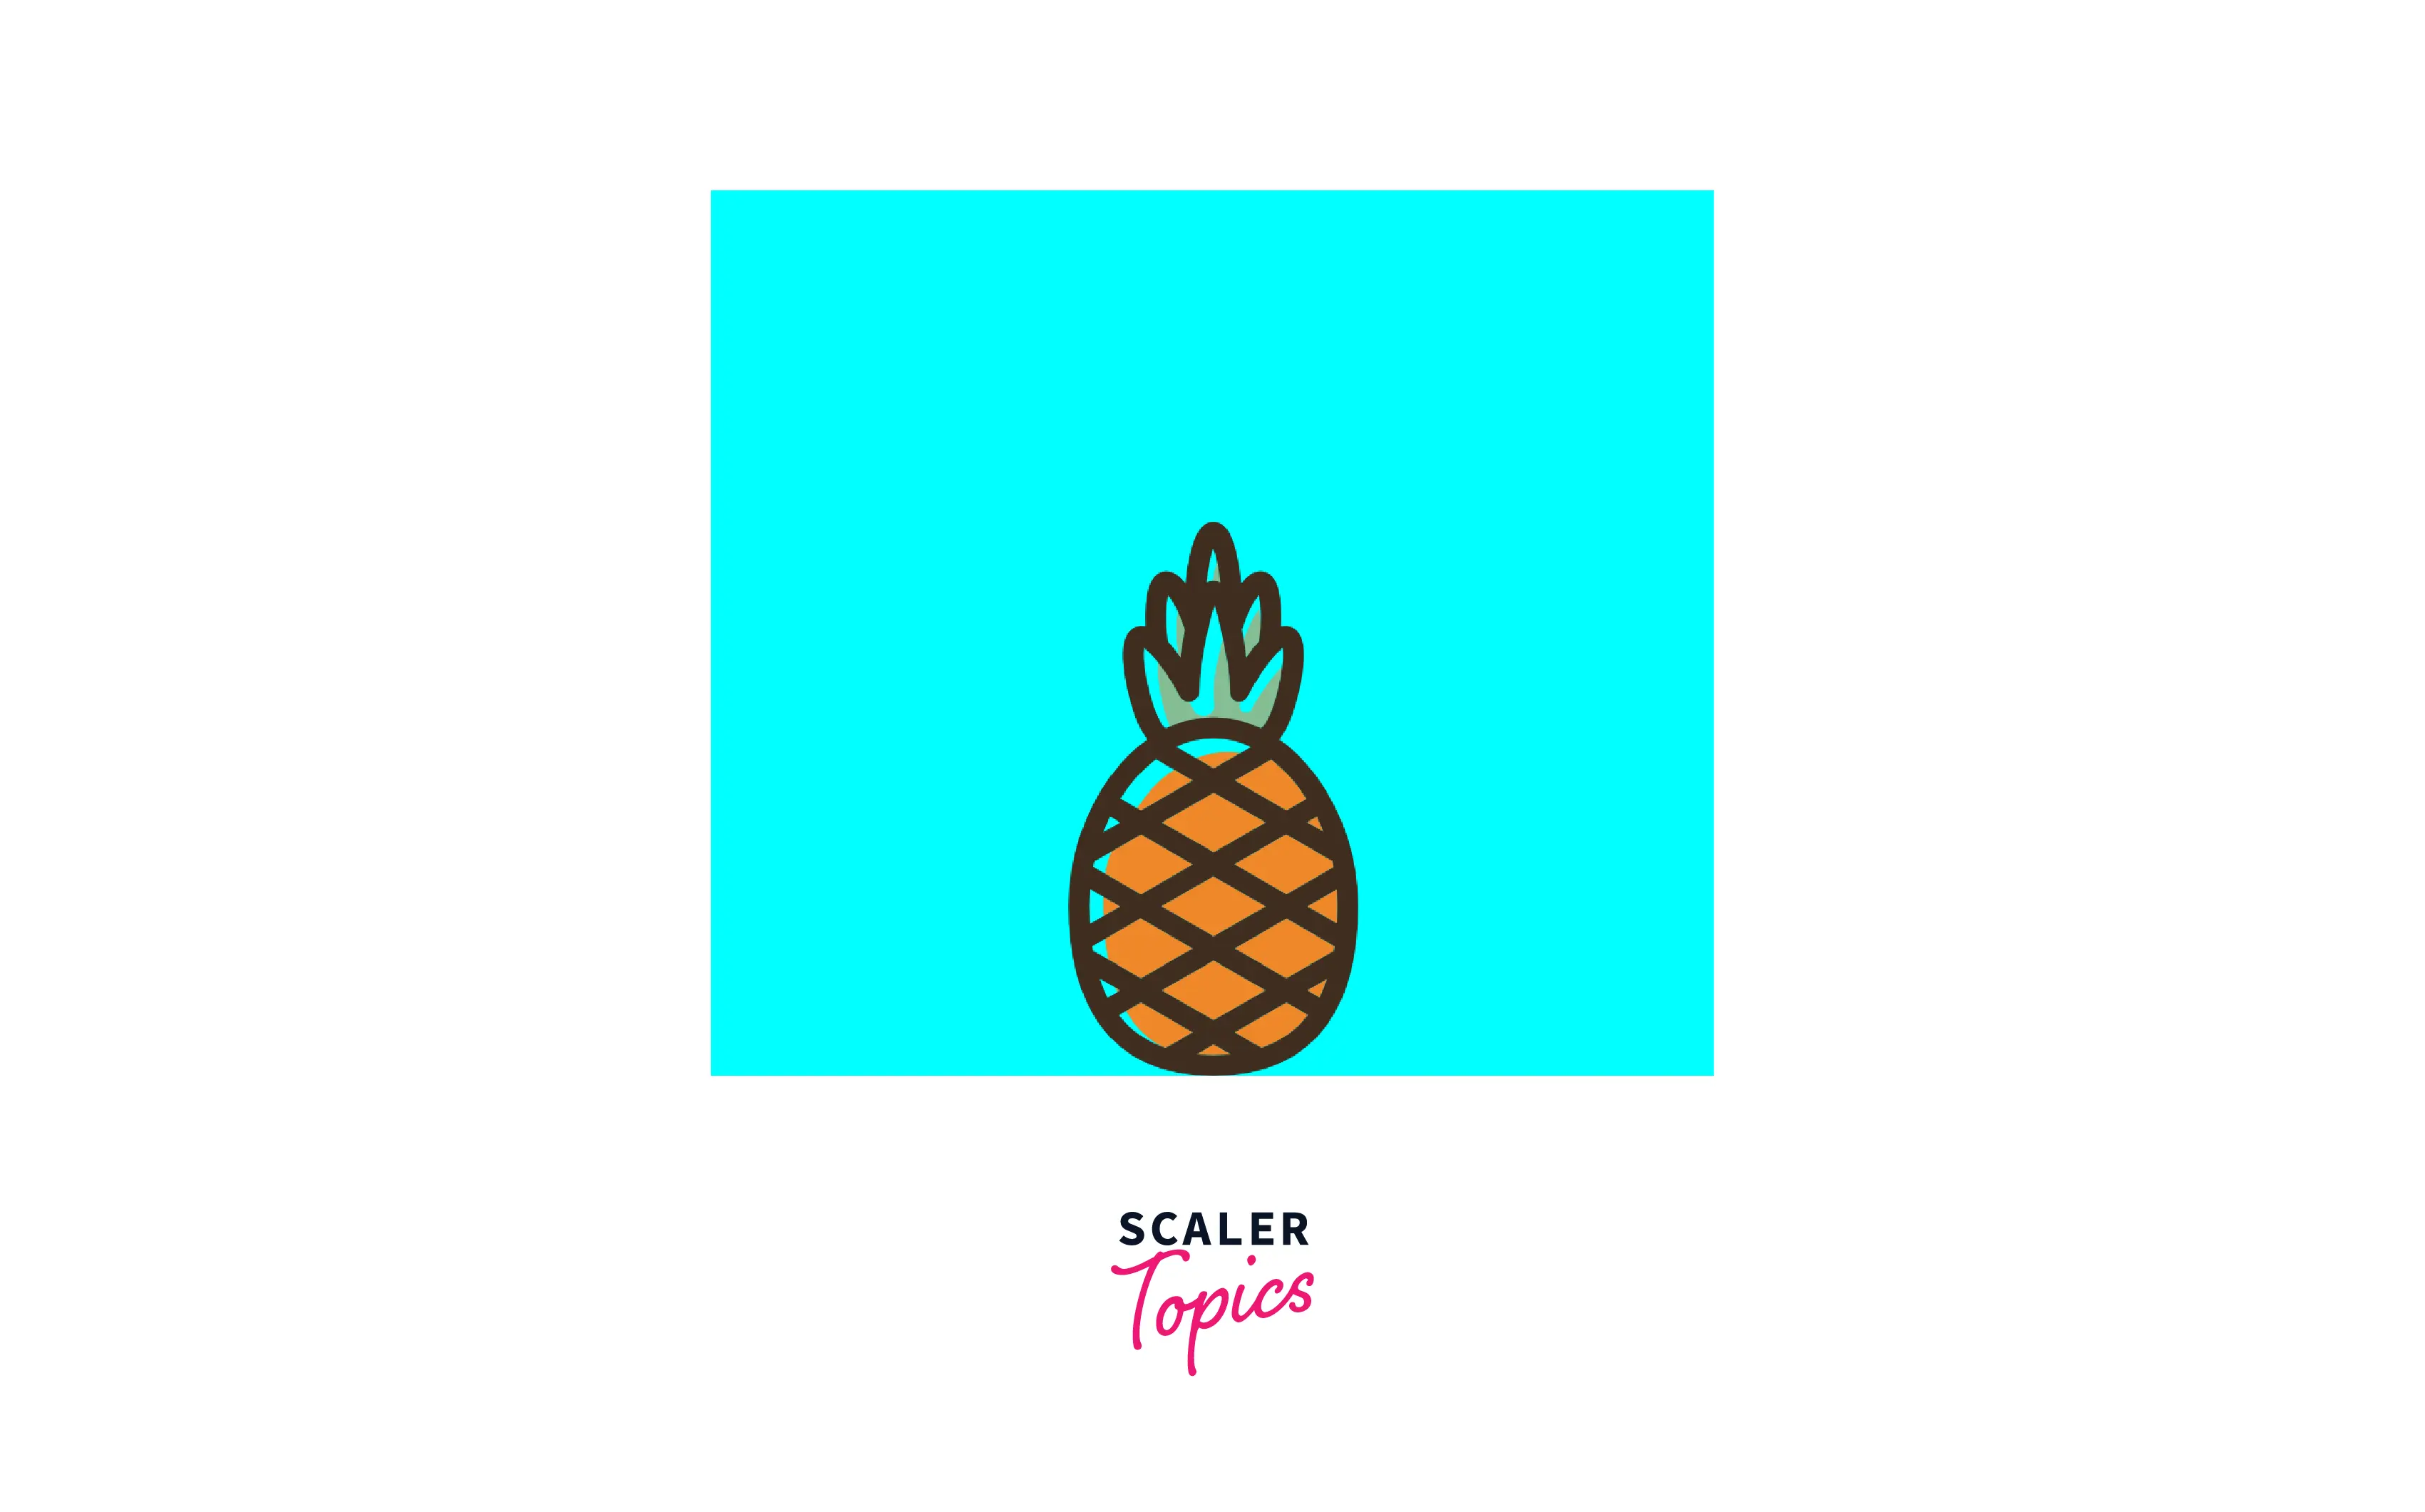
7. background-position
This property is used to define the position of the background image.
Example :
Output
8. margin
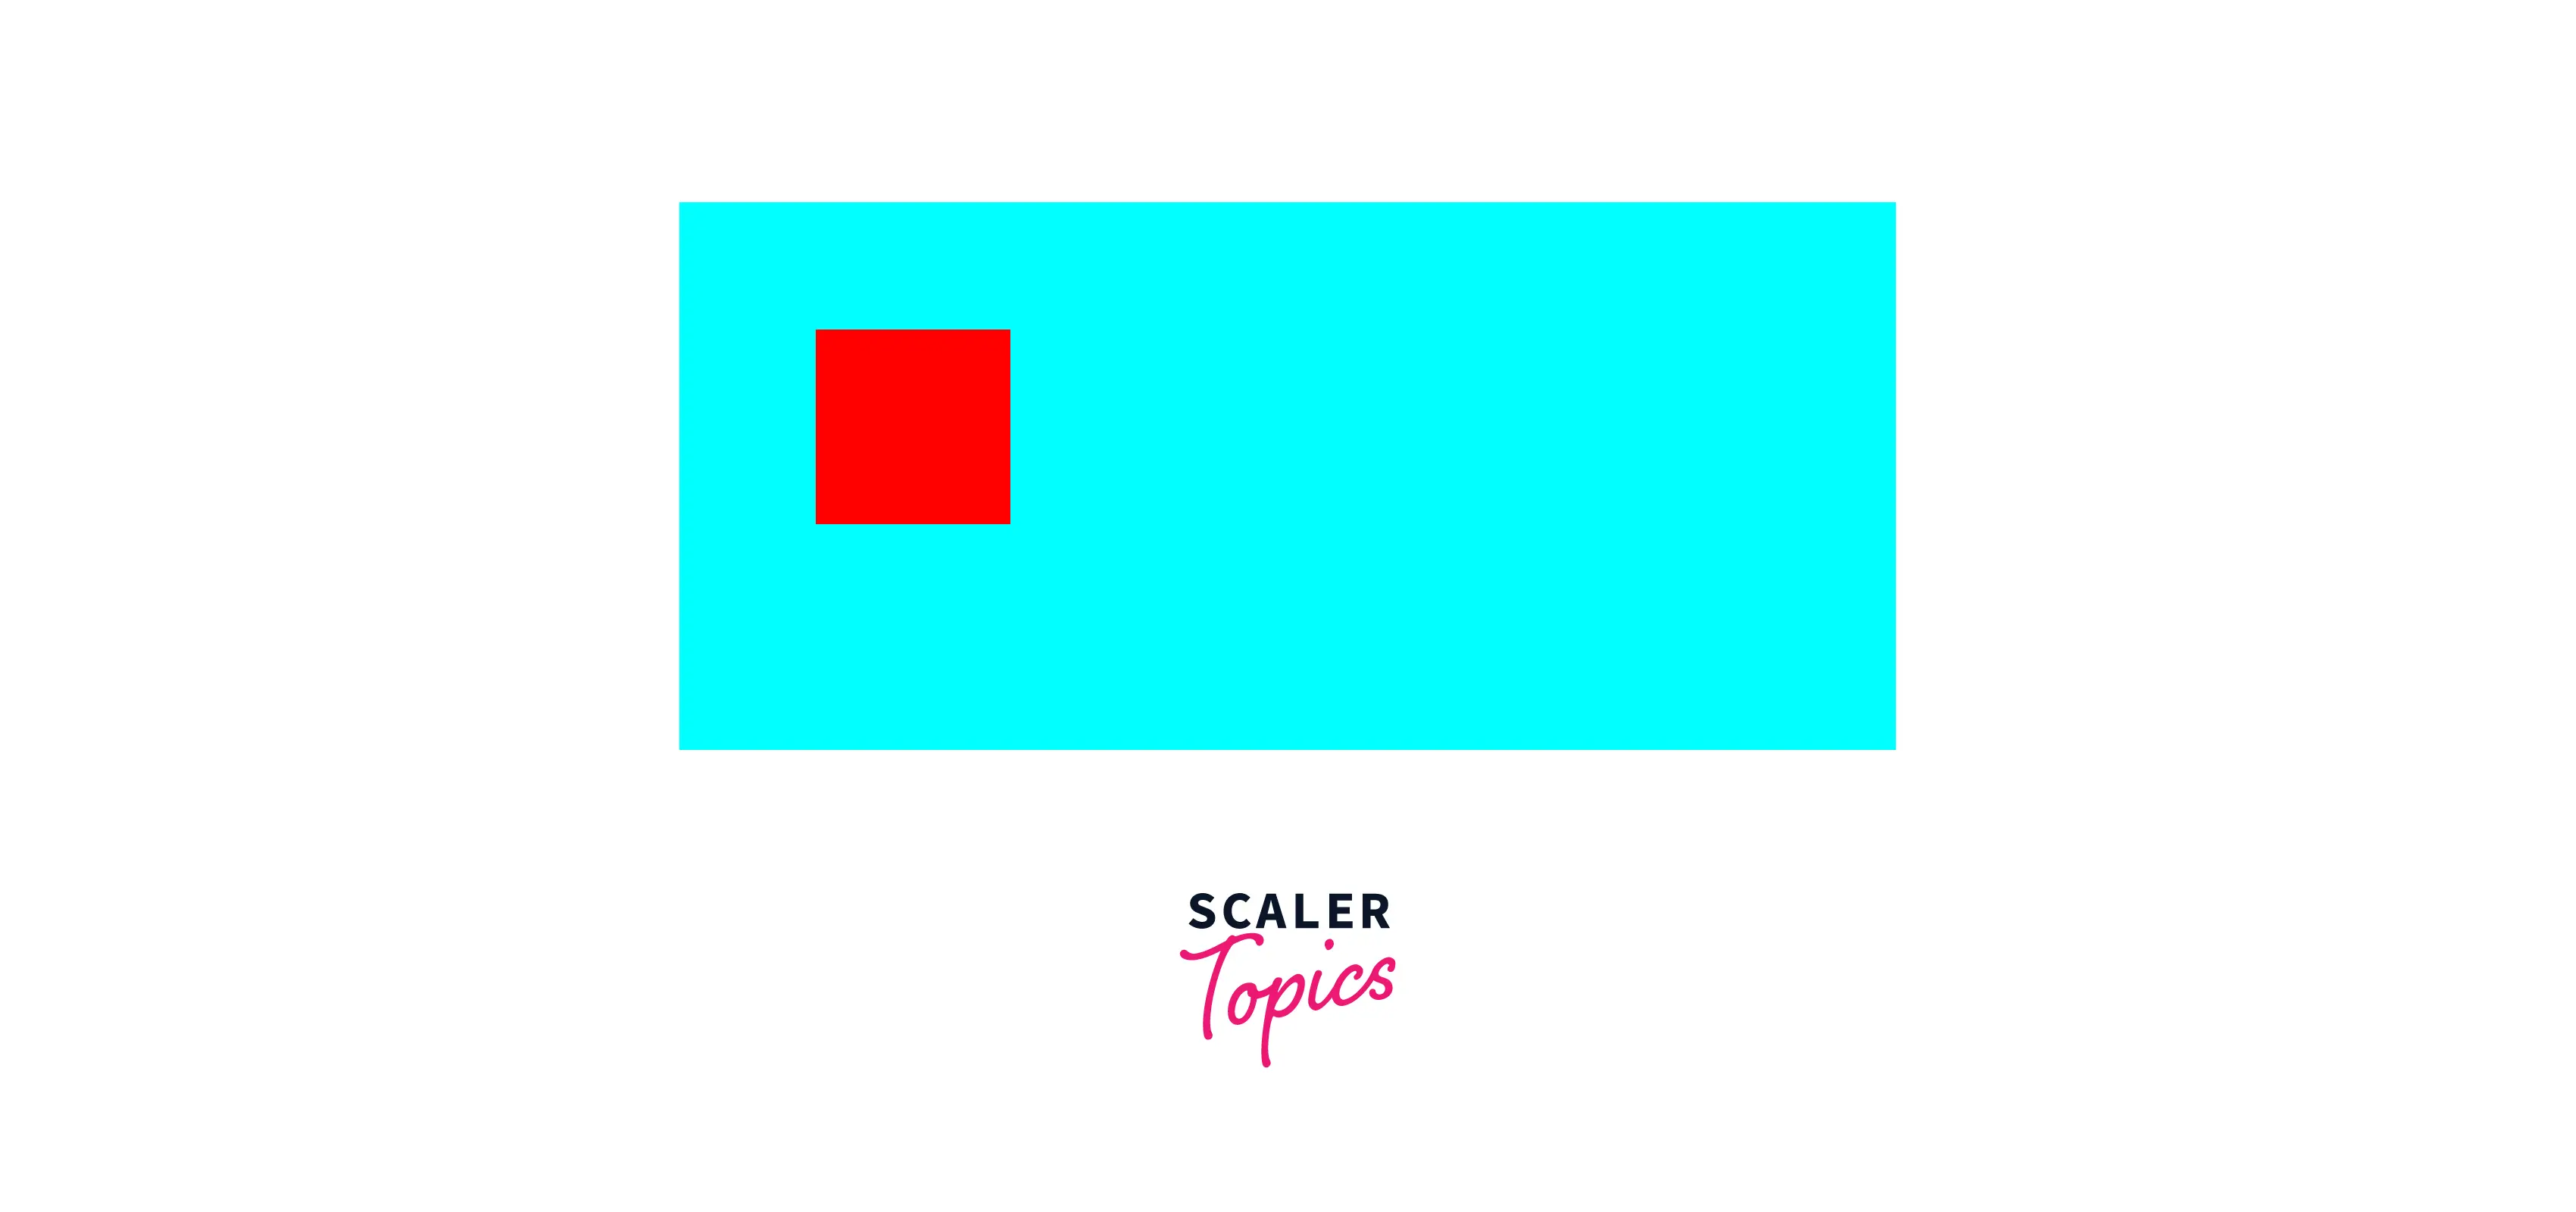
This property is used to apply margin to all four sides of an HTML element like p, div, span, etc.
- margin-top :
To apply margin just to the top of the HTML element. - margin-right :
To apply margin just to the right of the HTML element. - margin-bottom :
To apply margin just to the bottom of the HTML element. - margin-left :
To apply margin just to the left of the HTML element.
Example
Output
9. padding
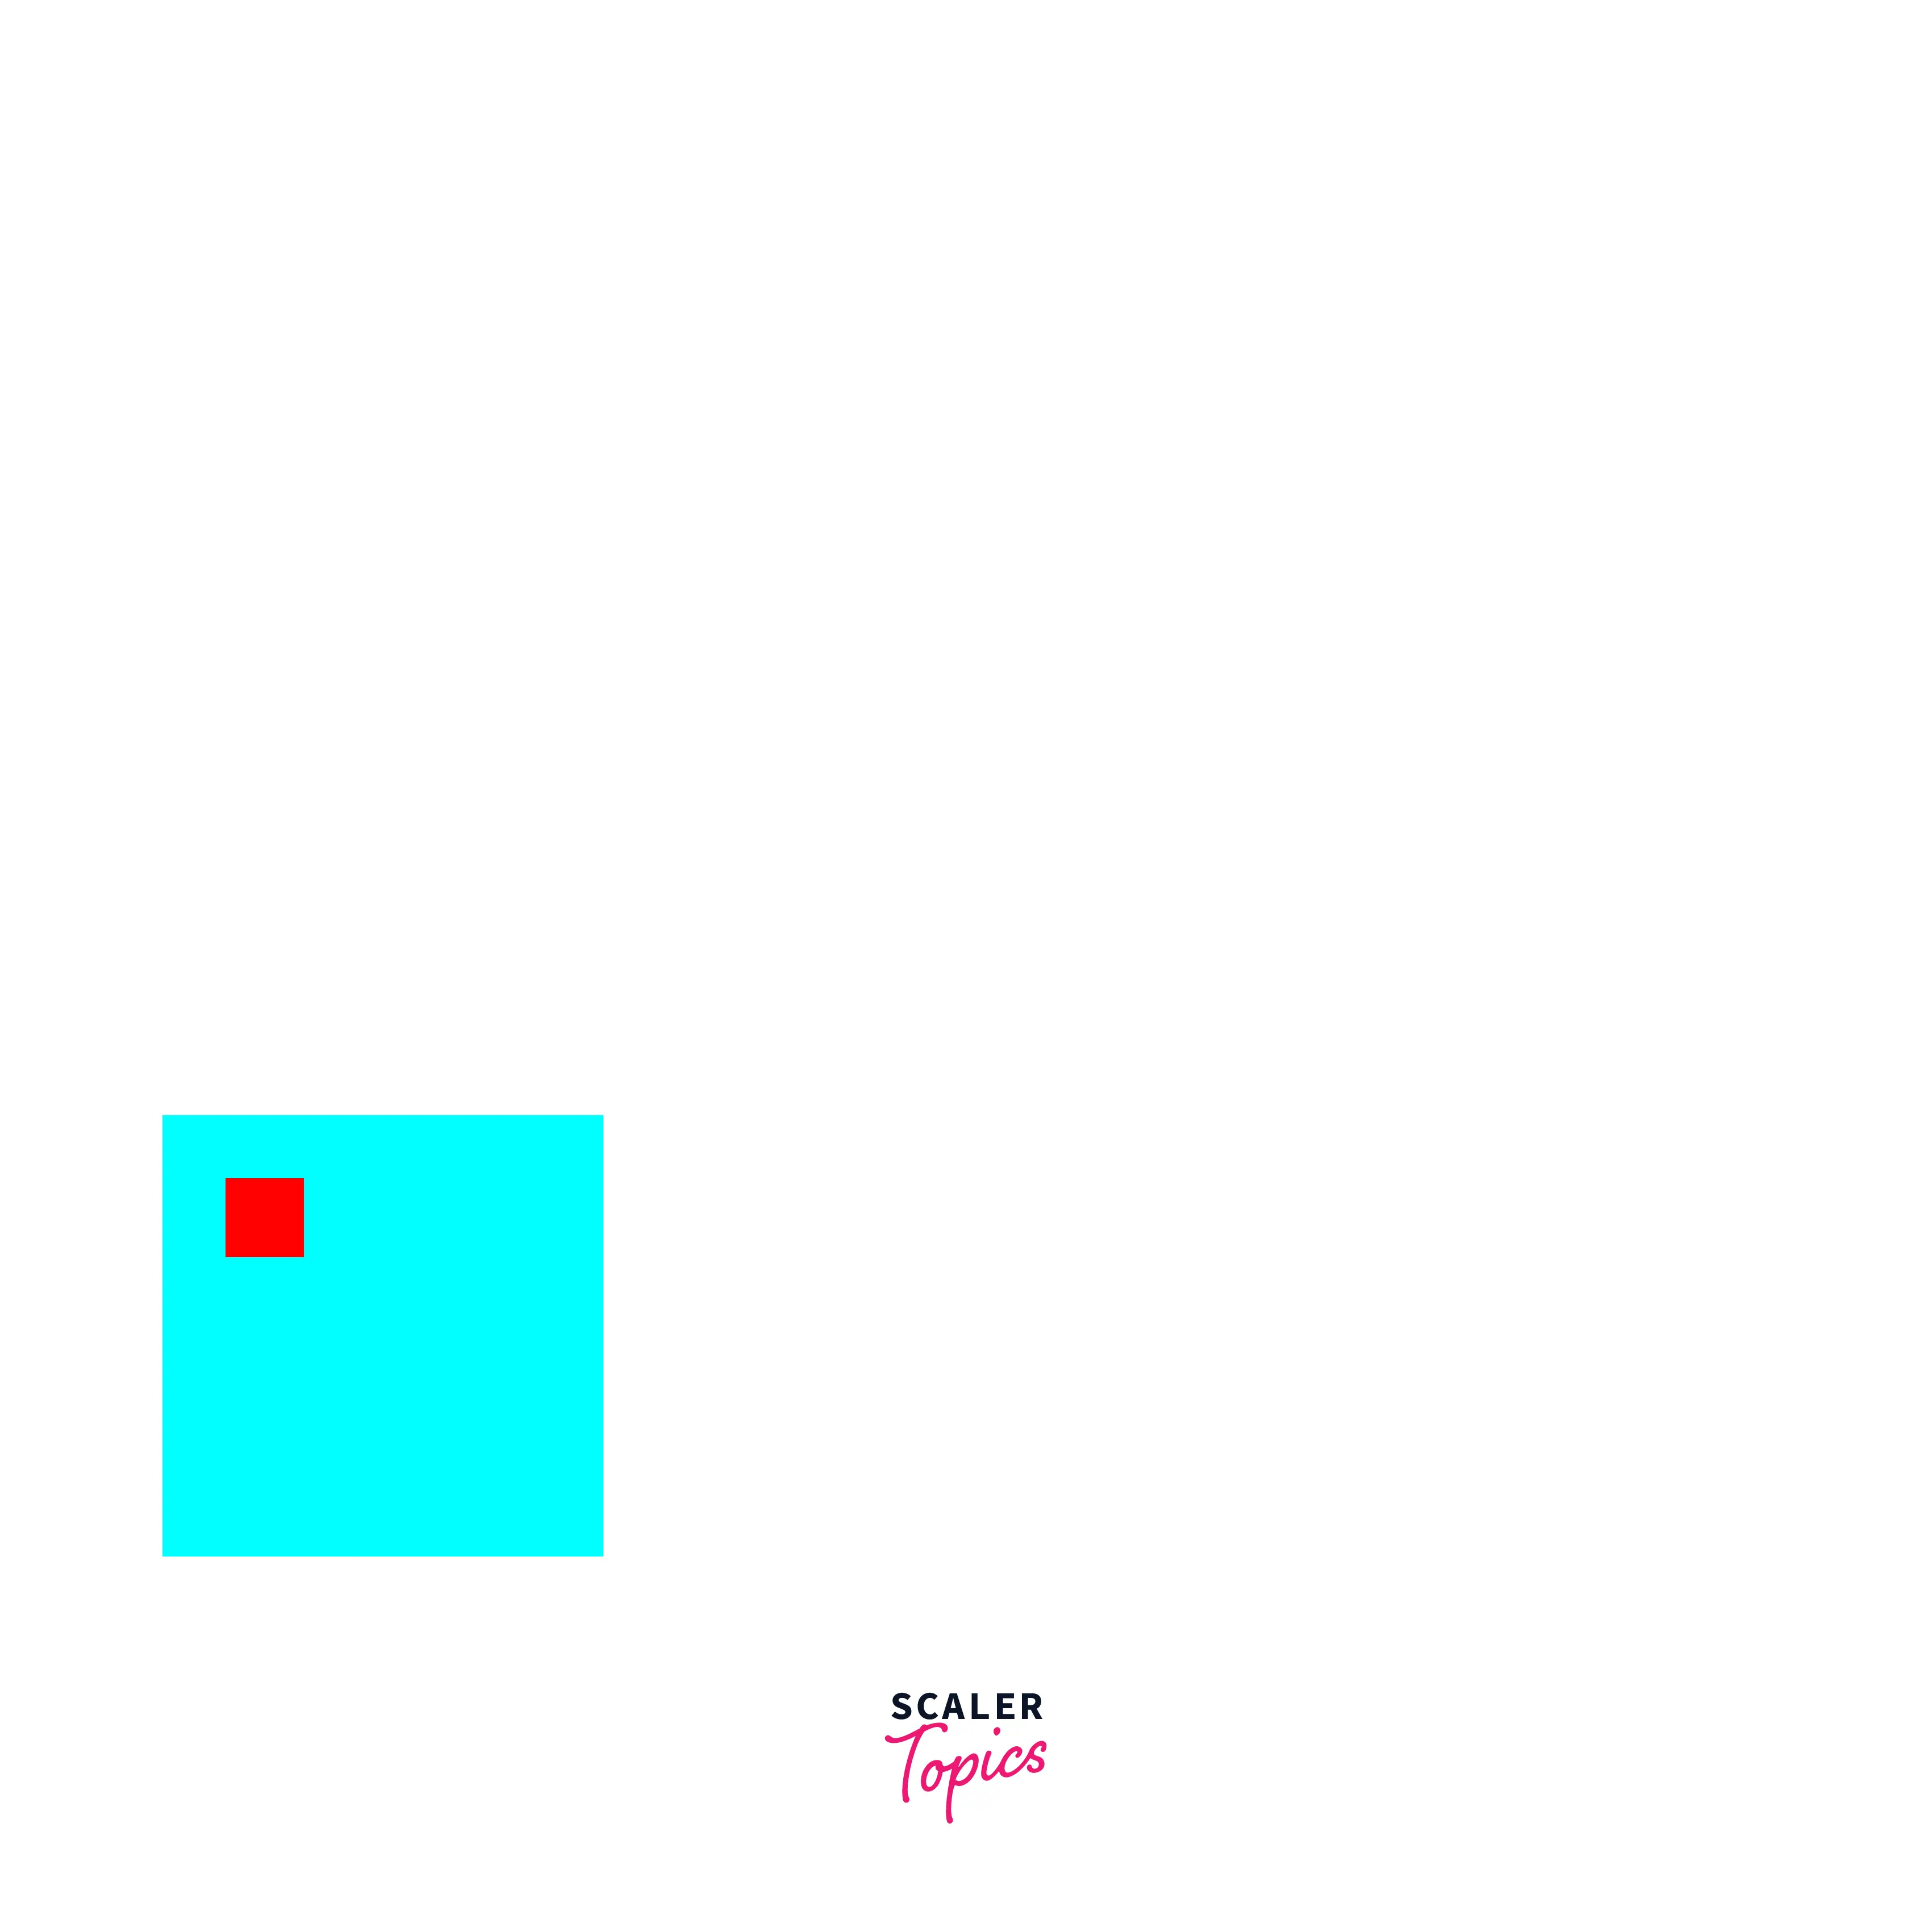
This property is used to define the space between the content of an HTML element and its borders. We can use the “padding” property to apply padding to all four sides or individual padding properties like
- padding-top :
To apply padding at the top of the element. - padding-bottom :
To apply padding at the bottom of the element. - padding-left :
To apply padding at the left of the element. - padding-right :
To apply padding at the right of the element.
Example
Output
10. width and height
The width property is used to define the width of a shape or HTML element like a div, and height is used to define the height of the shape. We have seen the use of width and height in previous examples with div.
Example
Output

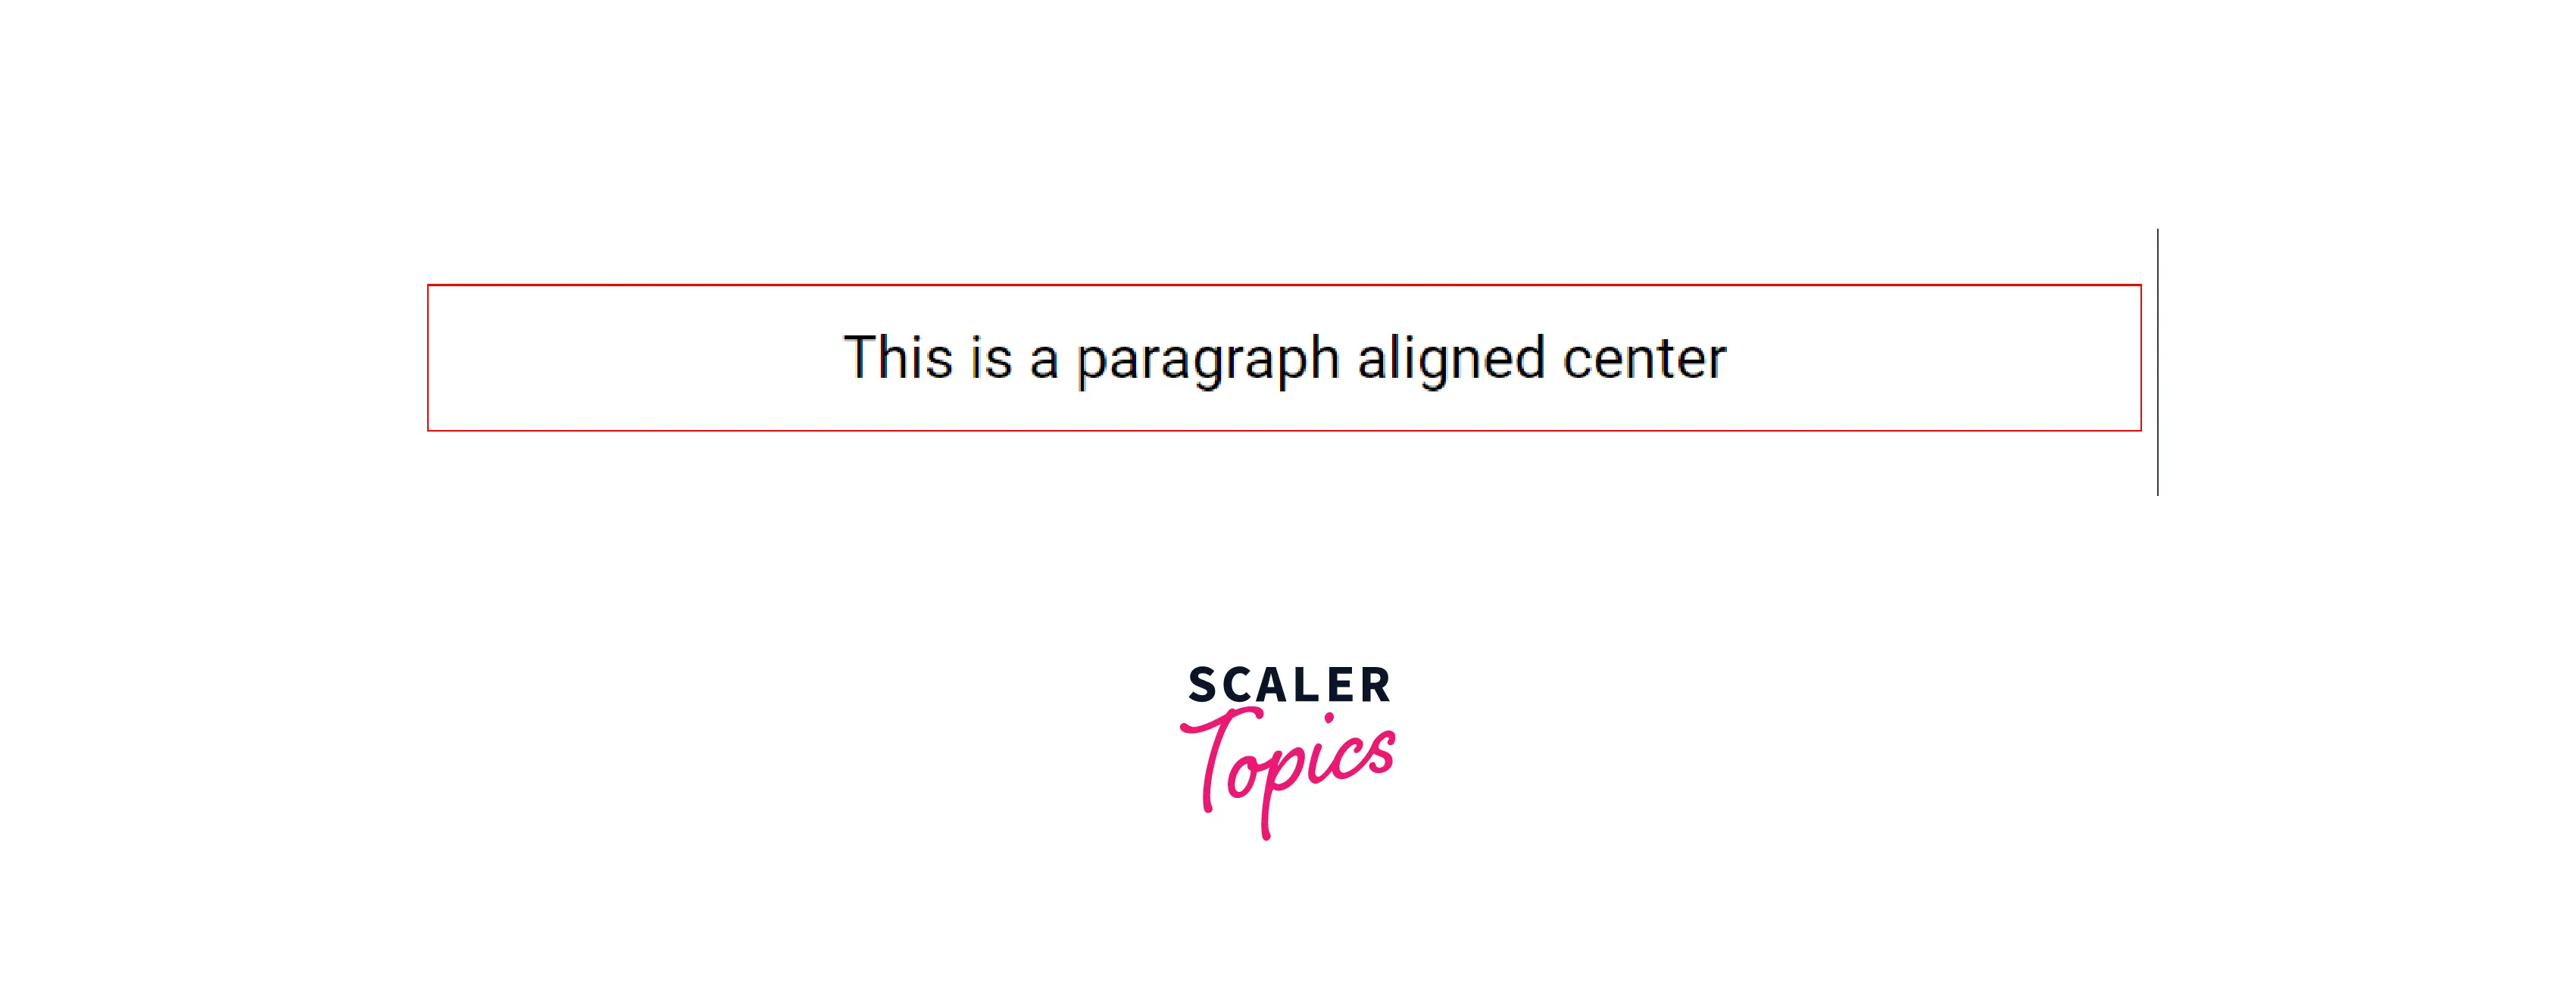
11. text-align
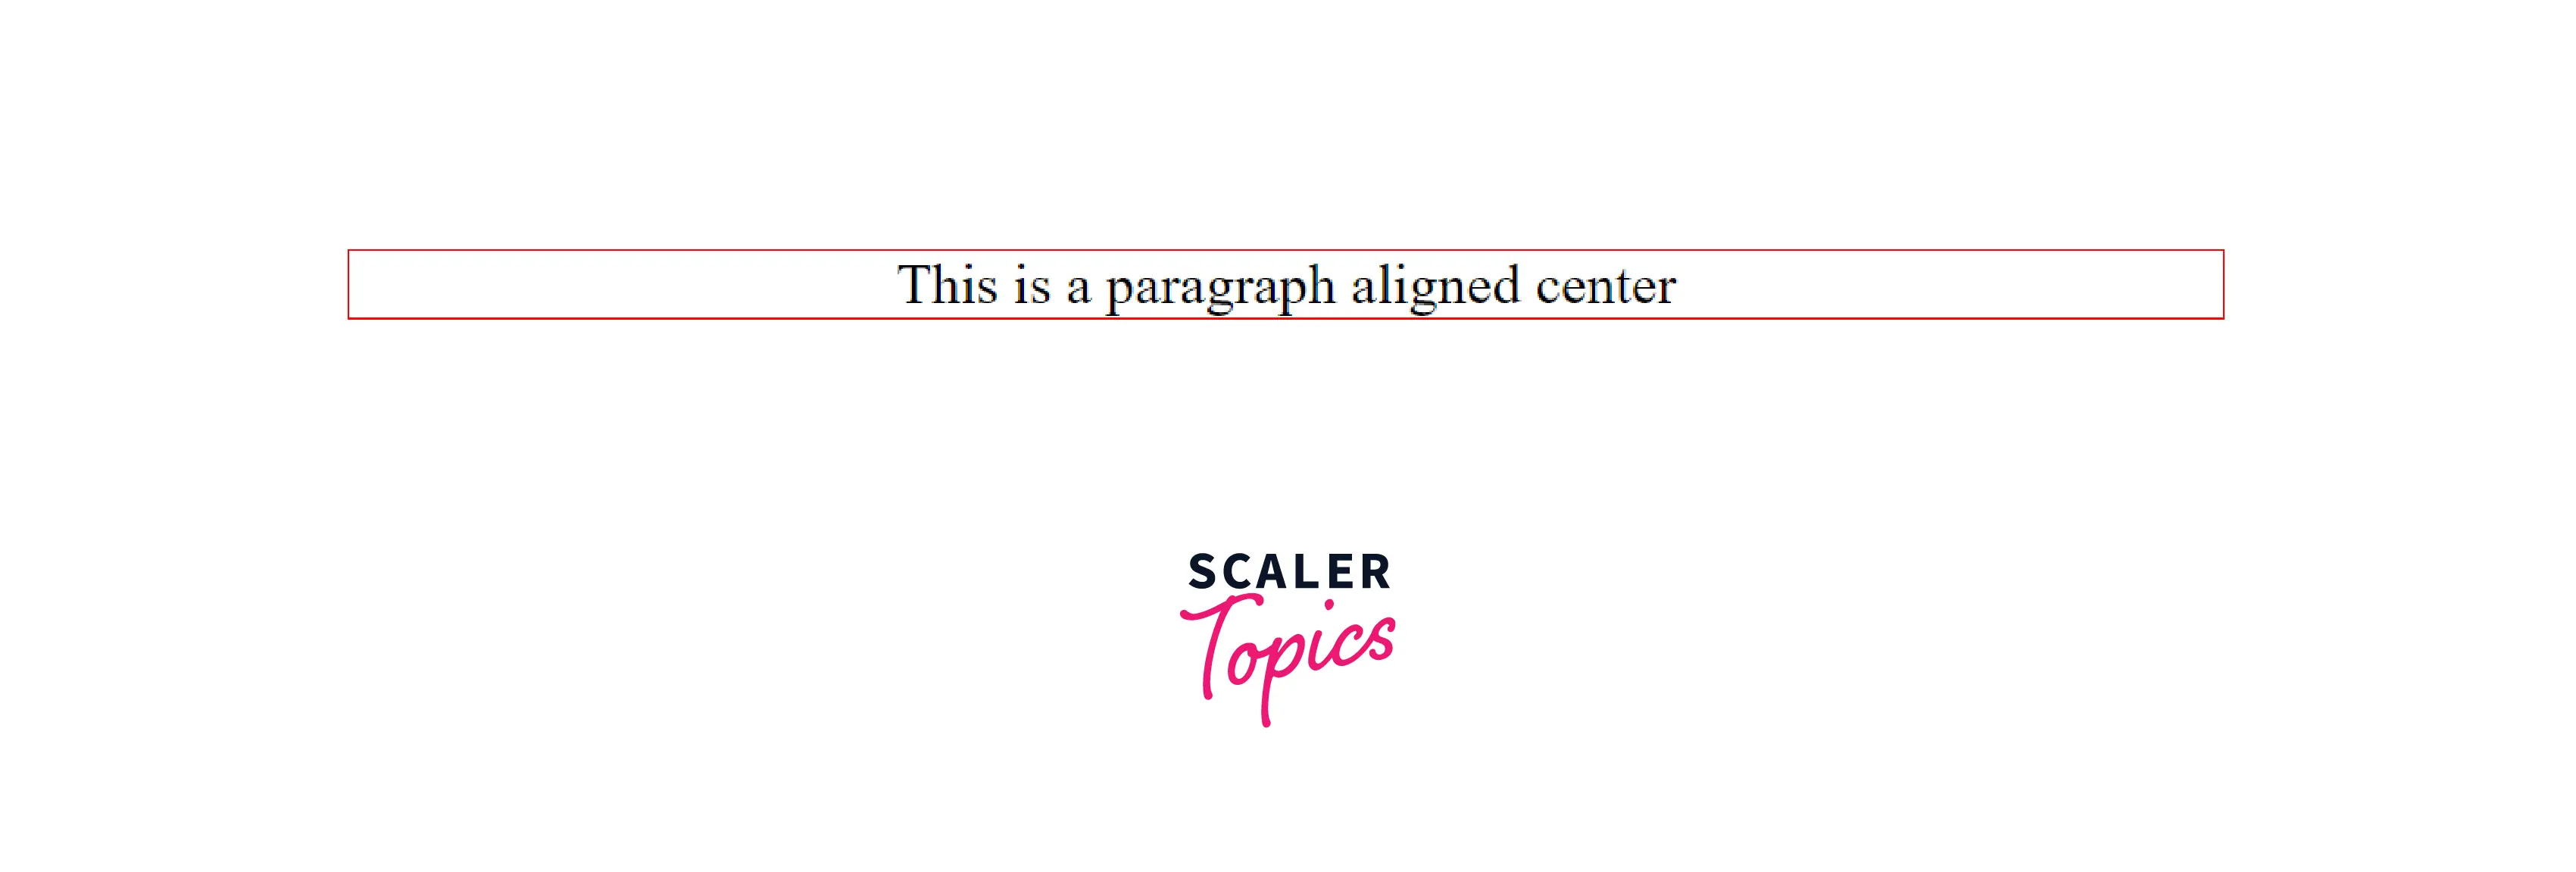
This property is used to define the horizontal direction of an HTML element or text.
Example
Output
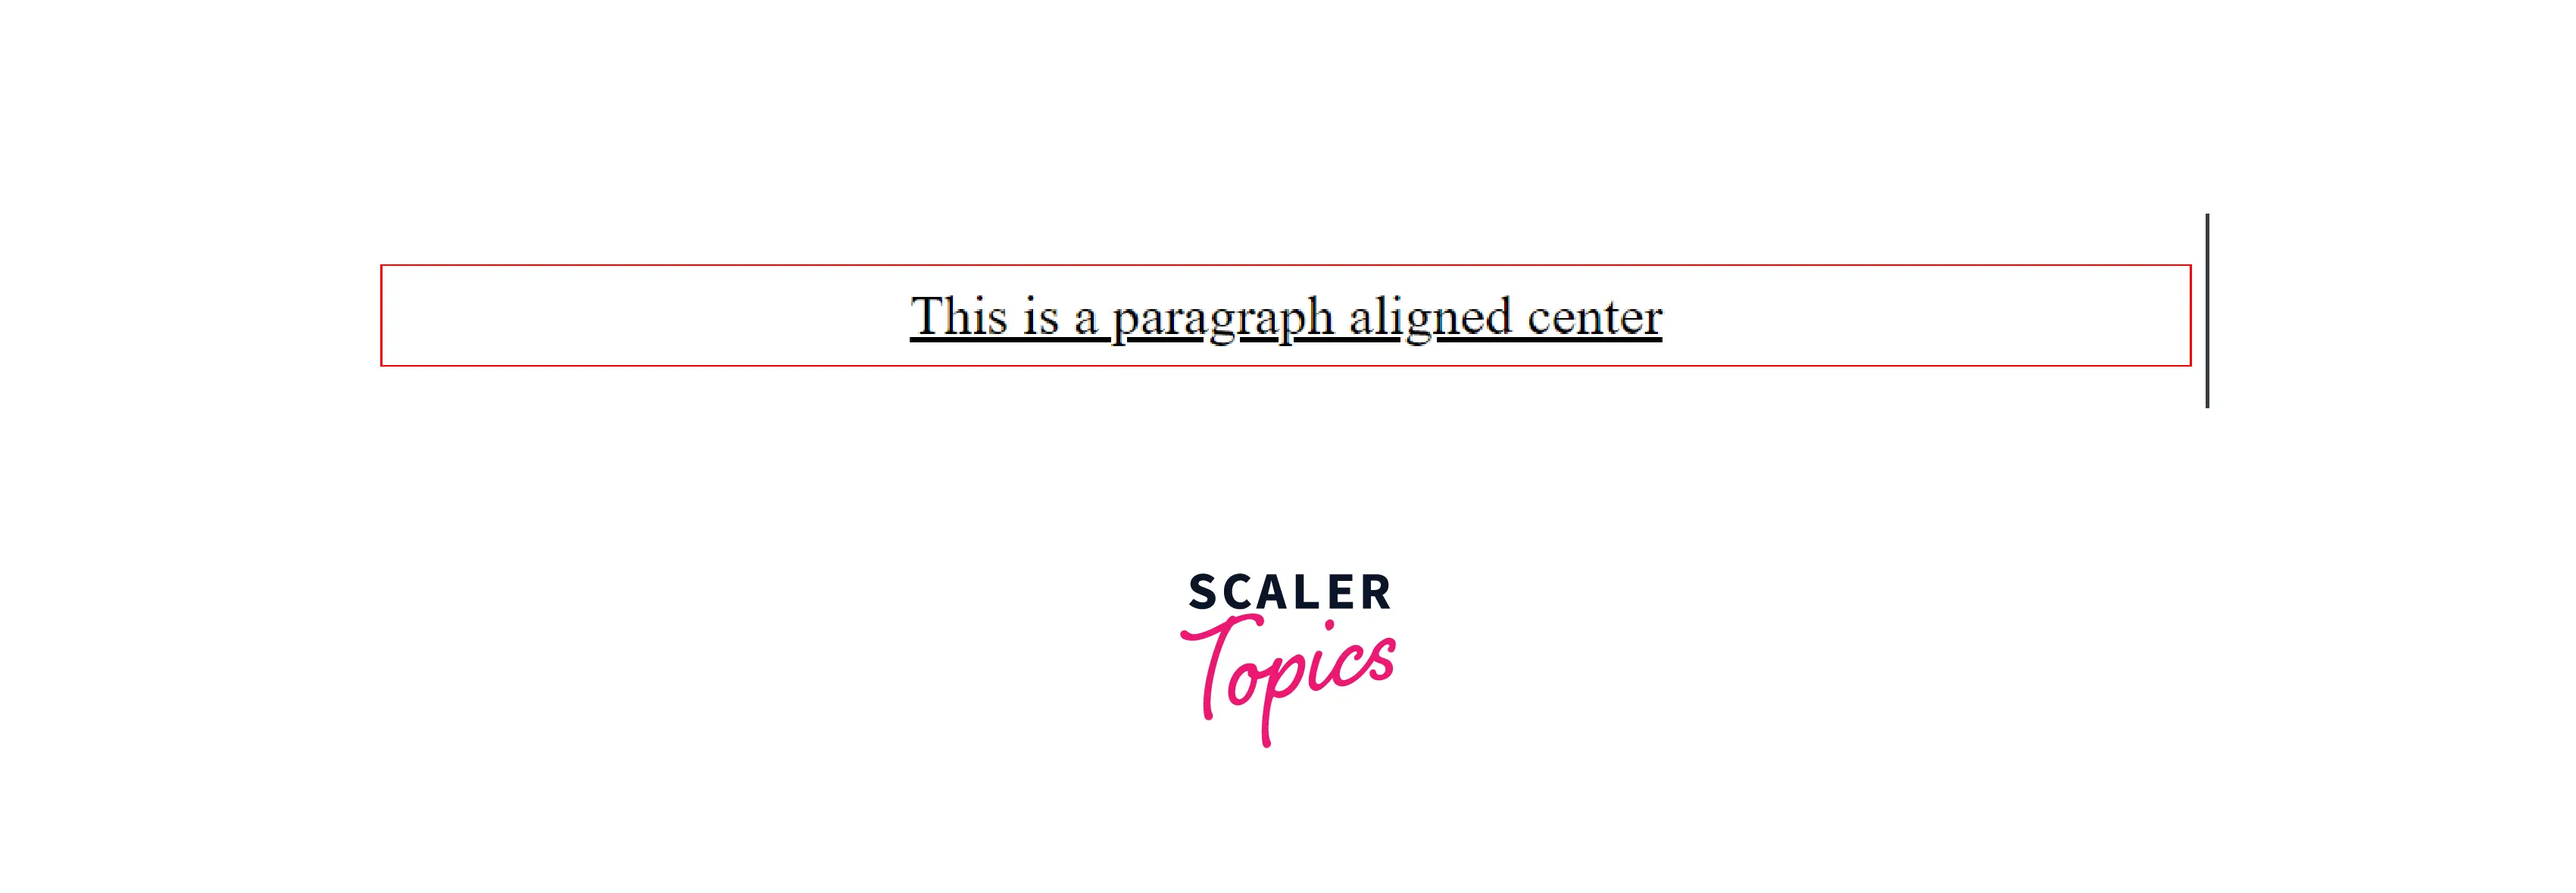
12. text-decoration
This property is used to set decorations like underline, line-through, or overline over text in HTML.
Example
Output
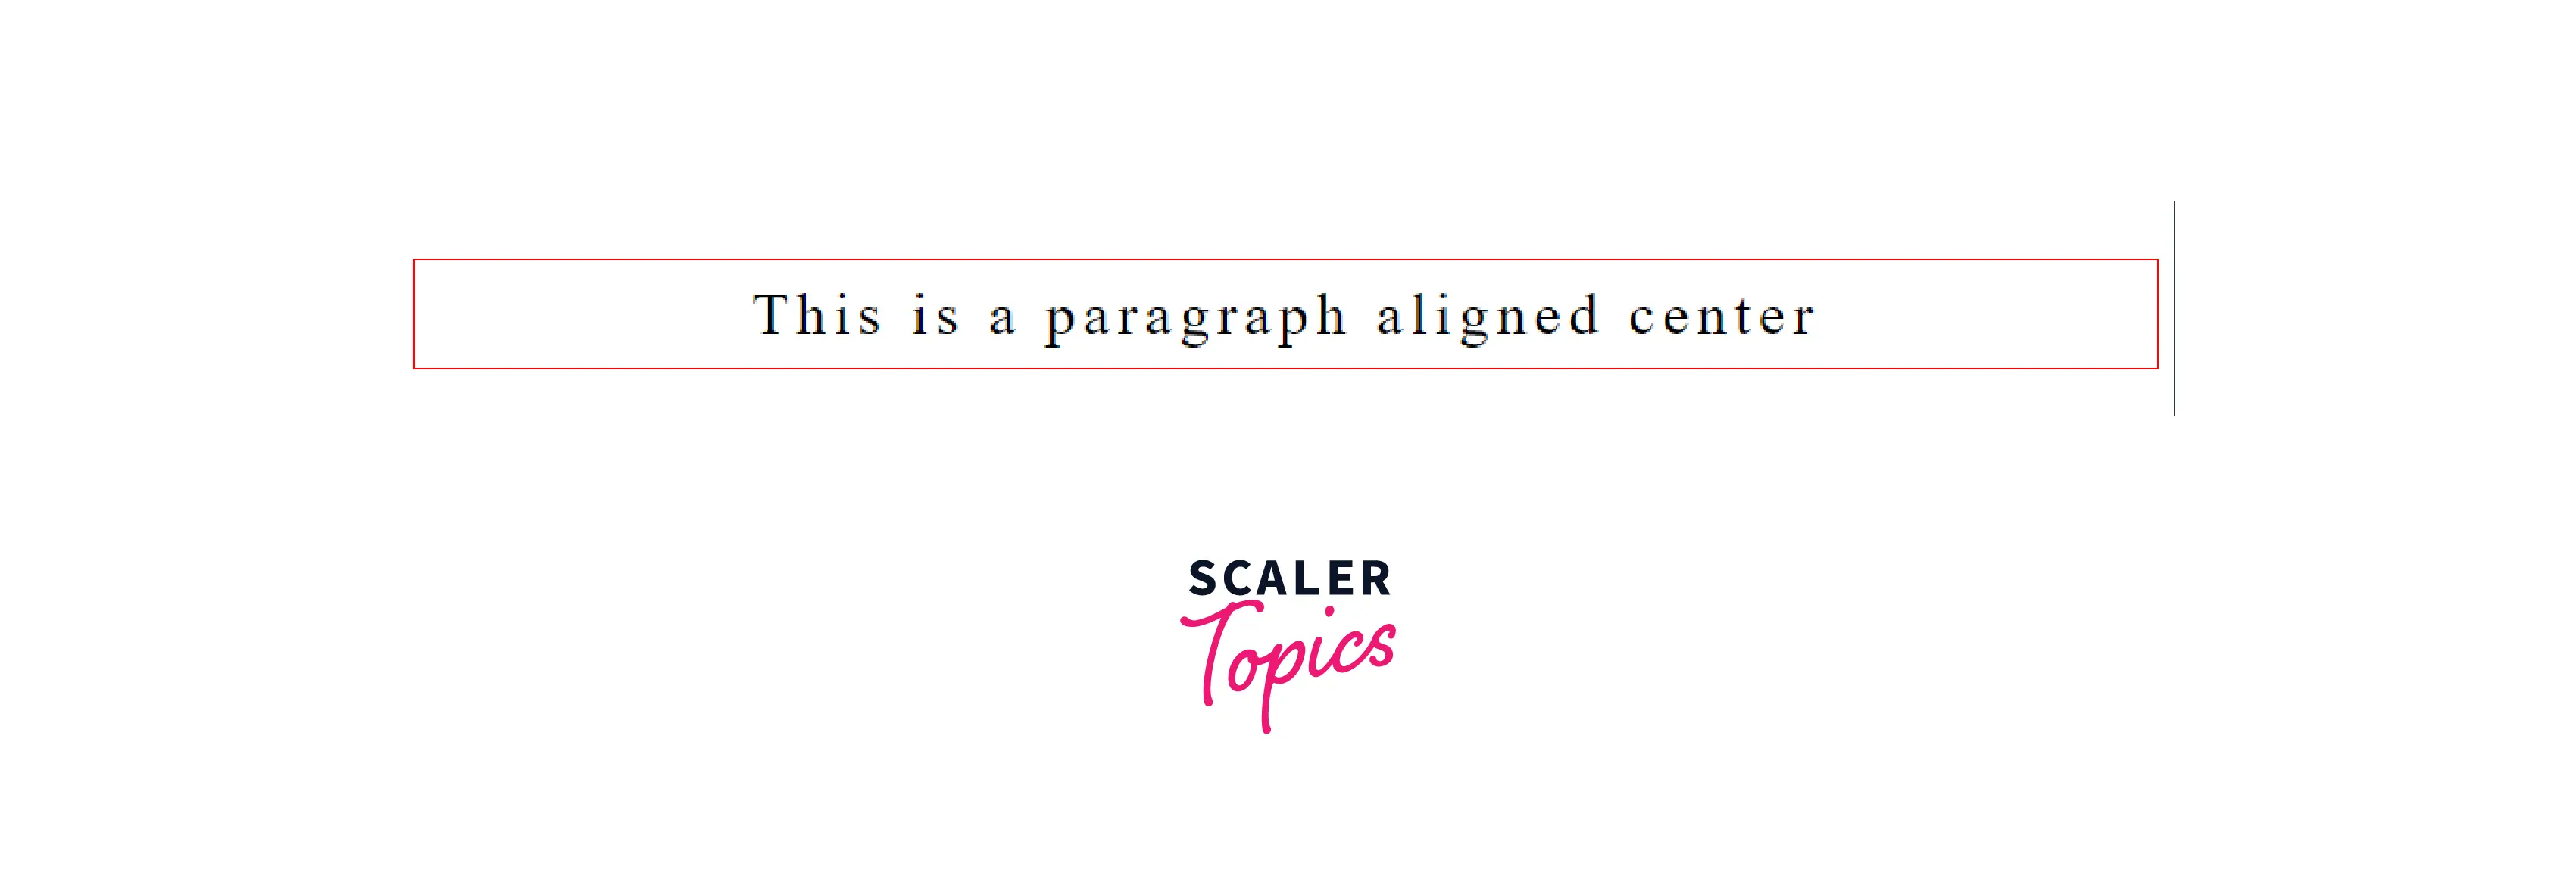
13. letter-spacing
This property is used to define the spacing between characters in a word. It can be assigned a positive pixel value to increase or a negative pixel value to decrease the spacing between letters.
Example
Output
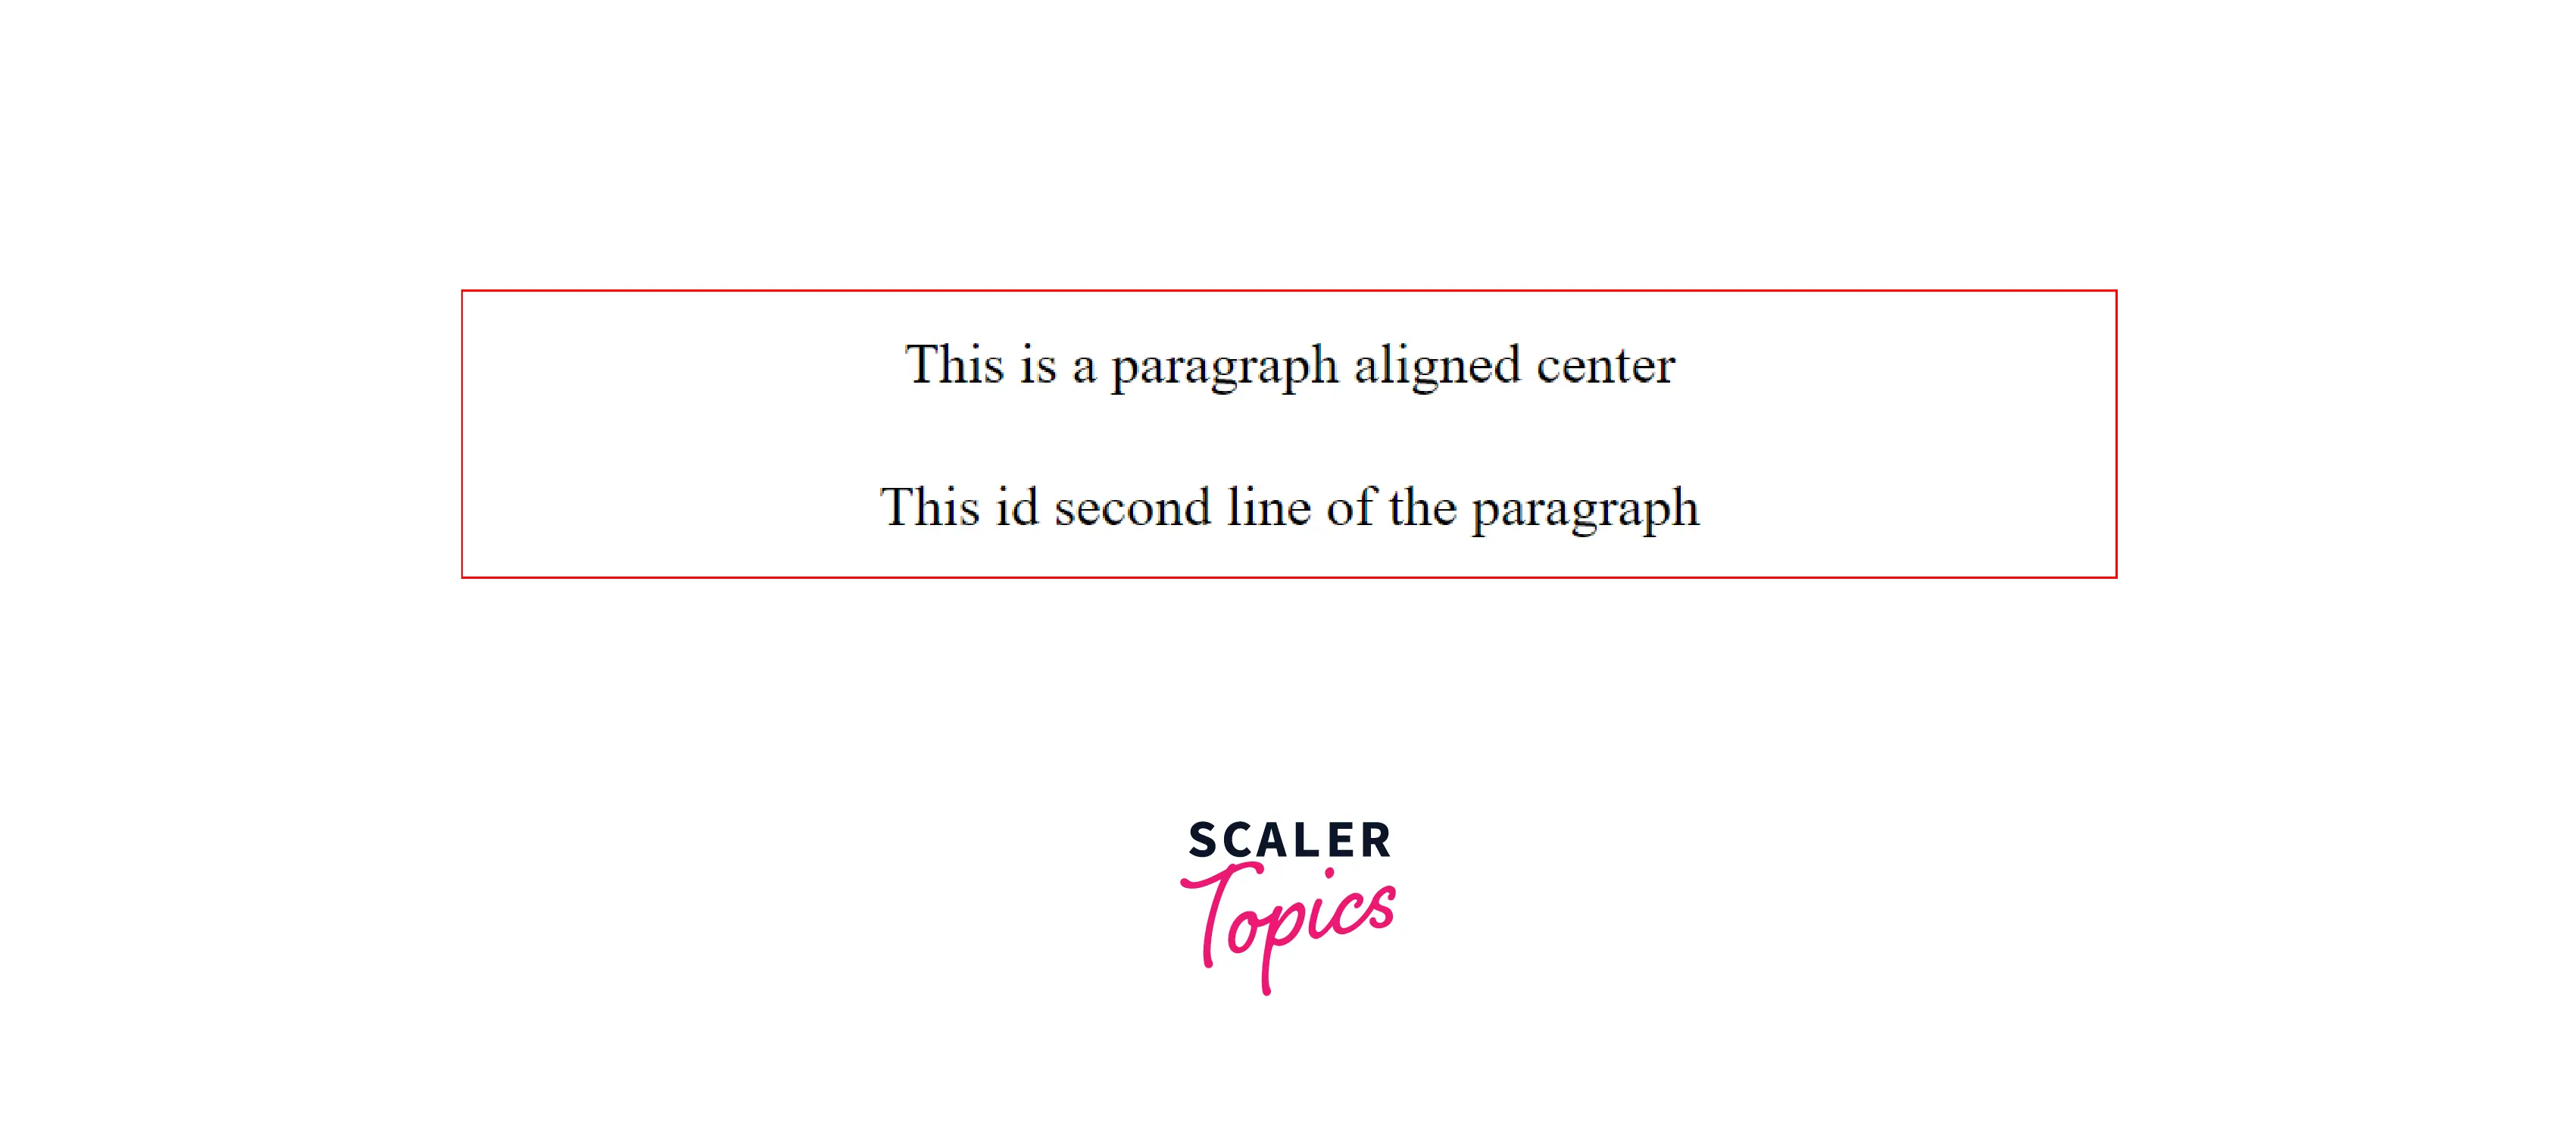
14. line-height
This property is used to define the distance between vertical lines. To increase the distance we use a positive pixel value and to decrease the distance we use a negative pixel value.
Example
Output
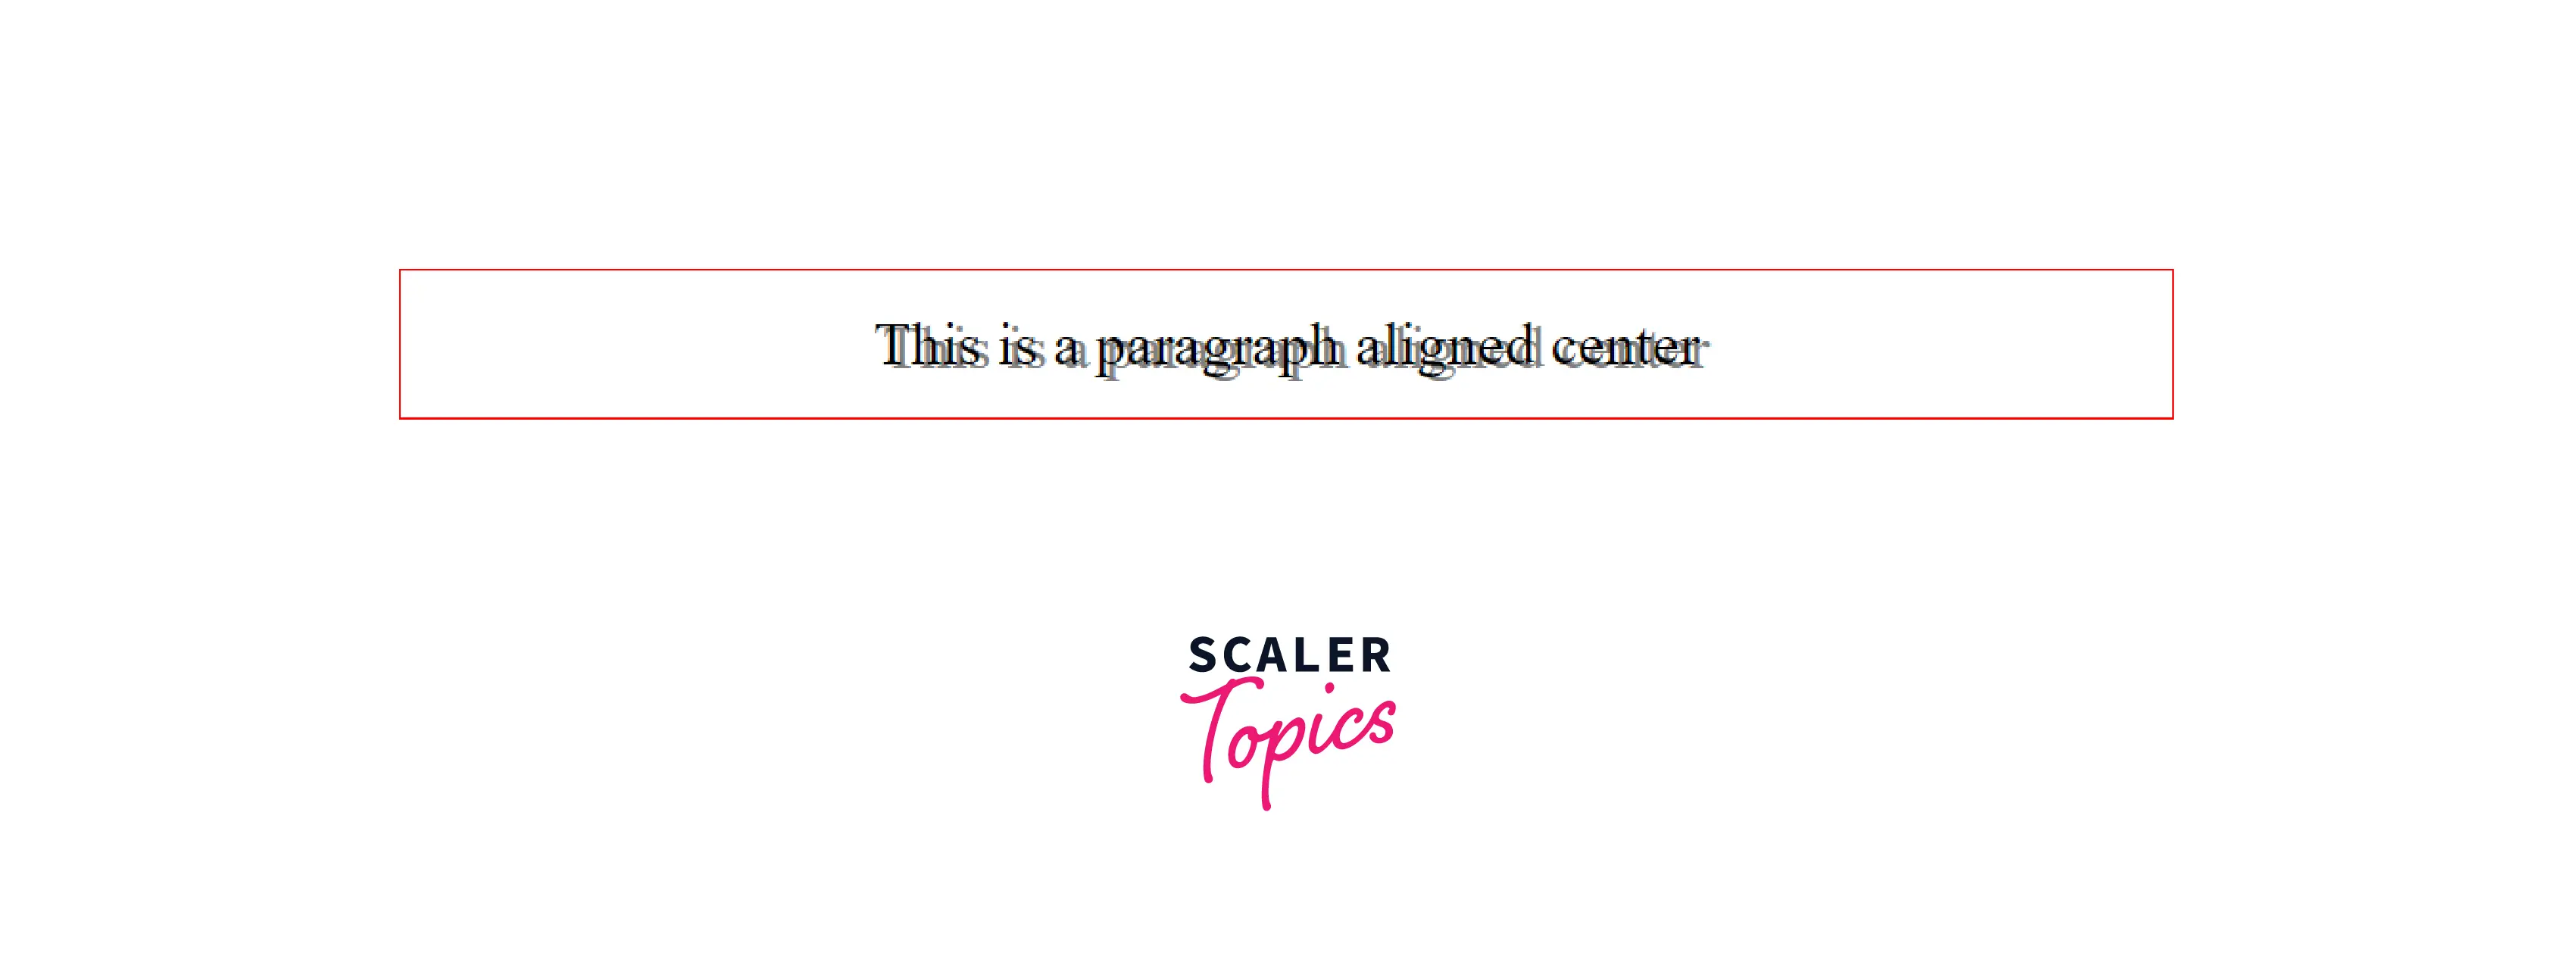
15. text-shadow
This property is used to add shadow to the text. In the text-shadow property's value, the first value defines the horizontal position and the second value defines the vertical position of the text-shadow concerning the text. These two values are required, the third value is for the blur radius and the fourth value is for the color of the radius. These two values are optional.
Example
Output
16. font-family
This property is used to define the font class of the text. We can add multiple font families separated by commas if in case, the primary font family is not available.
Example
Output
Example
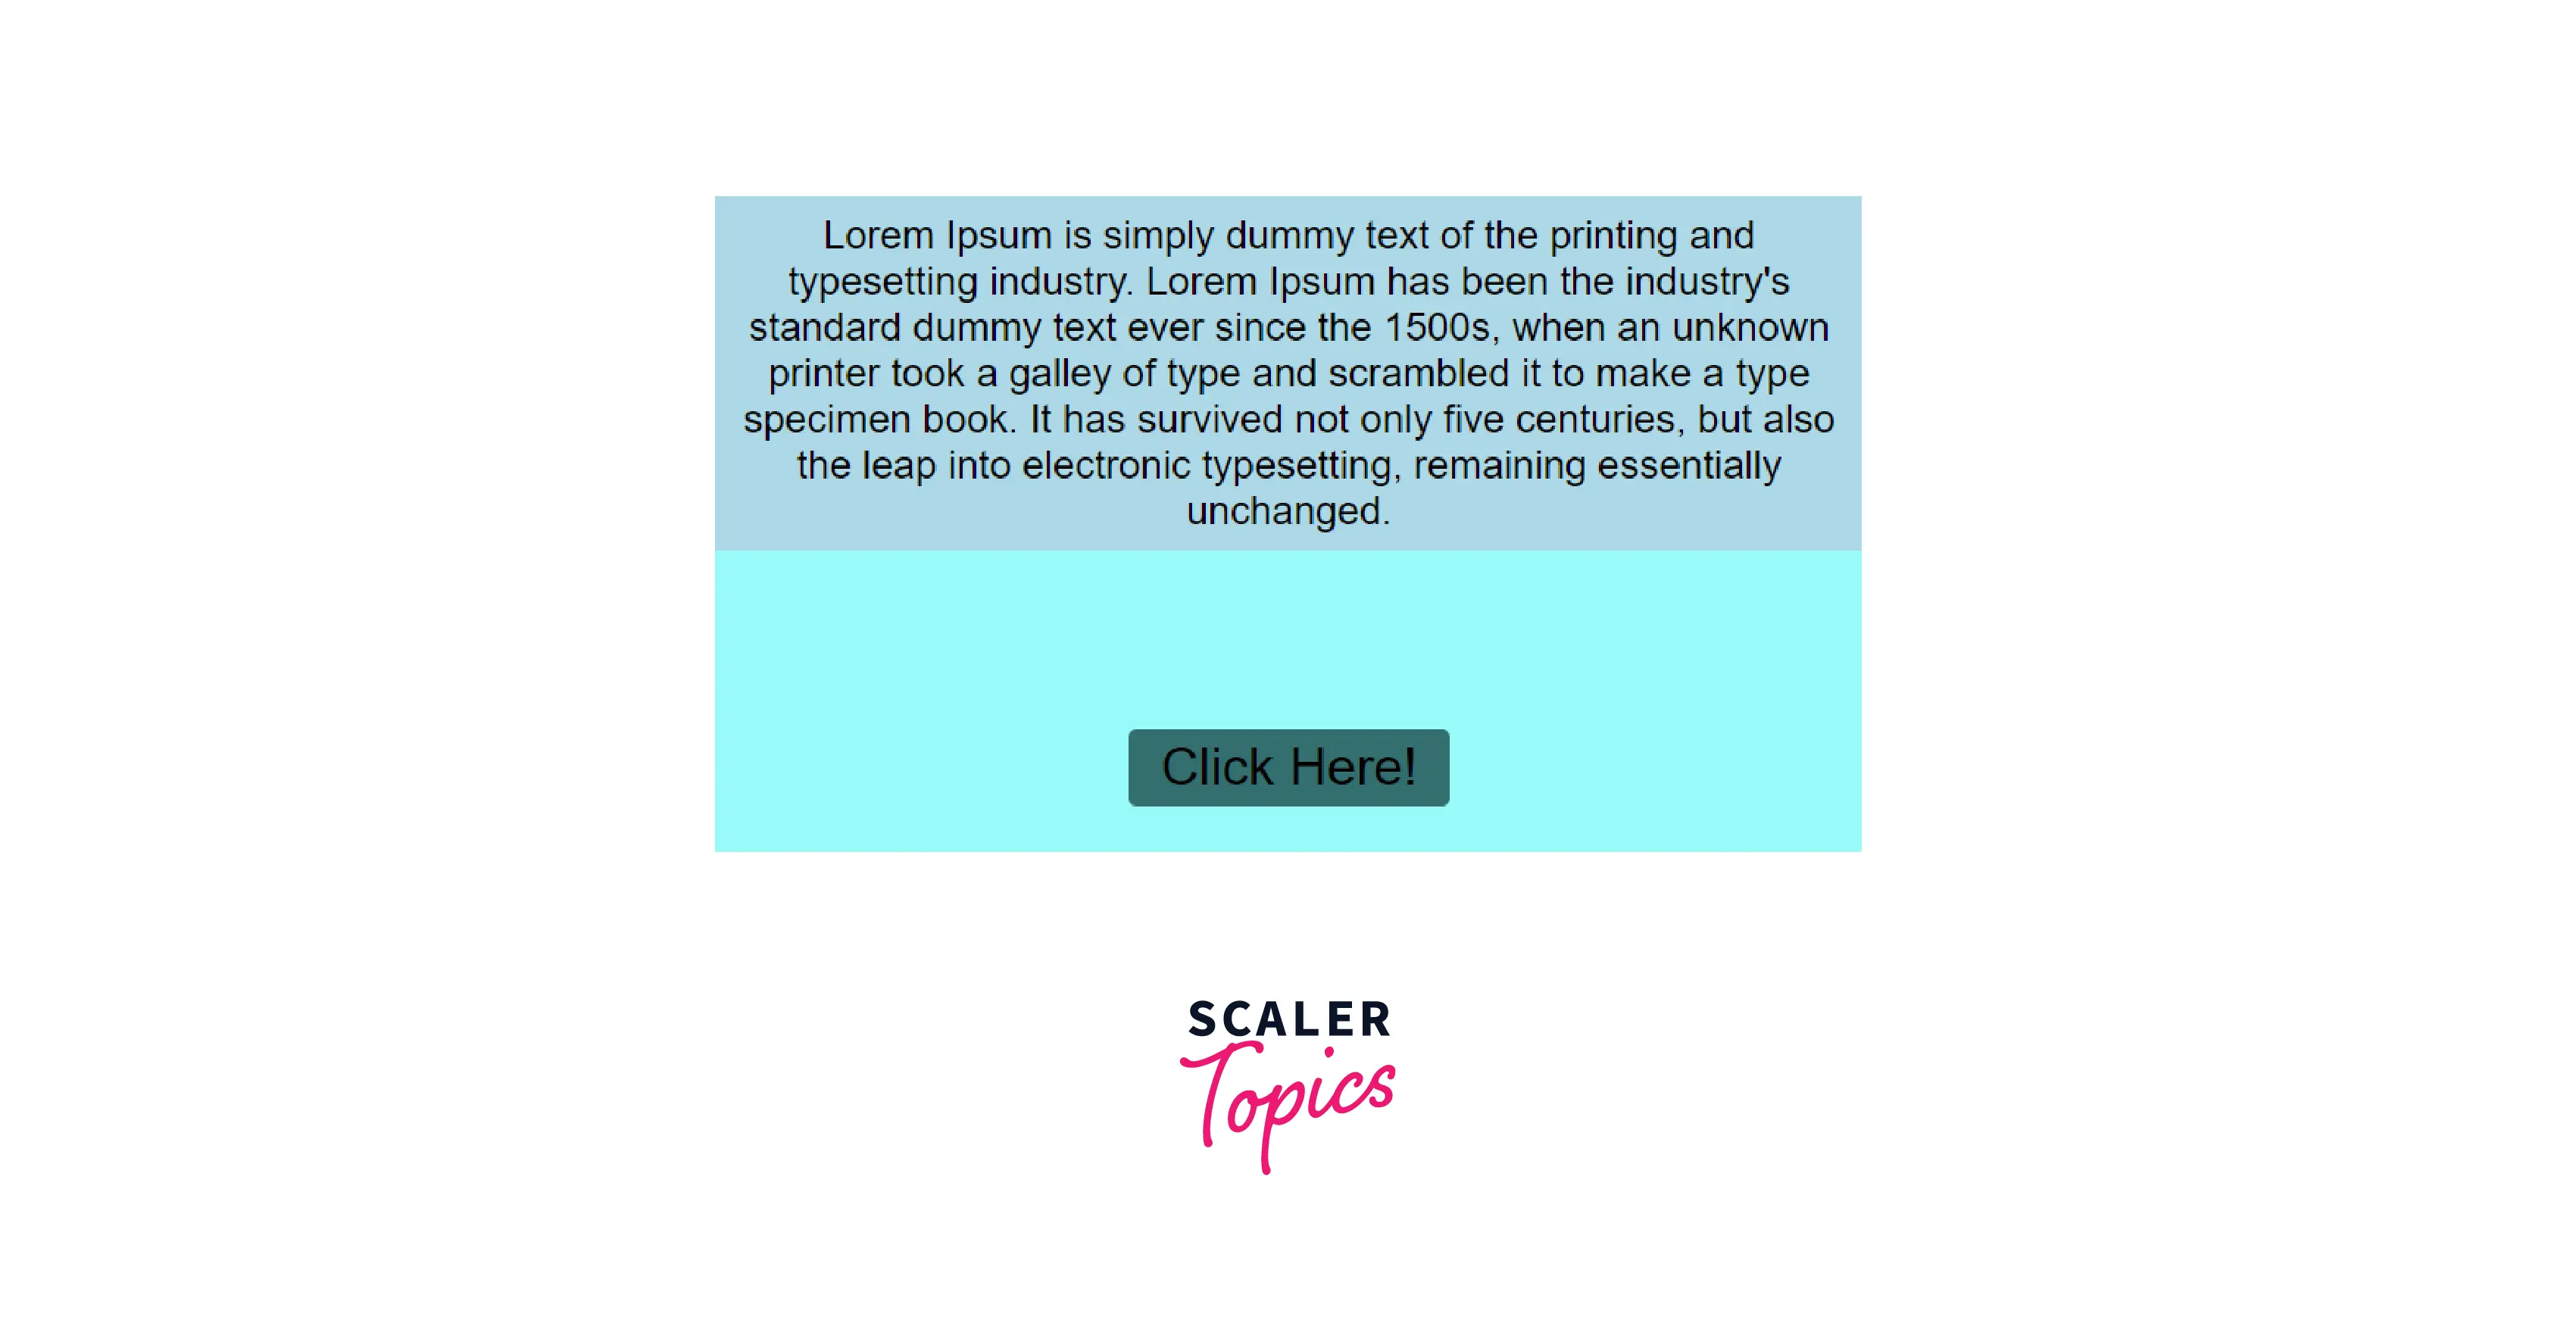
Let's apply what we have learned till now. In the example below we will use the following properties :
- width
- height
- padding
- border
- background-image
- font-family
- text-align
- background-color
Output
How to Implement style Attributes in HTML ?
There are three ways through which we can add CSS to the HTML. Let's discuss them in detail.
a. Inline Style
This method is using style within the HTML element. We have already seen its syntax and examples above.
This method does not require any new tag like in the internal stylesheet and also there is no need to create a new file like in the external stylesheet.
Syntax
Advantages
- The inline style has the highest precedence. It means it gets executed first even before the external style sheet and style tag.
- Inline style can be written quickly within the HTML tag in which we want to apply CSS. There is no need to create a separate stylesheet and then link it with the HTML file.
Disadvantages
- The HTML file becomes bloated and readability decreases.
- It overrides element properties that the developer might not intend to.
- There might be cases when certain style properties are shared by multiple HTML elements. In such a case, the developer has to write the same properties in each HTML element. This is not a good practice.
- HTML documents with inline styles become very hard-coded and difficult to maintain.
b. Internal Stylesheet
In this method, all the CSS is added in between the style tag inside the head section of the HTML file.
Syntax
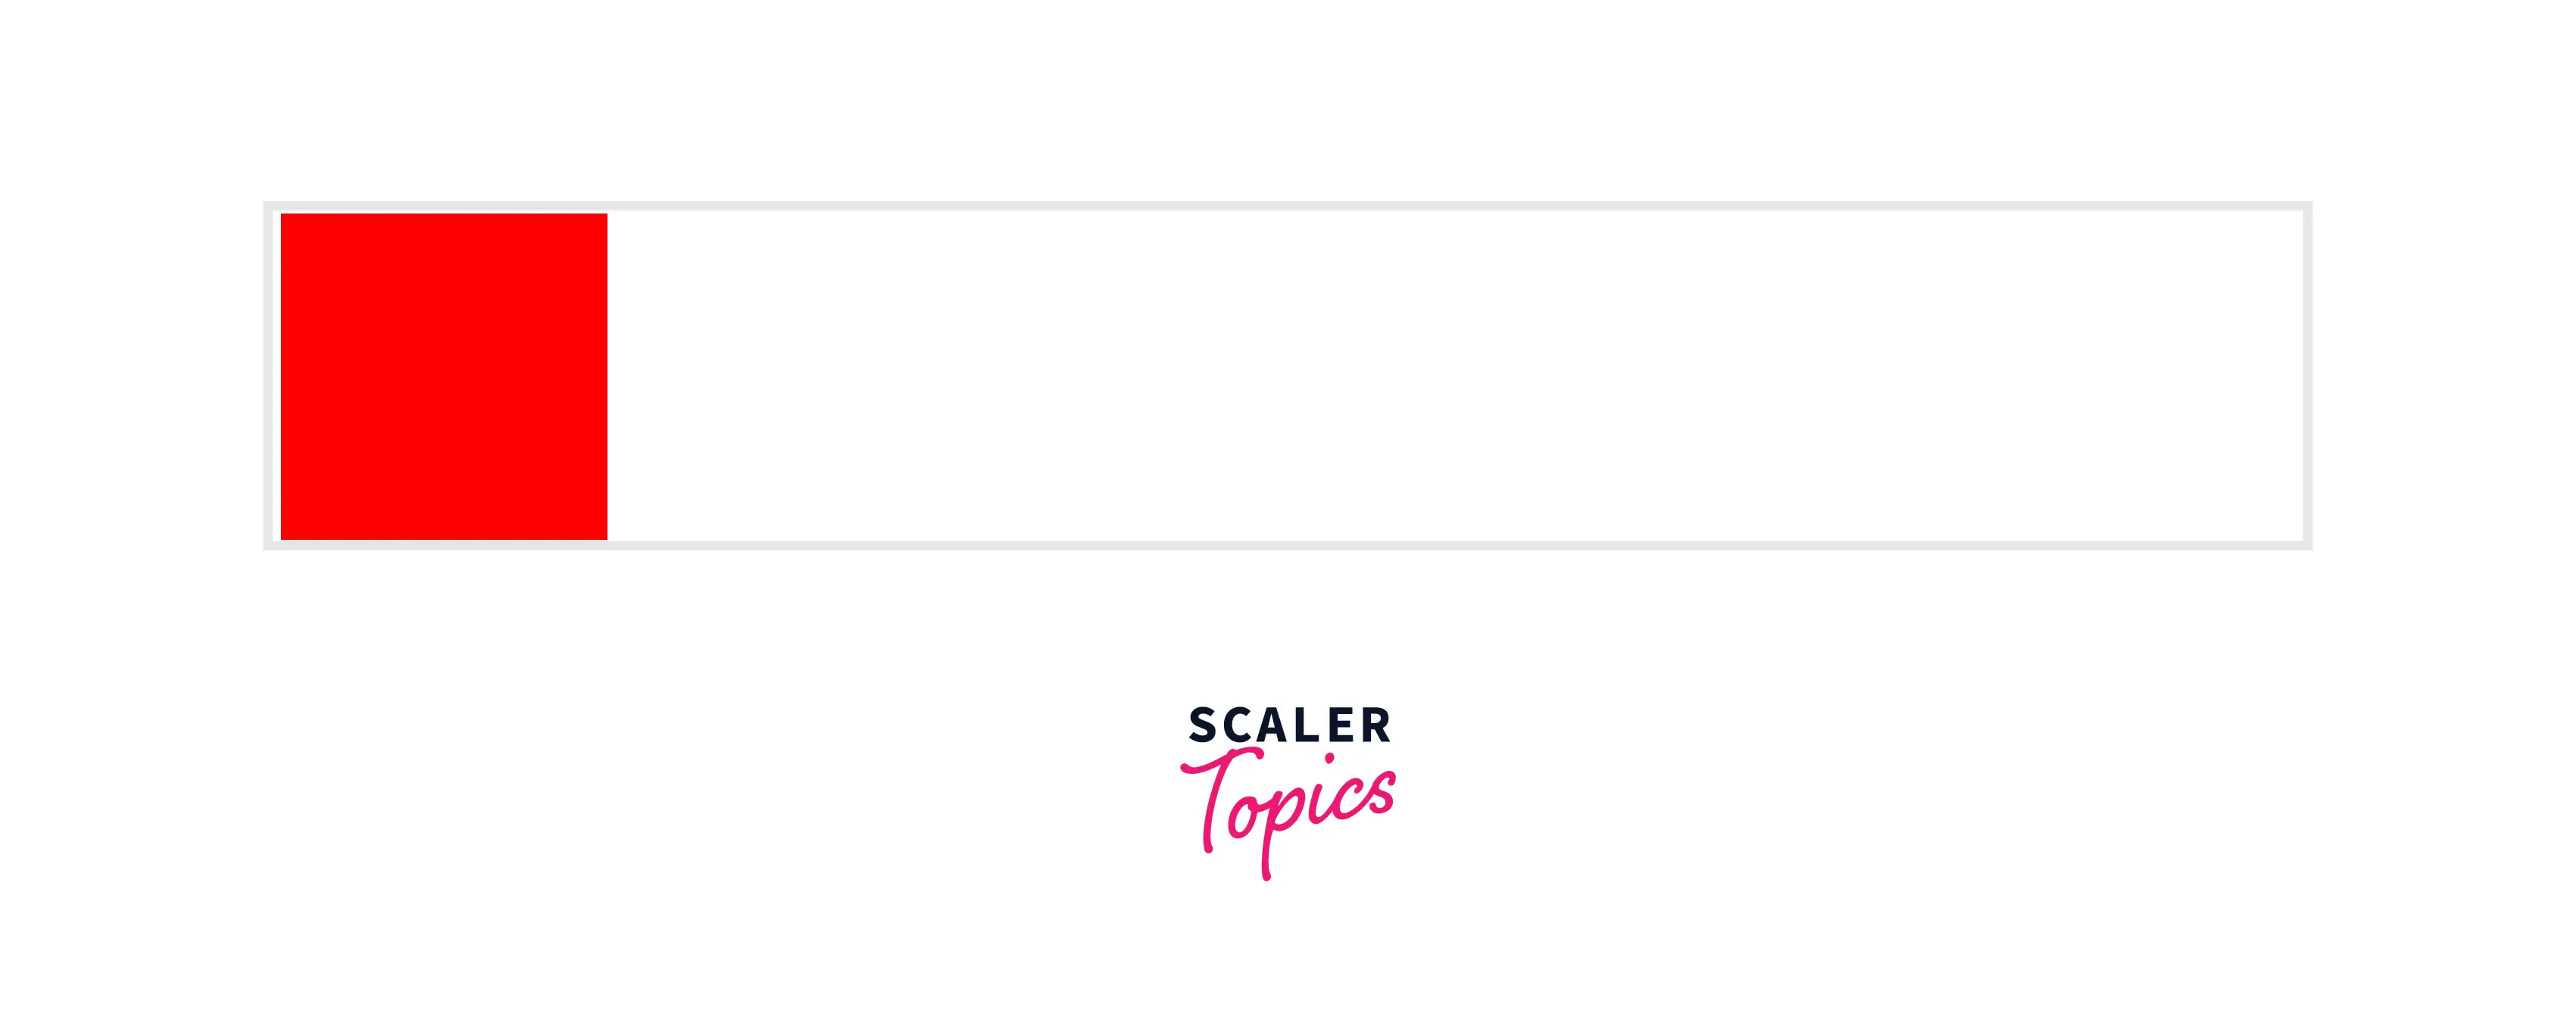
Example
Output
Advantages
- We can add the same style to multiple HTML elements without repeating.
- This structure is better than inline CSS.
- We can make use of ID and class.
- No need to add an external stylesheet.
Disadvantages
- This method increases the size of the HTML file and mixes both HTML and CSS in one file.
- It can increase the loading time of the page.
c. External Stylesheet
In this method, a separate document is created (of .css extension) which contains all the styling. This document is linked to the HTML documents that need those rules of style. There are two ways of linking the style sheet.
- Using a link tag inside the head section of the HTML
- Using @import inside the style tag of HTML.
Let's see each one of these in detail. Starting with the first way.
1. Using link tag
Example
HTML:
CSS:
Output

2. Using @import
Example
HTML:
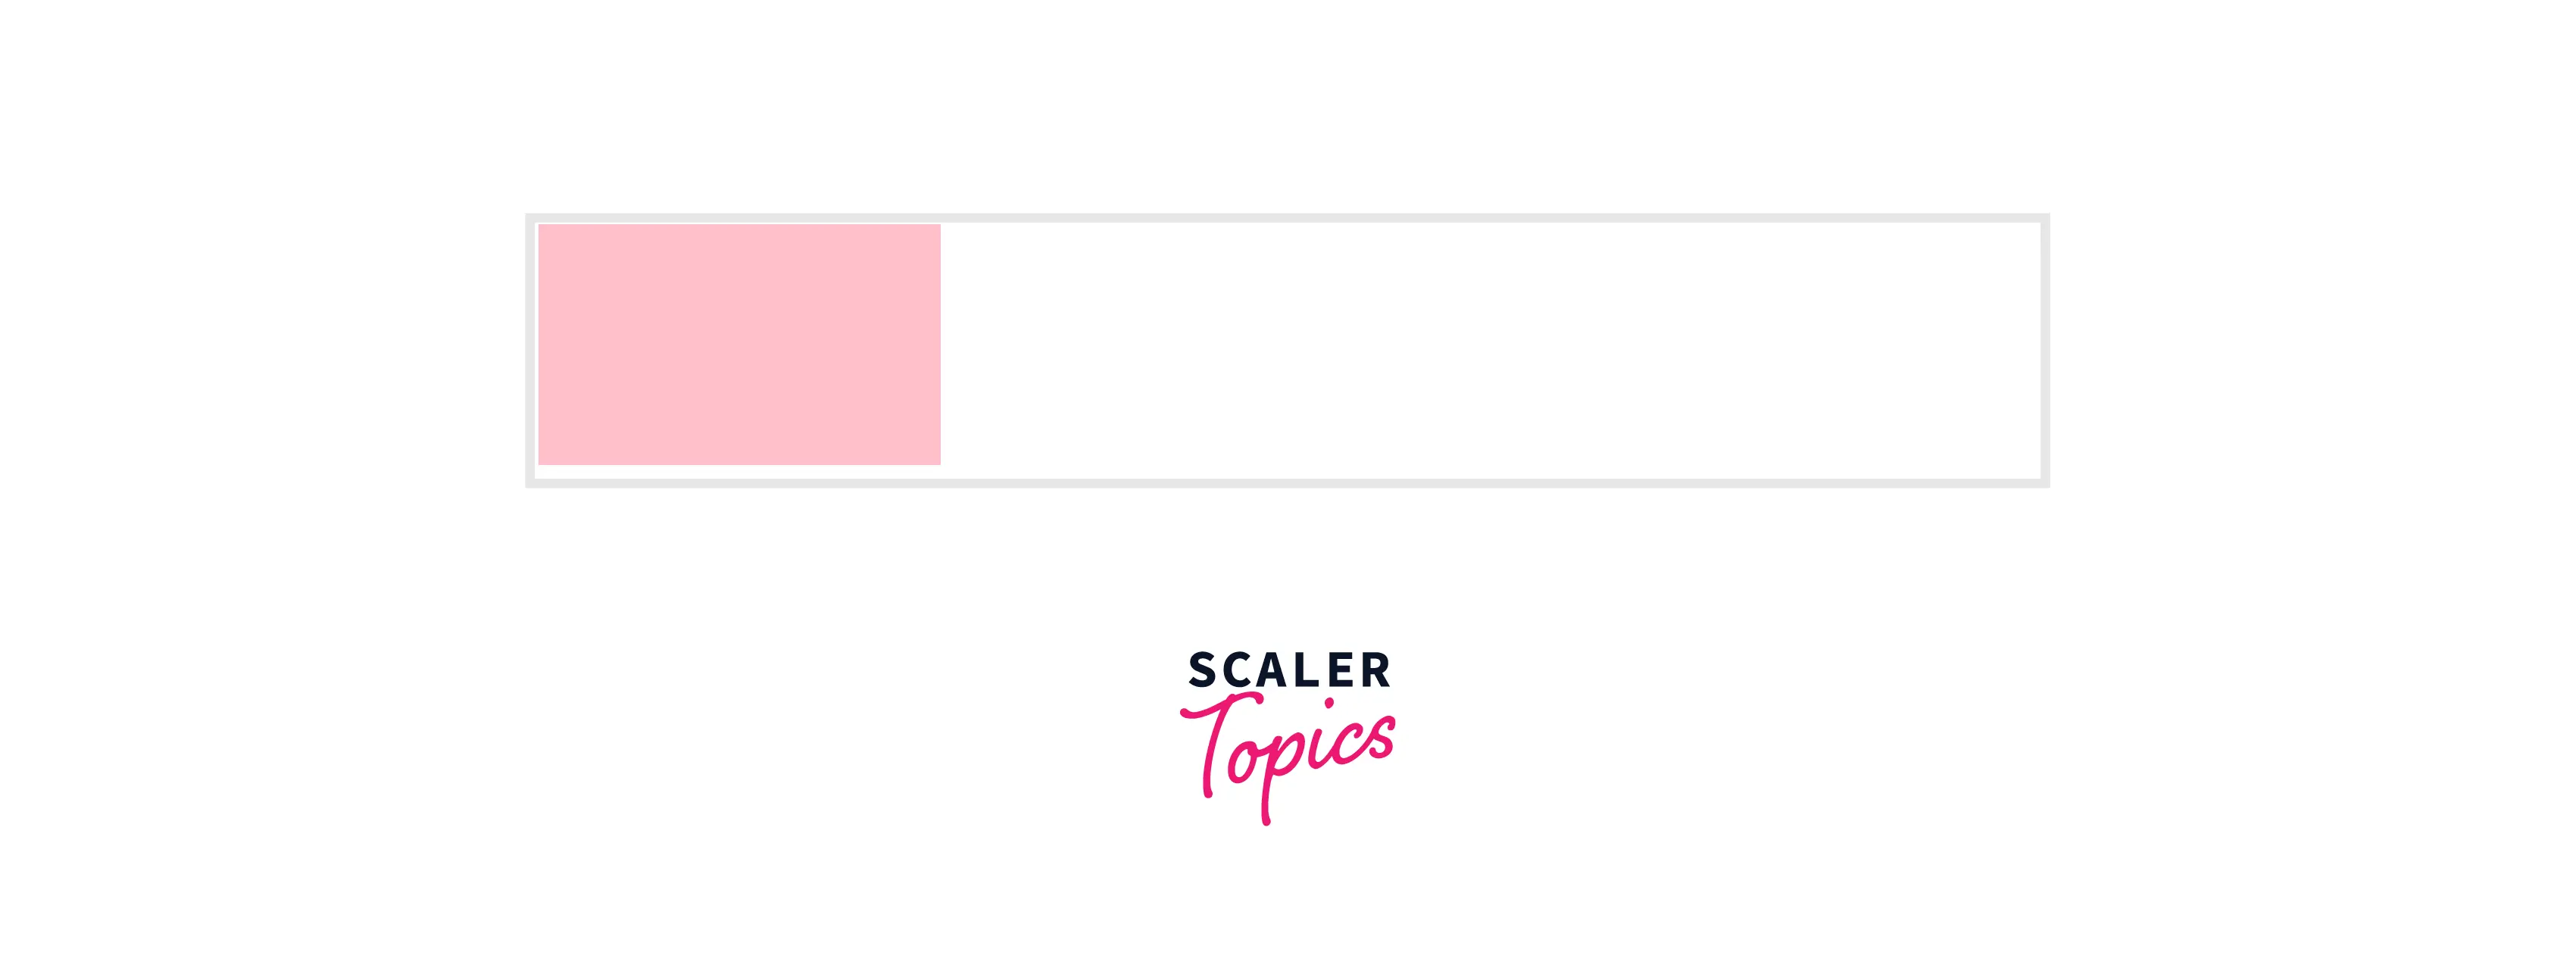
CSS:
Output
Advantages
- A separate file for all the CSS. This is a better structure than all of the above-discussed methods.
- We can add style to many documents using one single .css file.
- Best use of IDs and classes
- We can group elements that we want to have the same style. No need for repetition.
Disadvantages
- The HTML document cannot be rendered until the CSS file is loaded.
- Extra downloading of one more file.
- It's not a good option for small-style tasks.
Why HTML Styles are Important ?
Importance of HTML styles
- Used to create better user interfaces.
- Provide a better user experience.
- Gives the developer more control over the structure of the webpage.
- Makes the web pages more consistent looking in design.
- Developers can make the website more engaging using different style properties like transition, animation, etc.
More Examples
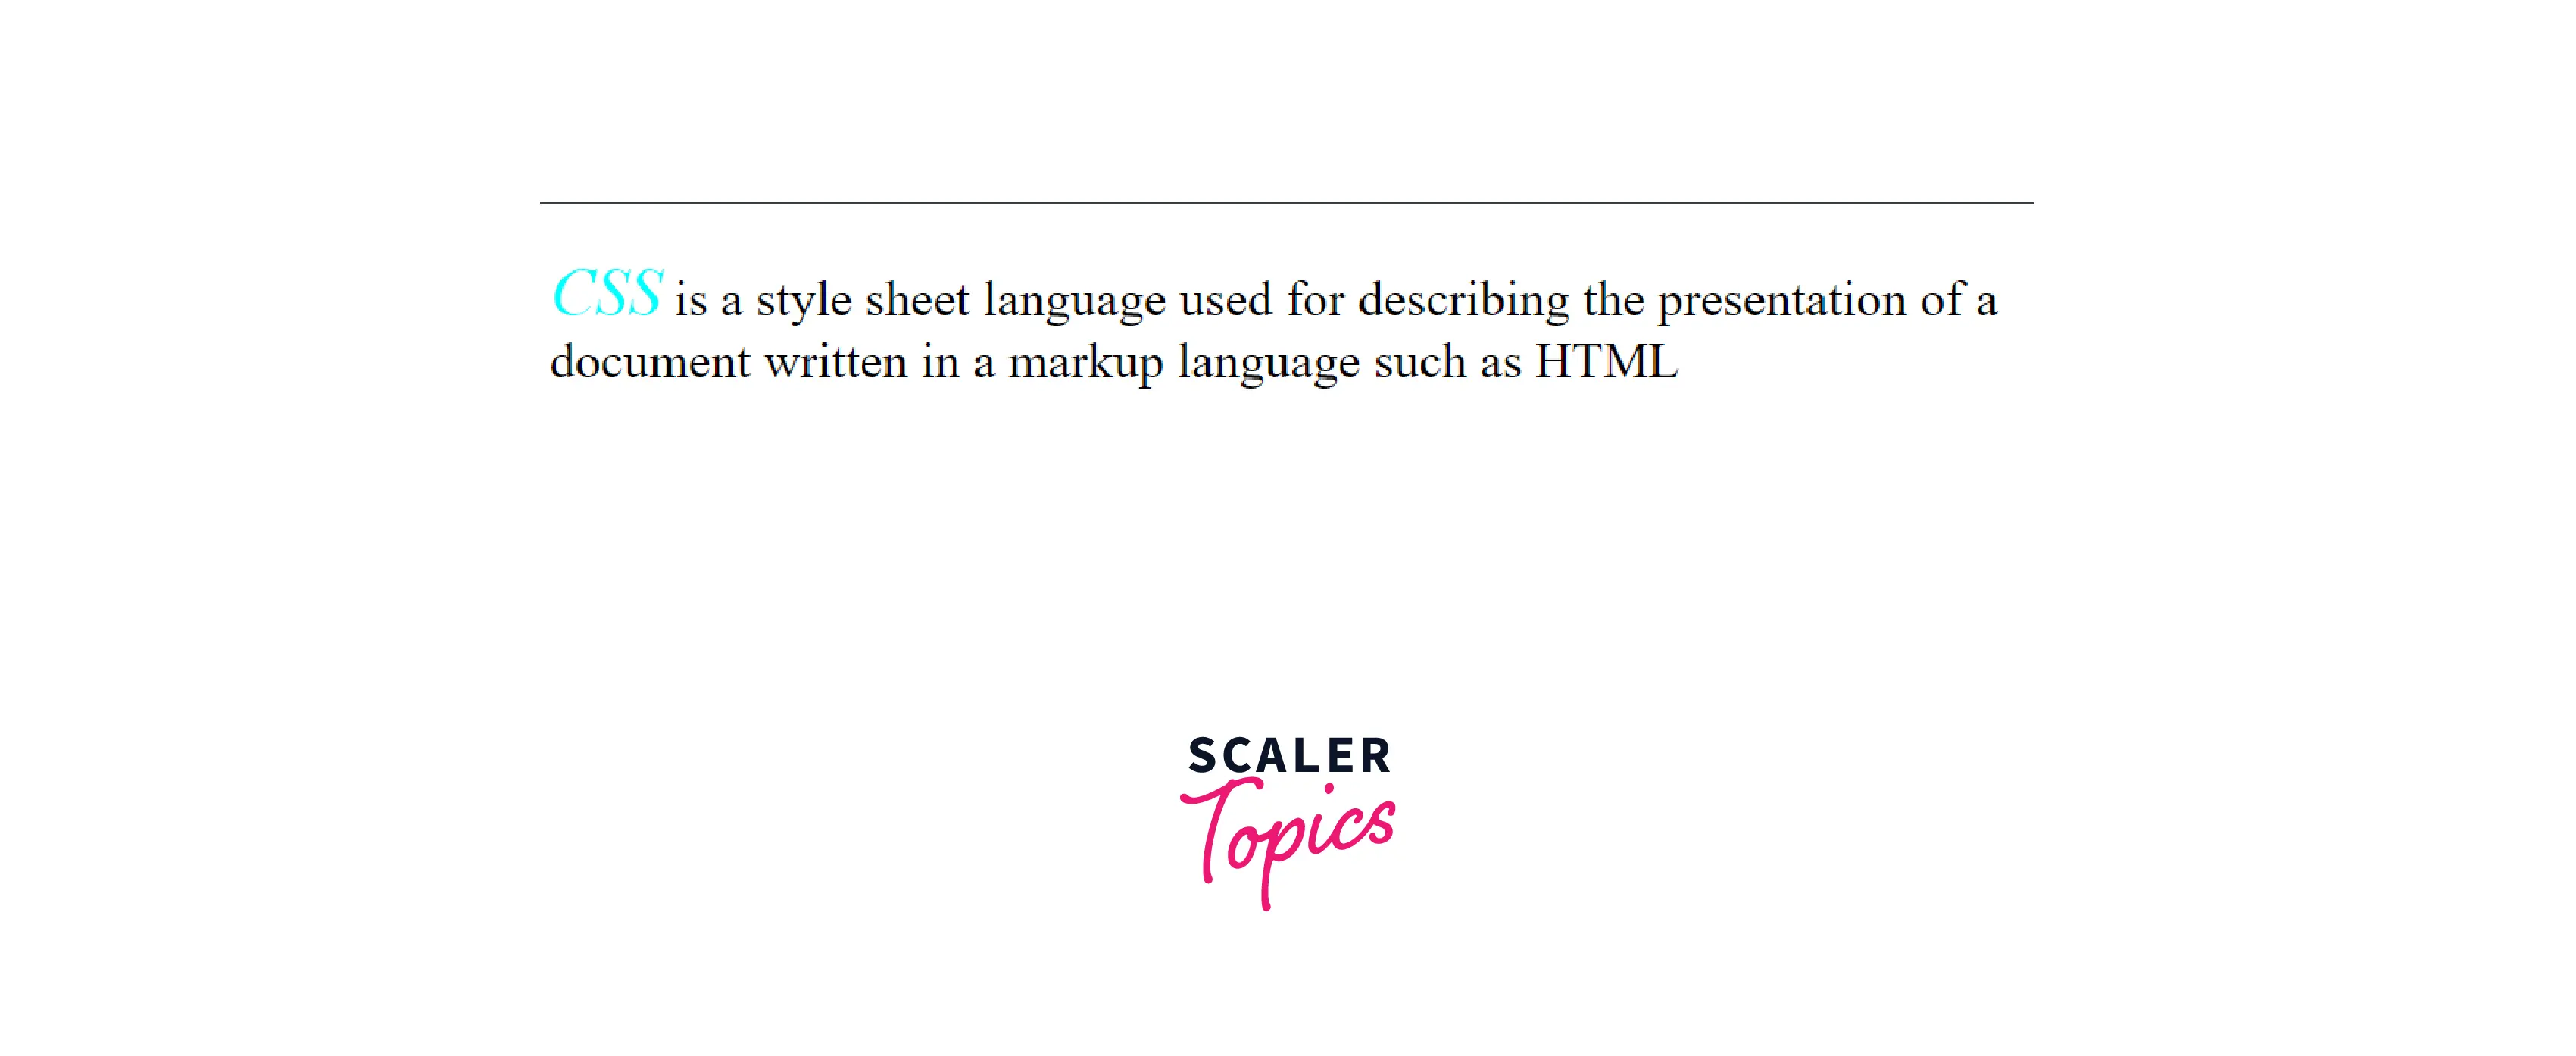
a. style Attribute with abbr HTML Element
- abbr tag is used with an abbreviation or acronym.
- The title attribute of the abbr tag provides an expansion or description of the abbreviation or acronym.
Example
Output
b. Using Different Methods to Achieve the Same Result
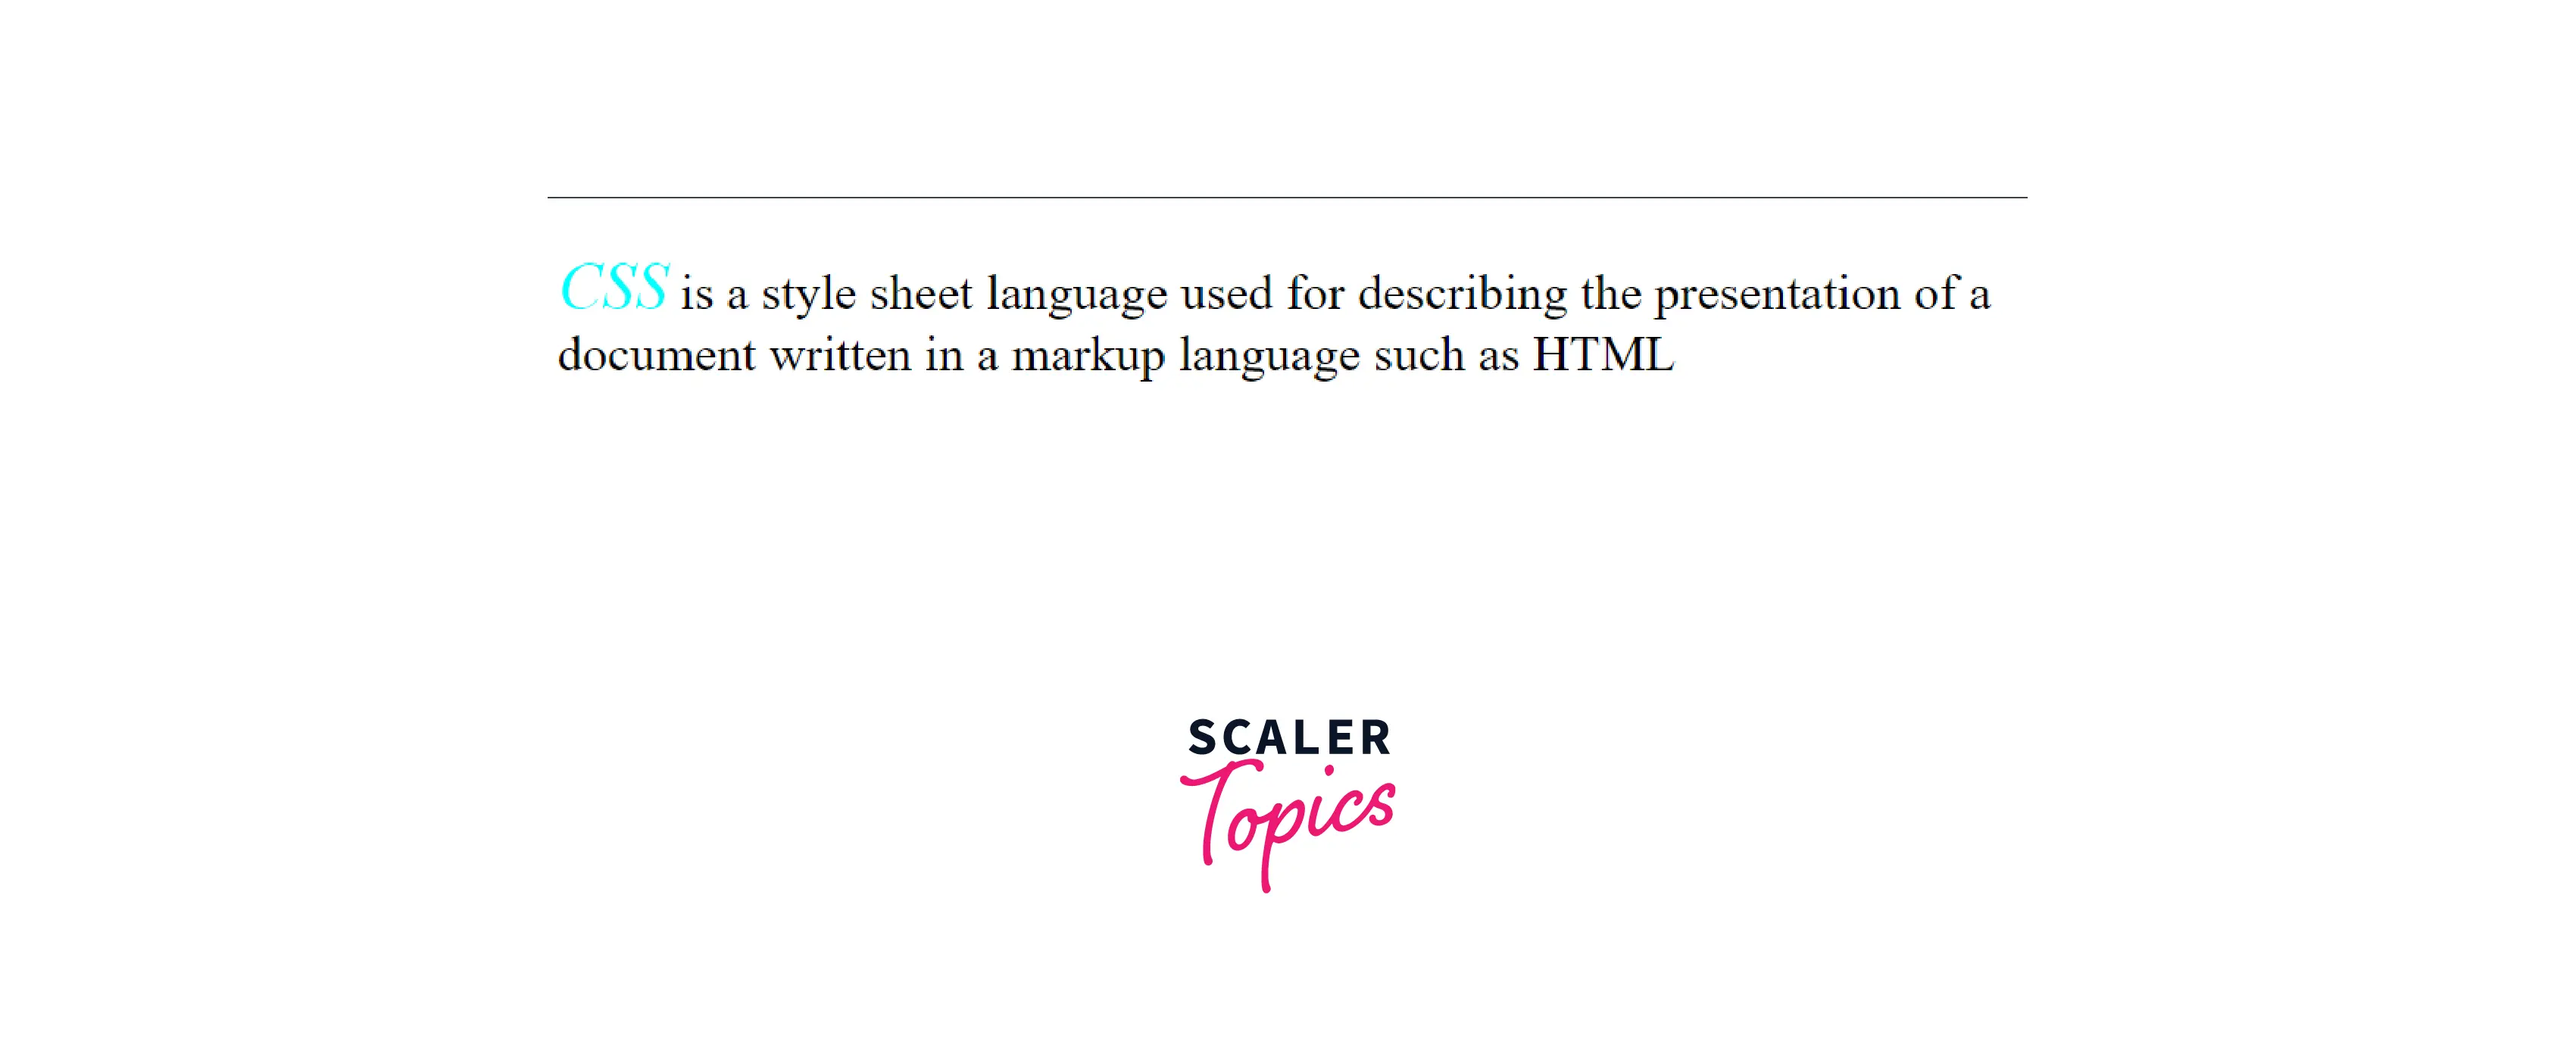
Here we are going to use an internal stylesheet to apply the same CSS we applied in the above example.
Example 1:
Output
Example 2:
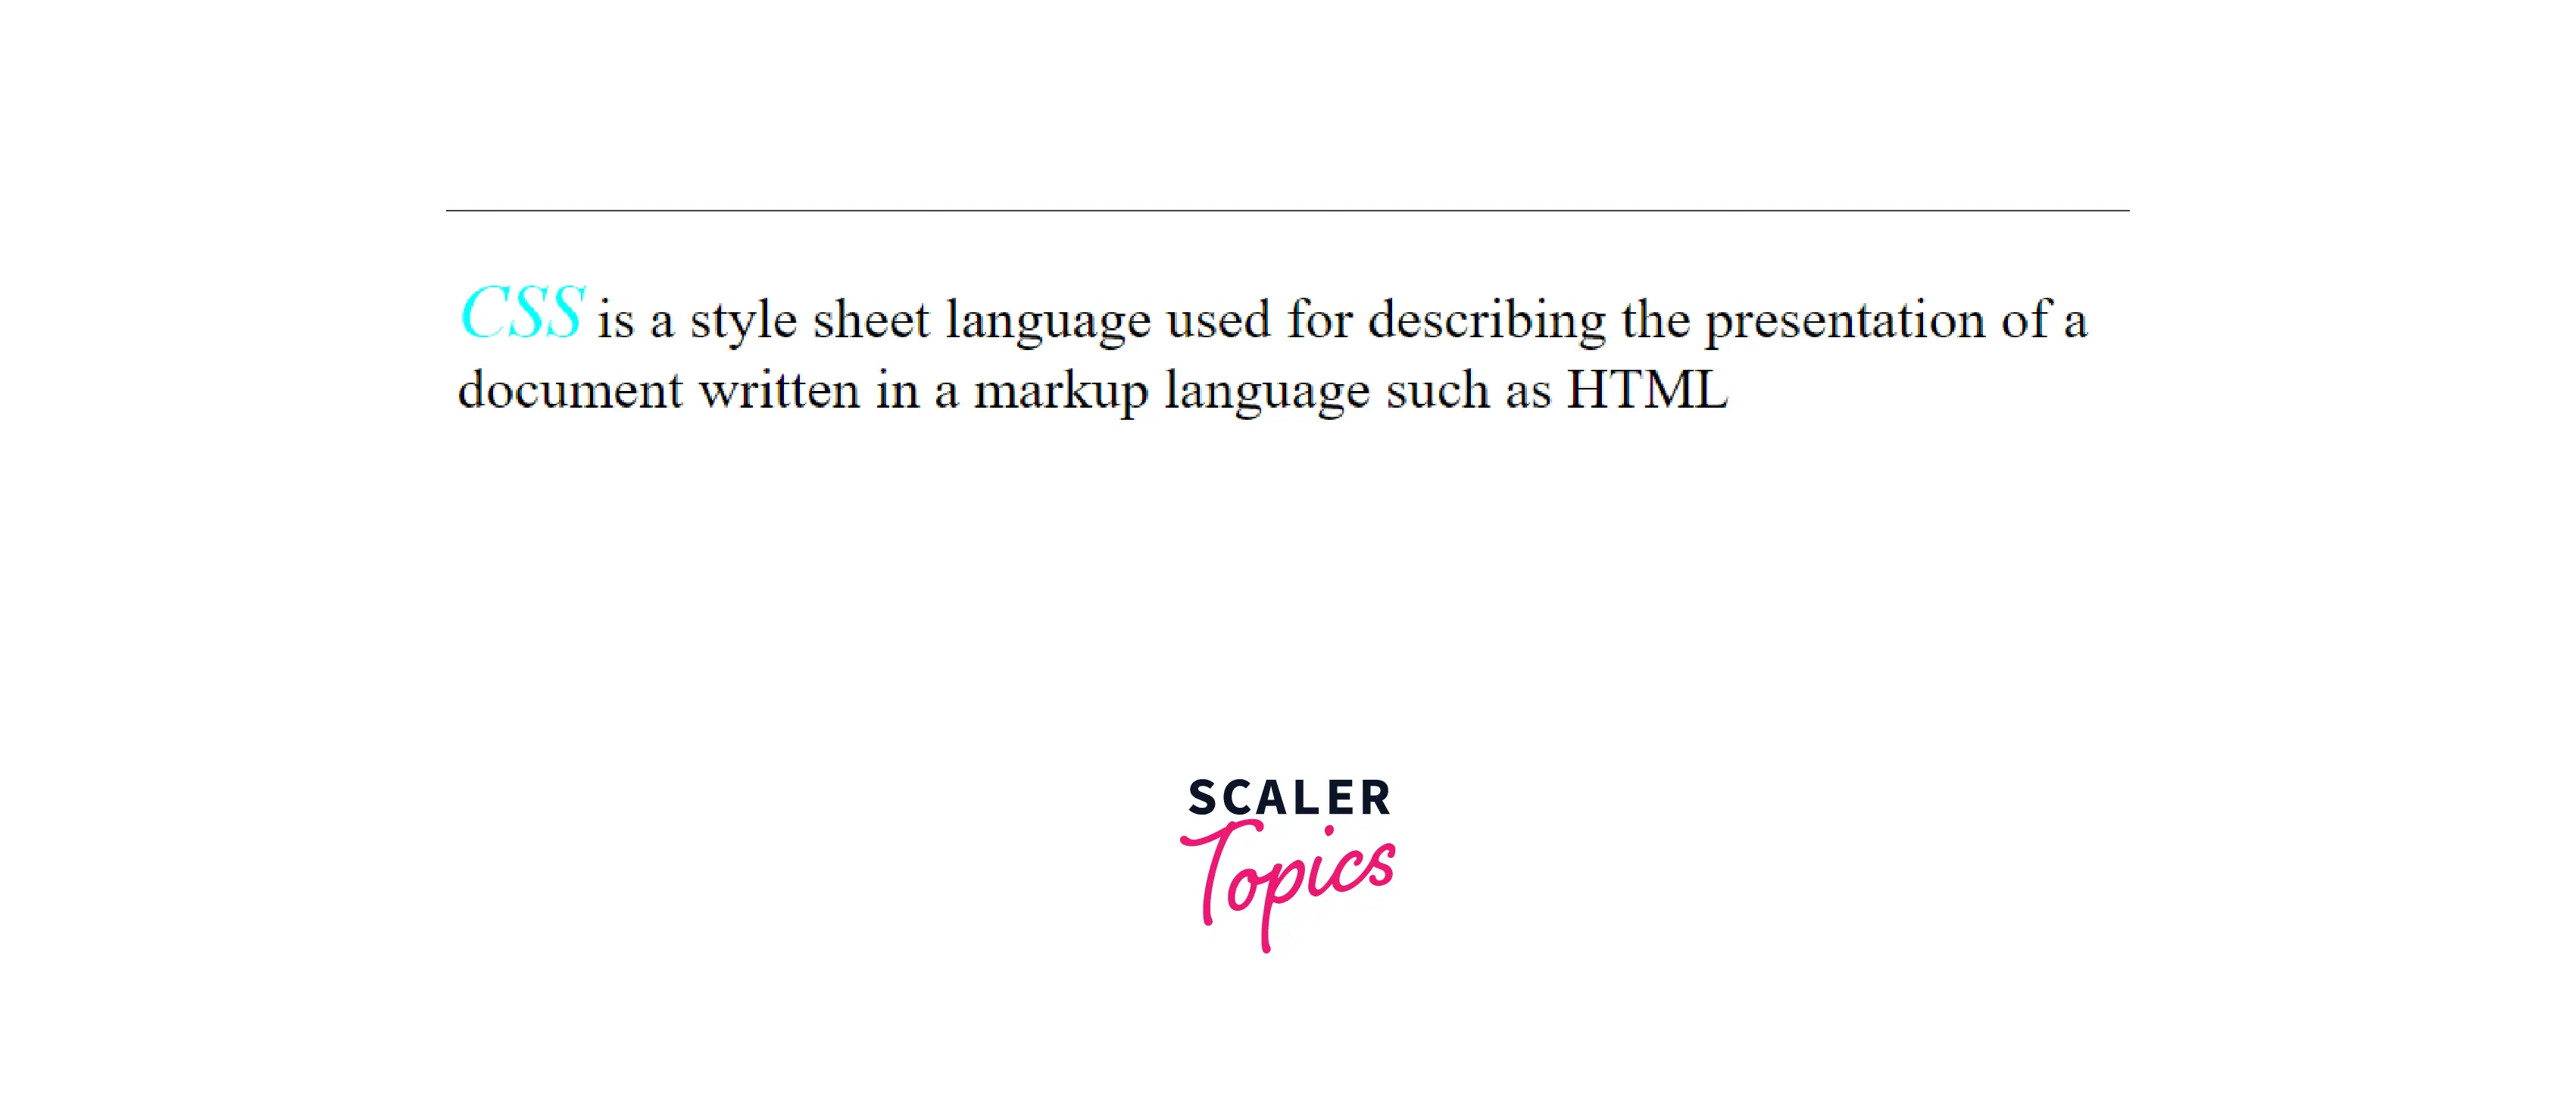
Here we are using the external stylesheet method with a link tag to apply the same CSS as above.
HTML:
CSS:
Output
Example 3:
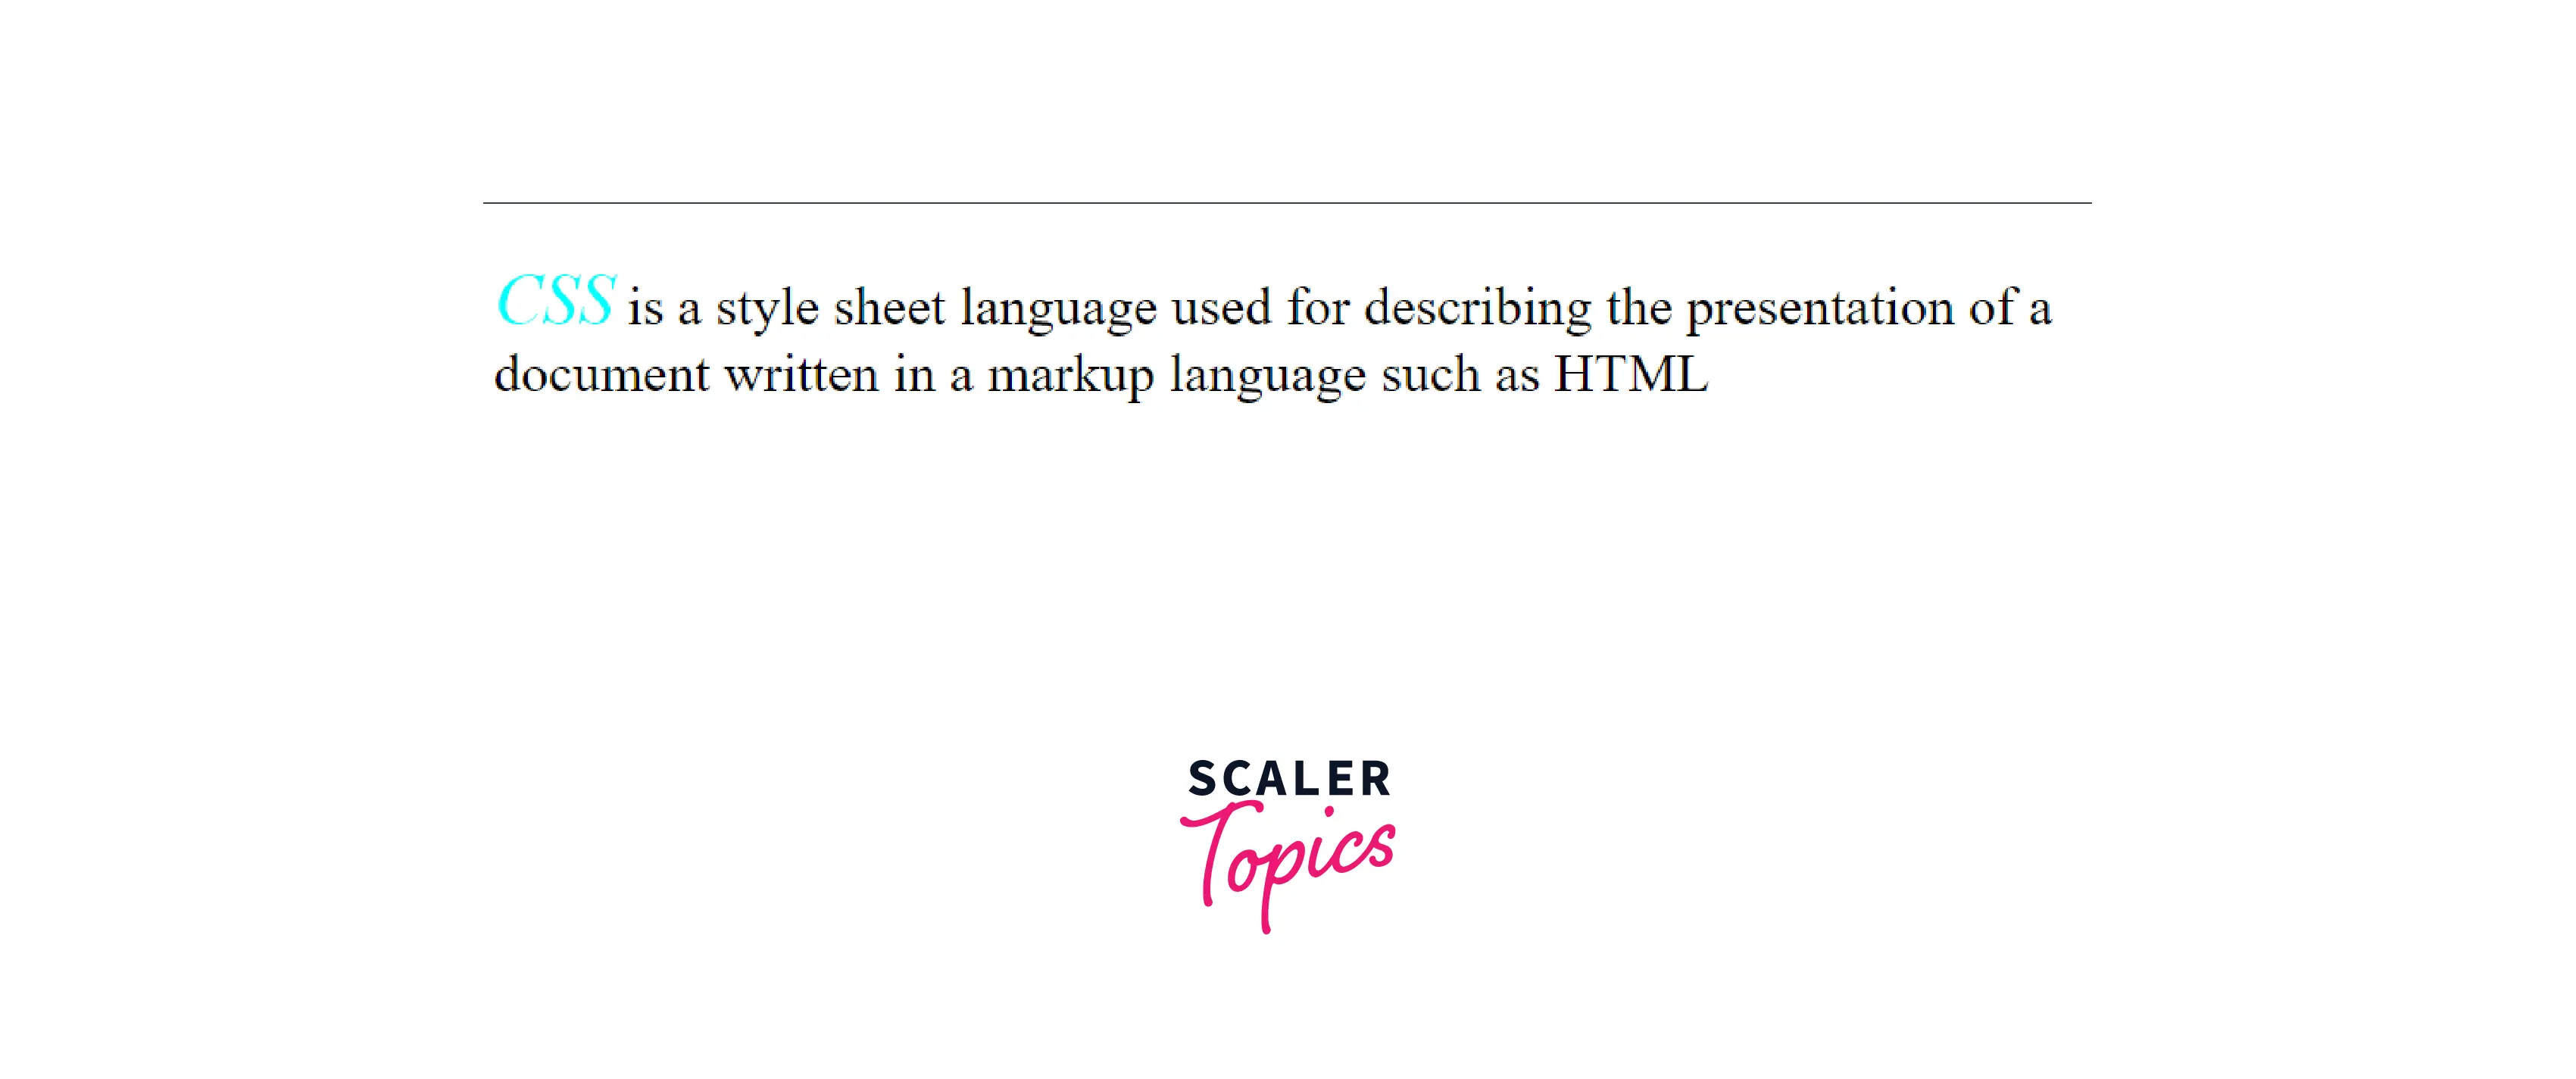
Here we are using the external stylesheet method with @import to apply the same CSS as above.
HTML:
CSS:
Output
Supported Browser
- Google Chrome
- Firefox
- Safari
- Opera
- Edge
- Internet Explorer
Learn More
If you want to learn more about HTML style tags and other HTML tags and CSS, you can check the following articles on scaler topics :
Conclusion
In this article, we learned about style attribute in HTML and their importance.
Let's see in brief :
- The style attribute of HTML is used to apply CSS to an HTML element through the inline method.
- The style attribute will override any style set globally.
- Style attribute has multiple properties through which a developer can affect various aspects of an HTML element in many ways like
- font color
- font size
- background-color
- background-image
- margin
- padding, etc.
- We learned about multiple ways to add a stylesheet in our HTML document :
- Inline Style
- Internal Stylesheet
- External Stylesheet with the link tag
- External Stylesheet with @import tag
