Tab Navigator
Overview
Tab Navigator in React Native is a library that provides a tab-based navigation component for your React Native app. It is part of React Navigation, a popular and powerful navigation solution for React Native.
Tab navigator supports both top and bottom tab bars, including custom tab components. It efficiently manages routing, state, transitions, and animations. Additionally, it seamlessly integrates with other navigators like stack, drawer, or modal navigators. With its customizable and flexible nature, you can easily configure the appearance and behavior of your tabs, including icons, labels, colors, and styles.
Introduction
To use Tab Navigator in React Native, we need to understand some basic concepts and terminology:
- Navigator: It is a component that manages the navigation state and renders the appropriate screen or view for your app. It can also provide a navigation UI, such as a header or a tab bar.
- Screen: It is a component that represents a single view or page in your app. It can contain any UI elements or logic that you want to display or execute.
- Route: It is an object that identifies a screen and its parameters. It can also contain nested routes for nested navigators.
- Navigation Prop: It is an object that is passed to every screen component by the navigator. It contains methods and properties that allow you to navigate between screens, access the navigation state, and perform other actions.
- TabBar: It is a component that displays a row of tabs at the bottom or top of the screen. Each tab represents a screen or view in your app and can have an icon and/or a label.
- Tab: It is a component that represents a single screen or view in your app. It can have an icon and/or a label and can be selected or unselected by the user.
Installation
To use Tab Navigator in React Native, we need to install two packages: React Navigation and Tab Navigator. We also need to install a Stack Navigator (If we want to use a stack of multiple screens within a tab). React Navigation is the core package that provides the basic navigation functionality and components for React Native. Tab Navigator is an add-on package that provides the tab-based navigation component for React Navigation.
To install these packages, we need to follow these steps:
1. Install React Navigation using npm or yarn:
2. Install the required dependencies for React Navigation using npm or yarn:
3. Install Tab Navigator using npm or yarn:
4. Install Stack Navigator (optional)
5. Import the required modules in our app entry point file (usually App.js):
Minimal Example of Tab-based Navigation in React Native
To create a minimal example of tab-based navigation in React Native, we need to follow these steps:
1. Define some screen components that represent the views or pages in our app. For example:
2. Create a tab navigator using the createBottomTabNavigator function. For example:
The createBottomTabNavigator function returns a Tab object that contains two components: a Tab.Navigator component and a Tab.Screen component.
3. Render the Tab.Navigator component inside the NavigationContainer component. For example:
The NavigationContainer component is a wrapper that provides the navigation context and state for our app. The Tab.Navigator component is a container that renders the tab bar and the corresponding screen for each tab.
4. Render the Tab.Screen components inside the Tab.Navigator component. For example:
The Tab.Screen components are the children of the Tab.Navigator component that define the screens or views for each tab. Each Tab.Screen component has two required props: name and component. The name prop is a string that identifies the screen and its route. The component prop is a React component that renders the screen.
5. Run our app on our Android device or emulator and/or iOS device or simulator. We should see a tab bar at the bottom of the screen with two tabs: Home and Settings. We can switch between the tabs by tapping on them and seeing the corresponding screen for each tab.
Adding Badges to Tab Icons
To add badges to tab icons, we need to follow these steps:
1. Install React Native Elements library:
This library has a peer dependency react-native-vector-icons, make sure to install that as well using npm install/yarn add react-native-vector-icons For a complete installation guide and manual installation steps for Android and iOS, please refer: React Native Vector Icons
2. Import the Icon and Badge components from @rneui/themed:
The Icon component is a wrapper that renders an icon from various icon sets, such as Material Icons, Font Awesome, etc. The Badge component is a wrapper that renders a small circle with some text or number inside it.
3. Define a custom tab icon component that renders an icon and a badge. For example:
The TabIcon component is a functional component that takes three props: name, color, and badgeCount. The name prop is a string that specifies the icon name from the Material Icons set. The color prop is a string that specifies the icon color. A badgeCount prop is a number that specifies the badge value.
The TabIcon component renders an Icon component with the given name, color, and size. It also renders a Badge component with the given value if the badge count prop is greater than zero. The Badge component is positioned absolutely on top of the Icon component using some styles.
4. Pass the TabIcon component as the tabBarIcon prop of each Tab. Screen component. For example:
The tabBarIcon prop is a function that returns a React component that renders the tab icon. It receives an object as an argument that contains some properties, such as color, focused, size, etc. We can use these properties to customize the tab icon component.
In this example, we pass the TabIcon component as the tabBarIcon prop of each Tab. Screen component. We pass the name, color, and badgeCount props to the TabIcon component. We set the badge count prop to 3 for the Home tab and 0 for the Settings tab.
5. Run our app on our Android device or emulator and/or iOS device or simulator.
We should see a tab bar at the bottom of the screen with two tabs: Home and Settings. Each tab has an icon and a badge. The Home tab has a badge with the value 3 and the Settings tab has no badge.
Switching Between Tabs
We can simply switch between tabs by tapping on the icon of the tab we want to navigate. We can also achieve this programmatically.
To switch between tabs programmatically, we need to use the navigation prop from useNavigation().
Now, within the main component of your screen, add the following line:
For clarity refer to the following code:
The navigate method takes a route name or an object as an argument and navigates to the screen that matches the route name or object.
If we want to pass some parameters to the Settings screen, we can use the following code:
We can access the parameters from the Settings screen using the route prop that is also passed to every screen component by the navigator. The route prop contains an object that identifies the screen and its parameters.
For example, if we want to display the username and email parameters from the Settings screen, we can use the following code:
A Stack Navigator for Each Tab
Sometimes, we may want to have a stack navigator for each tab, so that we can navigate between screens within a tab without losing the tab context. For example, we may want to have a Profile screen and an Edit Profile screen within the Settings tab.
To create a stack navigator for each tab, we need to follow these steps:
1. Import the createStackNavigator function from @react-navigation/stack:
The createStackNavigator function returns a Stack object that contains two components: a Stack.Navigator component and a Stack.Screen component.
2. Create a stack navigator using the createStackNavigator function. For example:
3. Render the Stack.Navigator component inside each Tab.Screen component. For example:
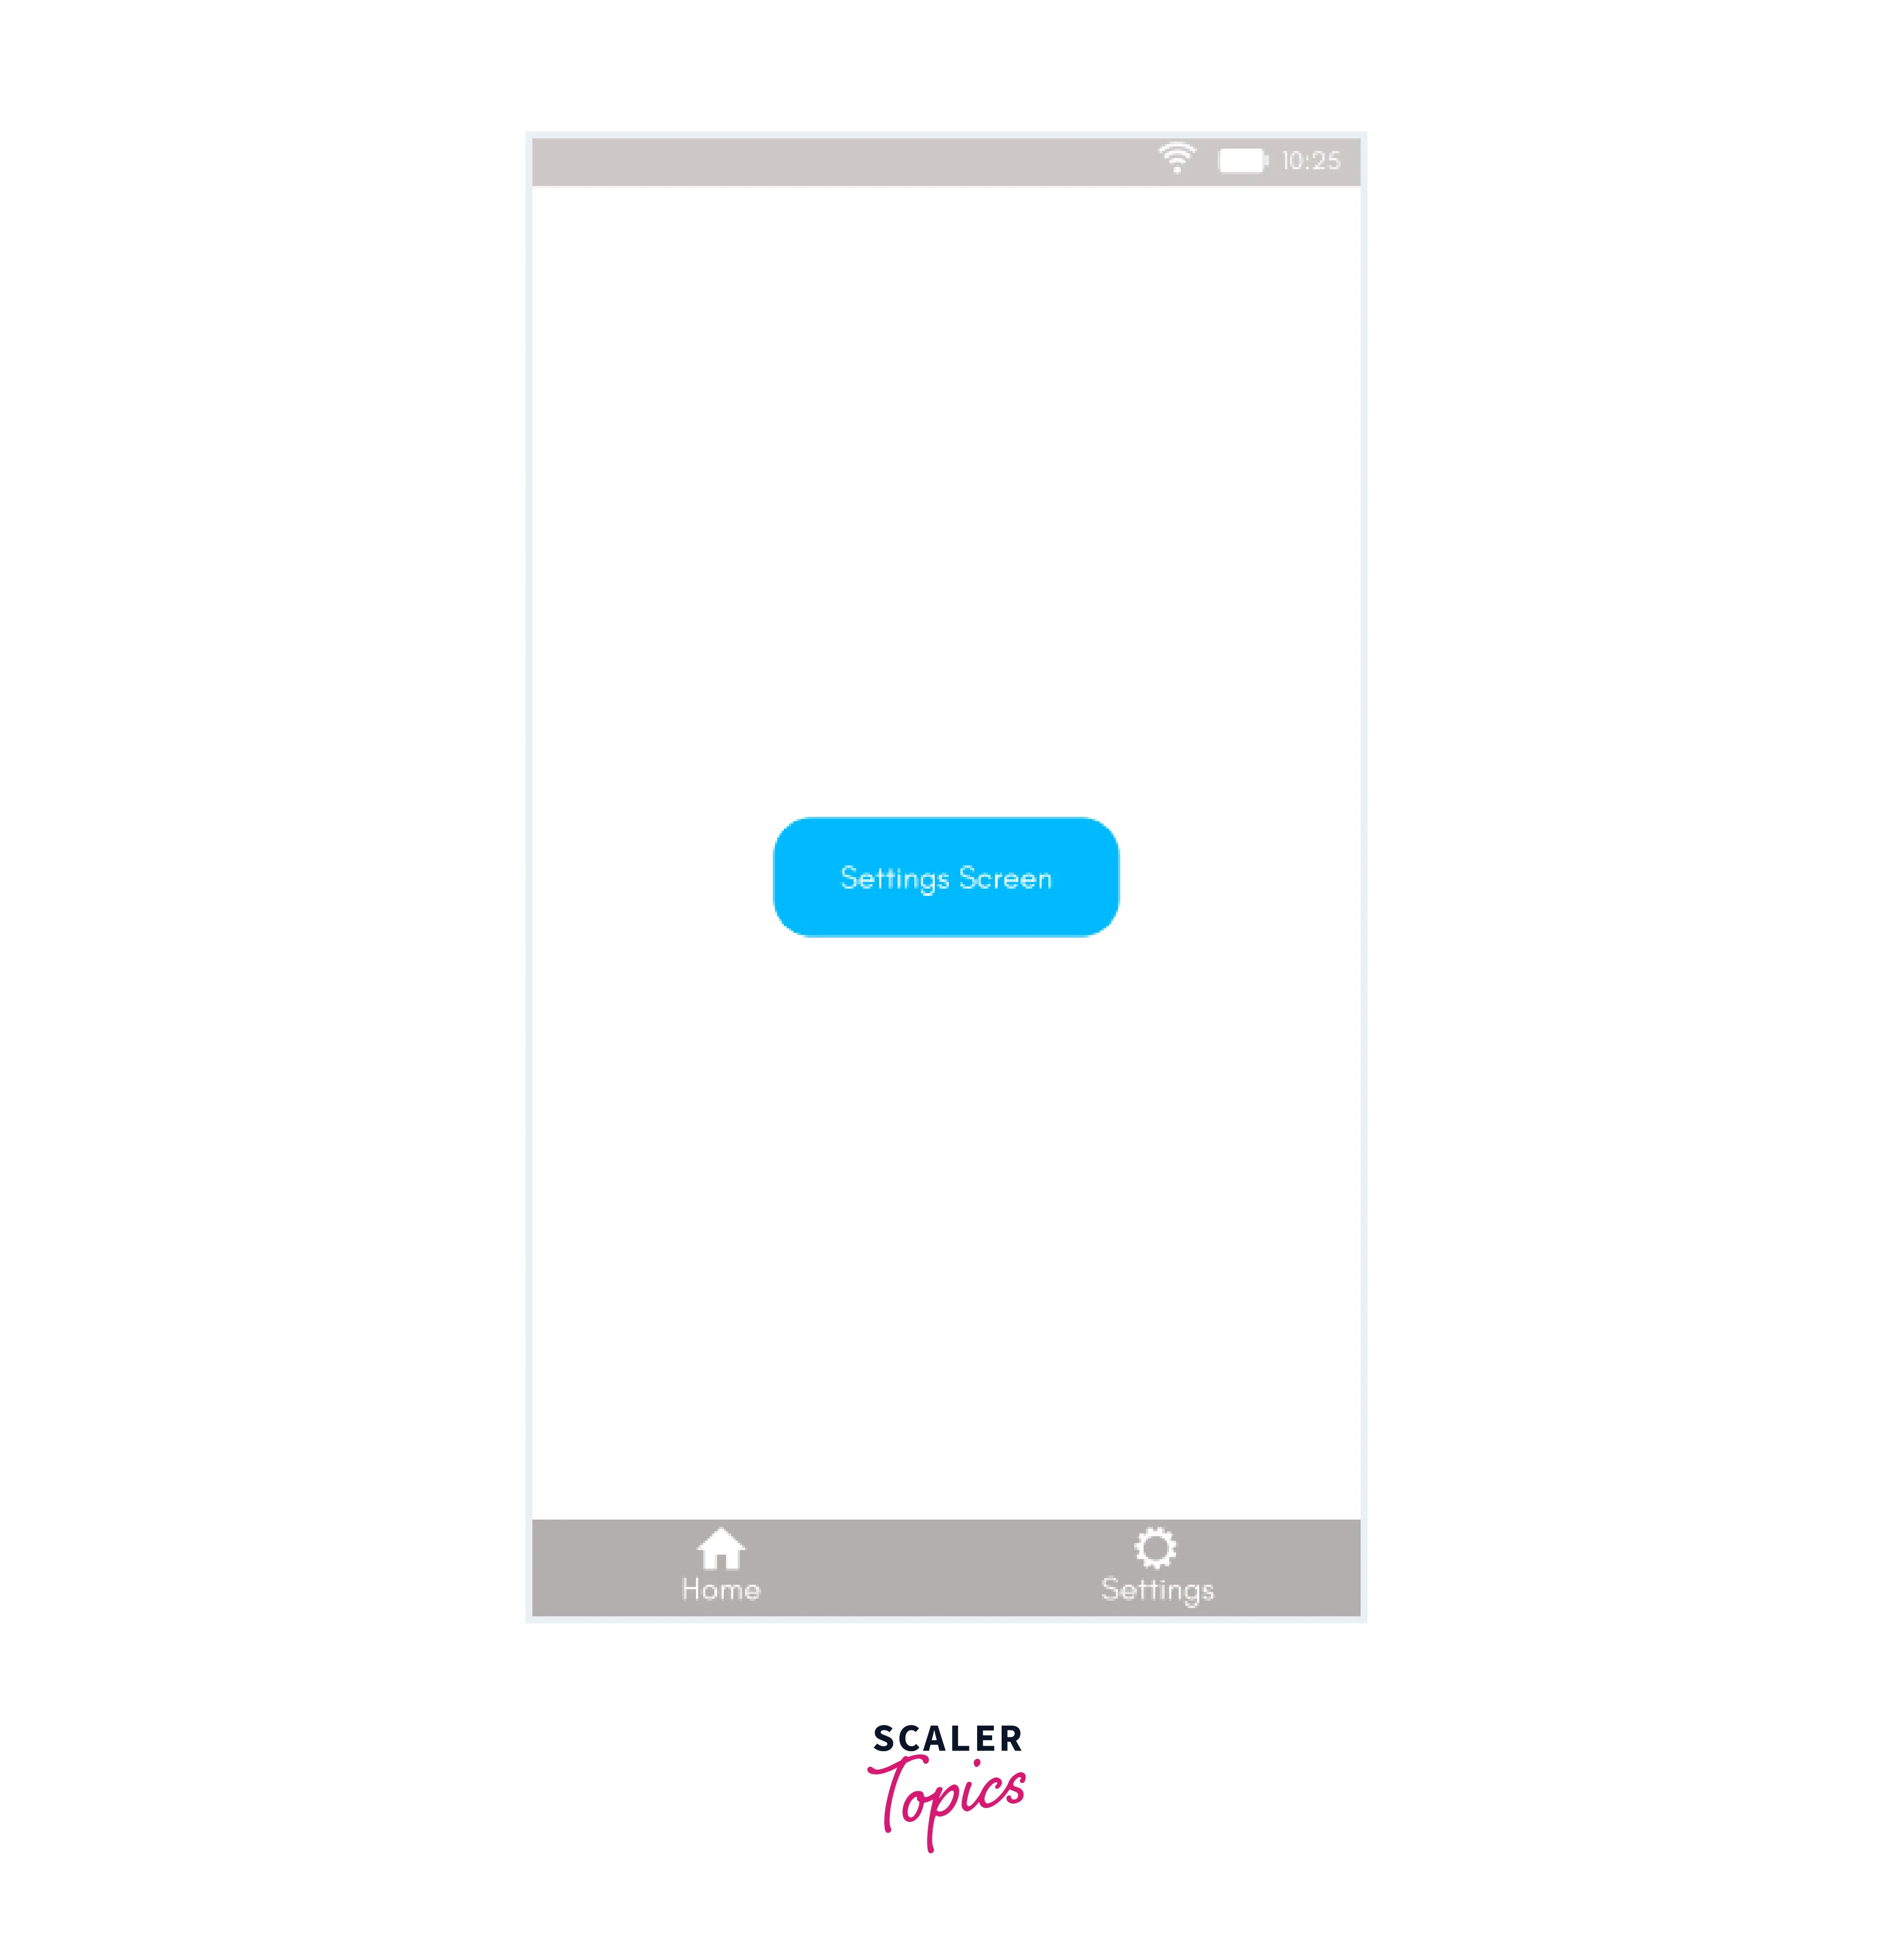
In this example, we render a Stack.Navigator component inside the Settings Tab.Screen component. We name it SettingsStack and define it as a separate component. You can expect an output as shown below:
4. Render the Stack. Screen components inside each Stack.Navigator component. For example:
In this example, we render three Stacks.Screen components inside the Settings Stack.Navigator component. Each Stack.Screen component has two required props: name and component. The name prop is a string that identifies the screen and its route. The component prop is a React component that renders the screen.
5. Define some screen components that represent the views or pages within each tab. For example:
6. Run our app on our Android device or emulator and/or iOS device or simulator.
We should see a tab bar at the bottom of the screen with two tabs: Home and Settings. The Home tab has a single screen: Home Screen. The Settings tab has a stack of screens: Settings Screen, Profile Screen, and Edit Profile Screen. We can navigate between the screens within the Settings tab by using the header back button or the navigation prop methods.
Why do We Need a Tab Navigator?
Tab Navigator is a useful and convenient way to implement tab-based navigation in our React Native app. It provides several advantages, such as:
- It simplifies the navigation logic and state management of our app, as it handles the routing and switching of our tabs for us.
- It improves the user experience and engagement of our app, as it allows users to access different screens or views with a single tap and see the current context and state of each tab.
- It offers a lot of customization and flexibility, as it allows us to configure the appearance and behavior of our tabs, such as icons, labels, colors, styles, etc.
- It integrates well with other navigators, such as stack, drawer, or modal navigators, as it allows us to nest them within each tab or vice versa.
Conclusion
In this article, we have learned how to use Tab Navigator in React Native, a library that provides a tab-based navigation component for our React Native app.
We learned how to:
- Create a navigation container
- Create Tab screens
- Navigate between screens
- Send props to another screen
- Create stack screens for a tab screen
We hope that this article has helped you to understand the basics of Tab Navigator in React Native and how to use it in your app. If you have any questions or feedback, please feel free to leave a comment below. Thank you for reading!