Word Cloud in Python

What is Word Cloud?
You might have noticed, quite a lot of times, a cloud filled with lots of words in different sizes and frequencies. These word sizes represent the importance of each word in that cloud. This cloud is termed the tag cloud or the word cloud.

Word Cloud or Tag Clouds are a kind of visualization technique for texts. They help in visualizing different tags or words from websites, blogs, or databases. They contain keywords that show the context of the webpage from which they are made. And finally, these keywords are all clustered together to form the word cloud.
The words in a word cloud are made of different font sizes and colours. This kind of diverse representation generally reflects the importance of any particular word in the word cloud. For example, a word with larger font size in the word cloud depicts that the word might have high importance and also can also be one of the most frequently occurring words. Generally, the Word Cloud is a technique to show which words are the most frequent in the given text.
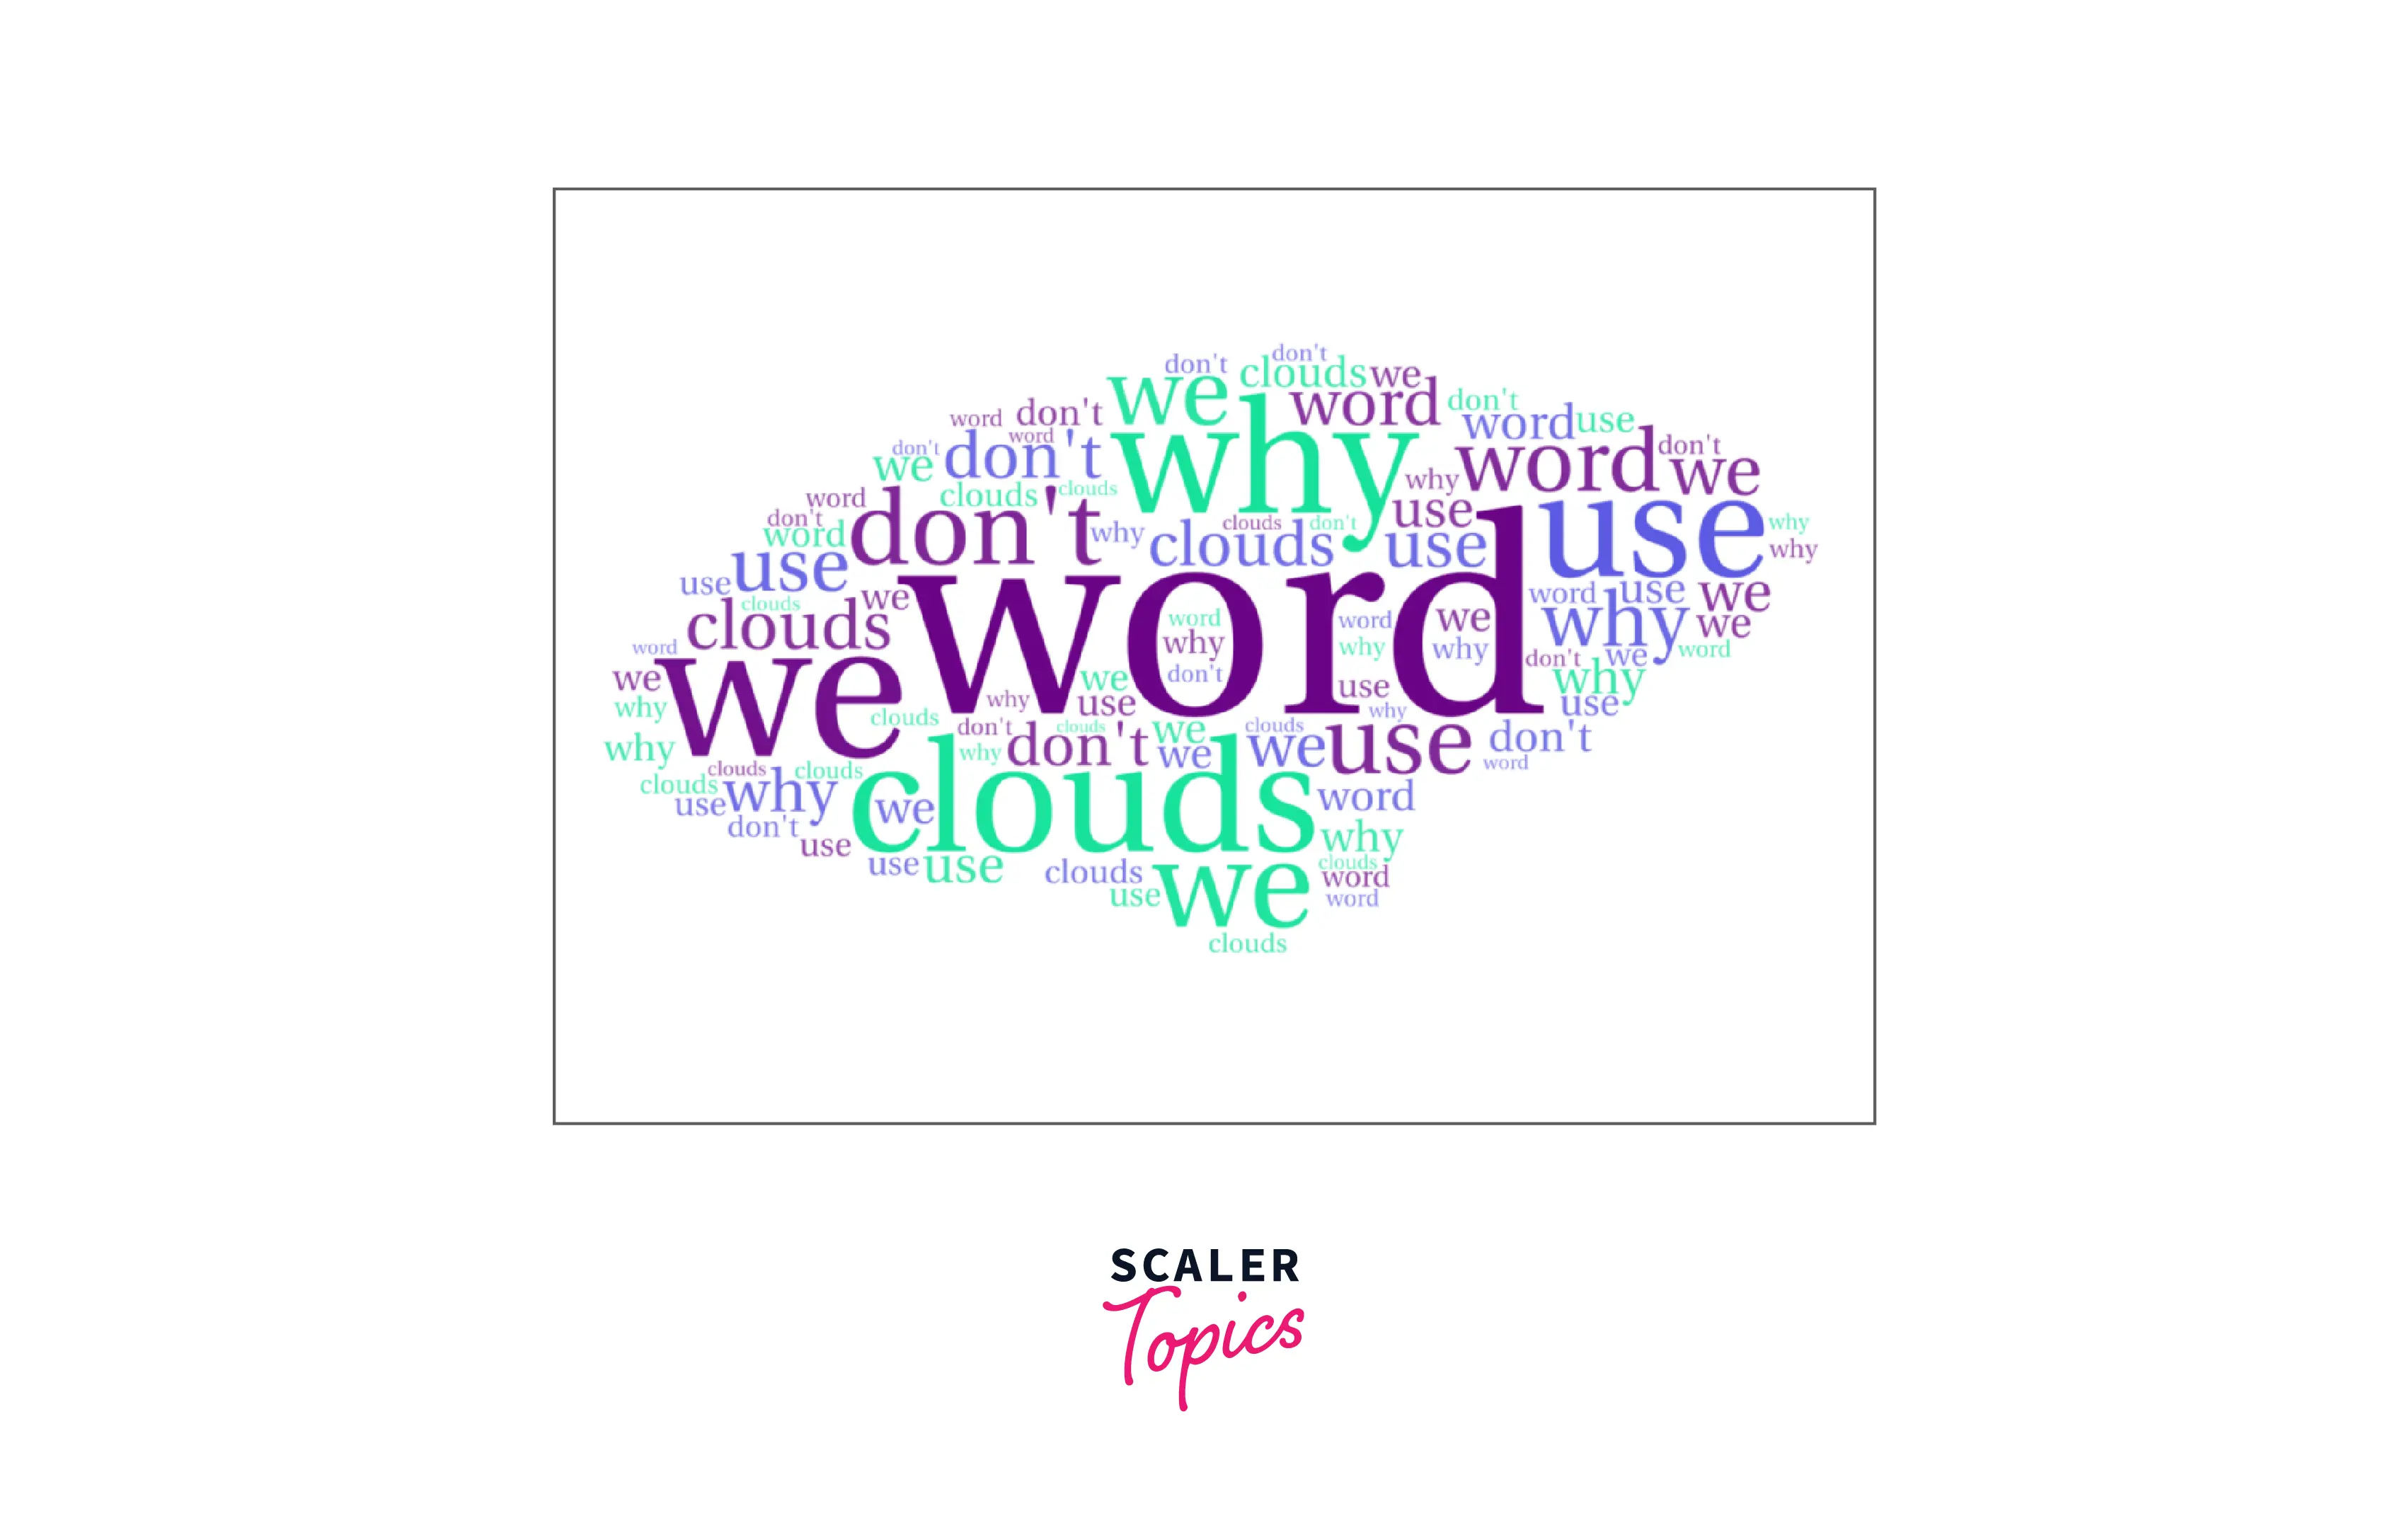
For example, the above image depicts a different-sized word cloud.
Though the frequency of the words plays a significant role in the word cloud, it does not always add to its significance. That means it might happen that a word cloud with many words looks very clumsy and become challenging to read. Hence it is always recommended that the word cloud should always be meaningful and transparent.
Pre-requisites for Generating a Word Cloud
To get started with working with word clouds in Python, we need to have some python libraries mandatorily installed into our system. Let us look into them.
-
pillow: The pillow library is a python package that enables image reading.
Syntax to install pillow:
-
wordcloud: The wordcloud package is a little word cloud generator in Python.
Syntax to install word cloud:
Generating Word Cloud in Python
As we have already learned above, the word cloud is basically a method to depict which words are actually the most frequent words present in the text given to us; now it's time for us to learn how to generate the word cloud!!
Before learning about any new library, we must refer to its documentation to learn the methods provided by it. So, let us look into a glimpse of its documentation. But how do you check the documentation? Its very simple; just enters the following command into your terminal:
Let's delve deeper into some of the parameters you can use to customize your word cloud:
-
width and height: These parameters specify the width and height of the word cloud image, in pixels.
-
background_color: This parameter sets the background color of the word cloud. You can specify it using color names (e.g., 'white', 'black') or in hexadecimal format (e.g., '#FFFFFF' for white).
-
max_words: This parameter sets the maximum number of words to be included in the word cloud. By default, it's set to 200.
-
stopwords: You can provide a list of words to be excluded from the word cloud. These are often common words like "the", "and", "is", etc.
-
mask: If you want your word cloud to take a specific shape, you can provide a mask image. The word cloud will fit inside the non-transparent regions of the image.
-
colormap: This parameter sets the color map to be used in the word cloud. You can choose from various predefined color maps or define your own. Popular choices include 'viridis', 'plasma', 'rainbow', etc.
-
contour_width and contour_color: These parameters allow you to add a contour to the word cloud. contour_width sets the width of the contour lines, and contour_color sets the color of the contour lines.
Now we will learn step-wise how to code the word cloud in python. For that, let us firstly install and import all of our necessary libraries in Python.
Step 1 - Importing Necessary Libraries:
Note: We do not need to install the OS library because it comes built-in in Python.
Also, please note that throughout the code snippets, we will be using an alias for the libraries pandas and numpy, such as pandas as pd and numpy as np, to avoid repeatedly writing the keyword "pandas" or "numpy" over and over again. This saves time and makes the code look neat.
Now, let us look at the dataset we will be using for this example. For this, we use the Youtube comments dataset from UCI Machine Learning Repository.
Step 2 - Loading our data frame:
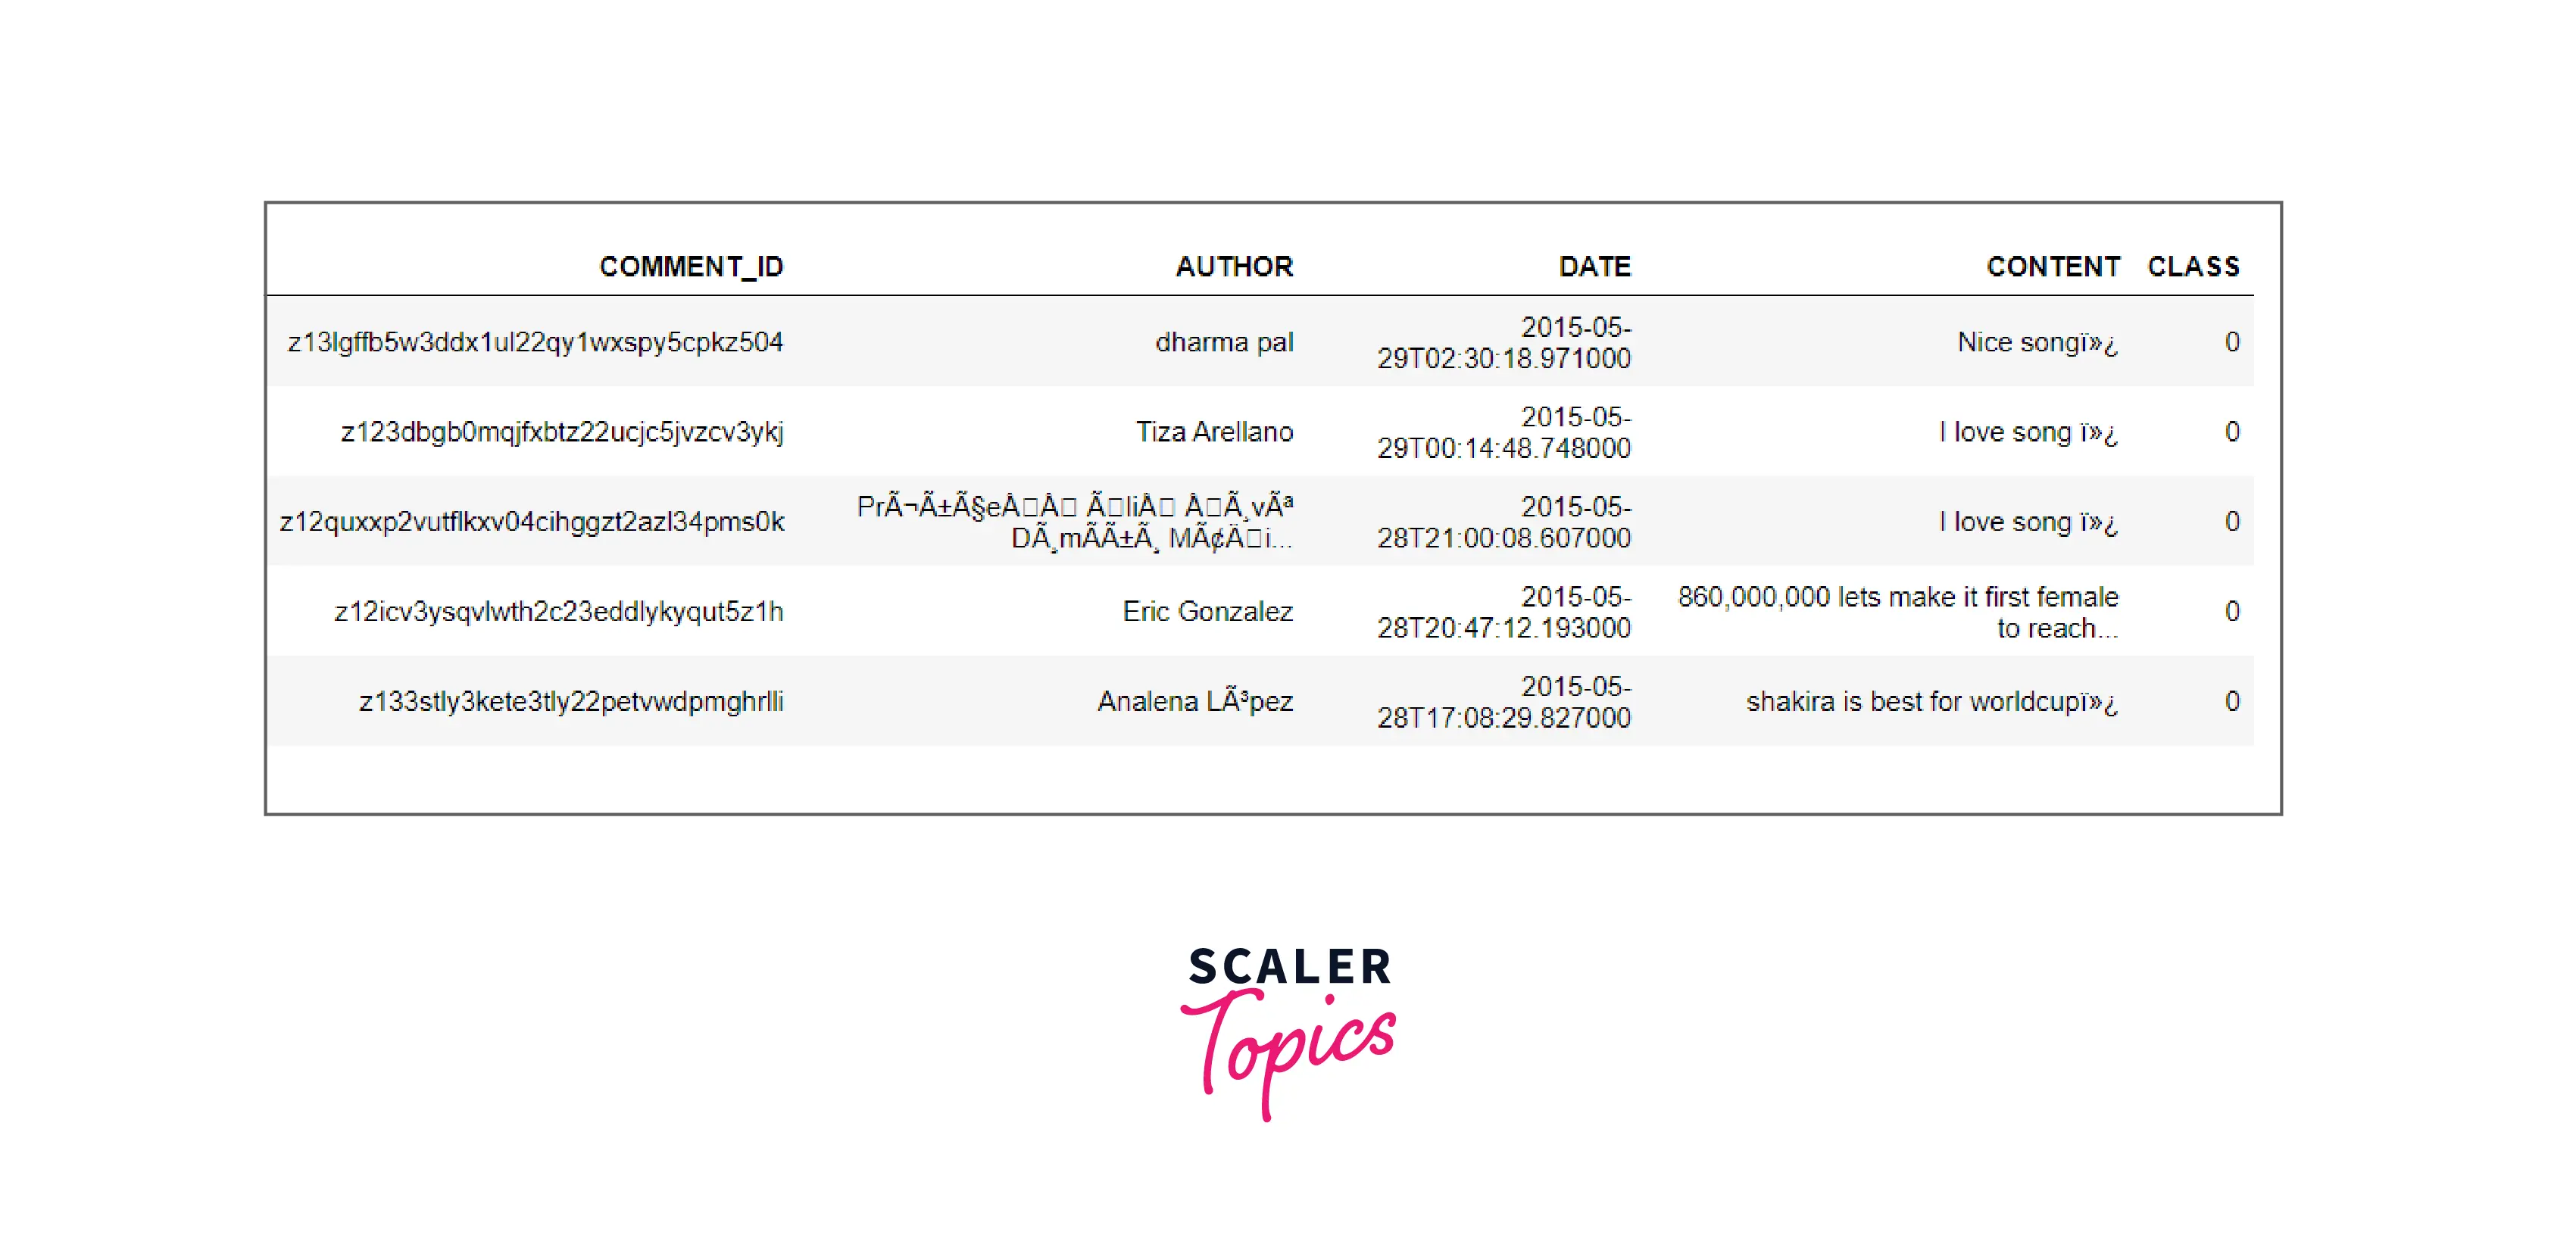
Output:

In the above code, we have tried to view our data set for the first five rows. Now, you would be familiar with the rows and columns our dataset may contain.
Note : You can also copy the data in your dataset using the df.to_clipboard() function. It will be copied exactly in table format and can be pasted over excel or google sheets.
Now, our next step would be to take all the individual comments from the data frame, split them, and then re-combine them after converting them into lowercase. Finally, join all the comments in the data frame. By doing so, we will be combining all comments into one big text and creating a big fat cloud to see which comments are the most common in these comments. Let us code for the step discussed above.
Step 3 - Combining all comments by splitting and converting them into lowercase:
Having done that, finally, it is time for us to convert our final_comments into a word cloud. For that, we will pass it to our word cloud, along with setting other parameters such as width, height, background colour, minimum font size, etc. Also, we will plot the word cloud using the matplotlib. figure function. We will be displaying the final image by using the matplotlib.figure. Let us see the code for the same.
Step 4 - Generate the wordcloud and display it using matplotlib:
Note : The interpolation = "bilinear" in plt.imshow is done to make the image appear more smooth.
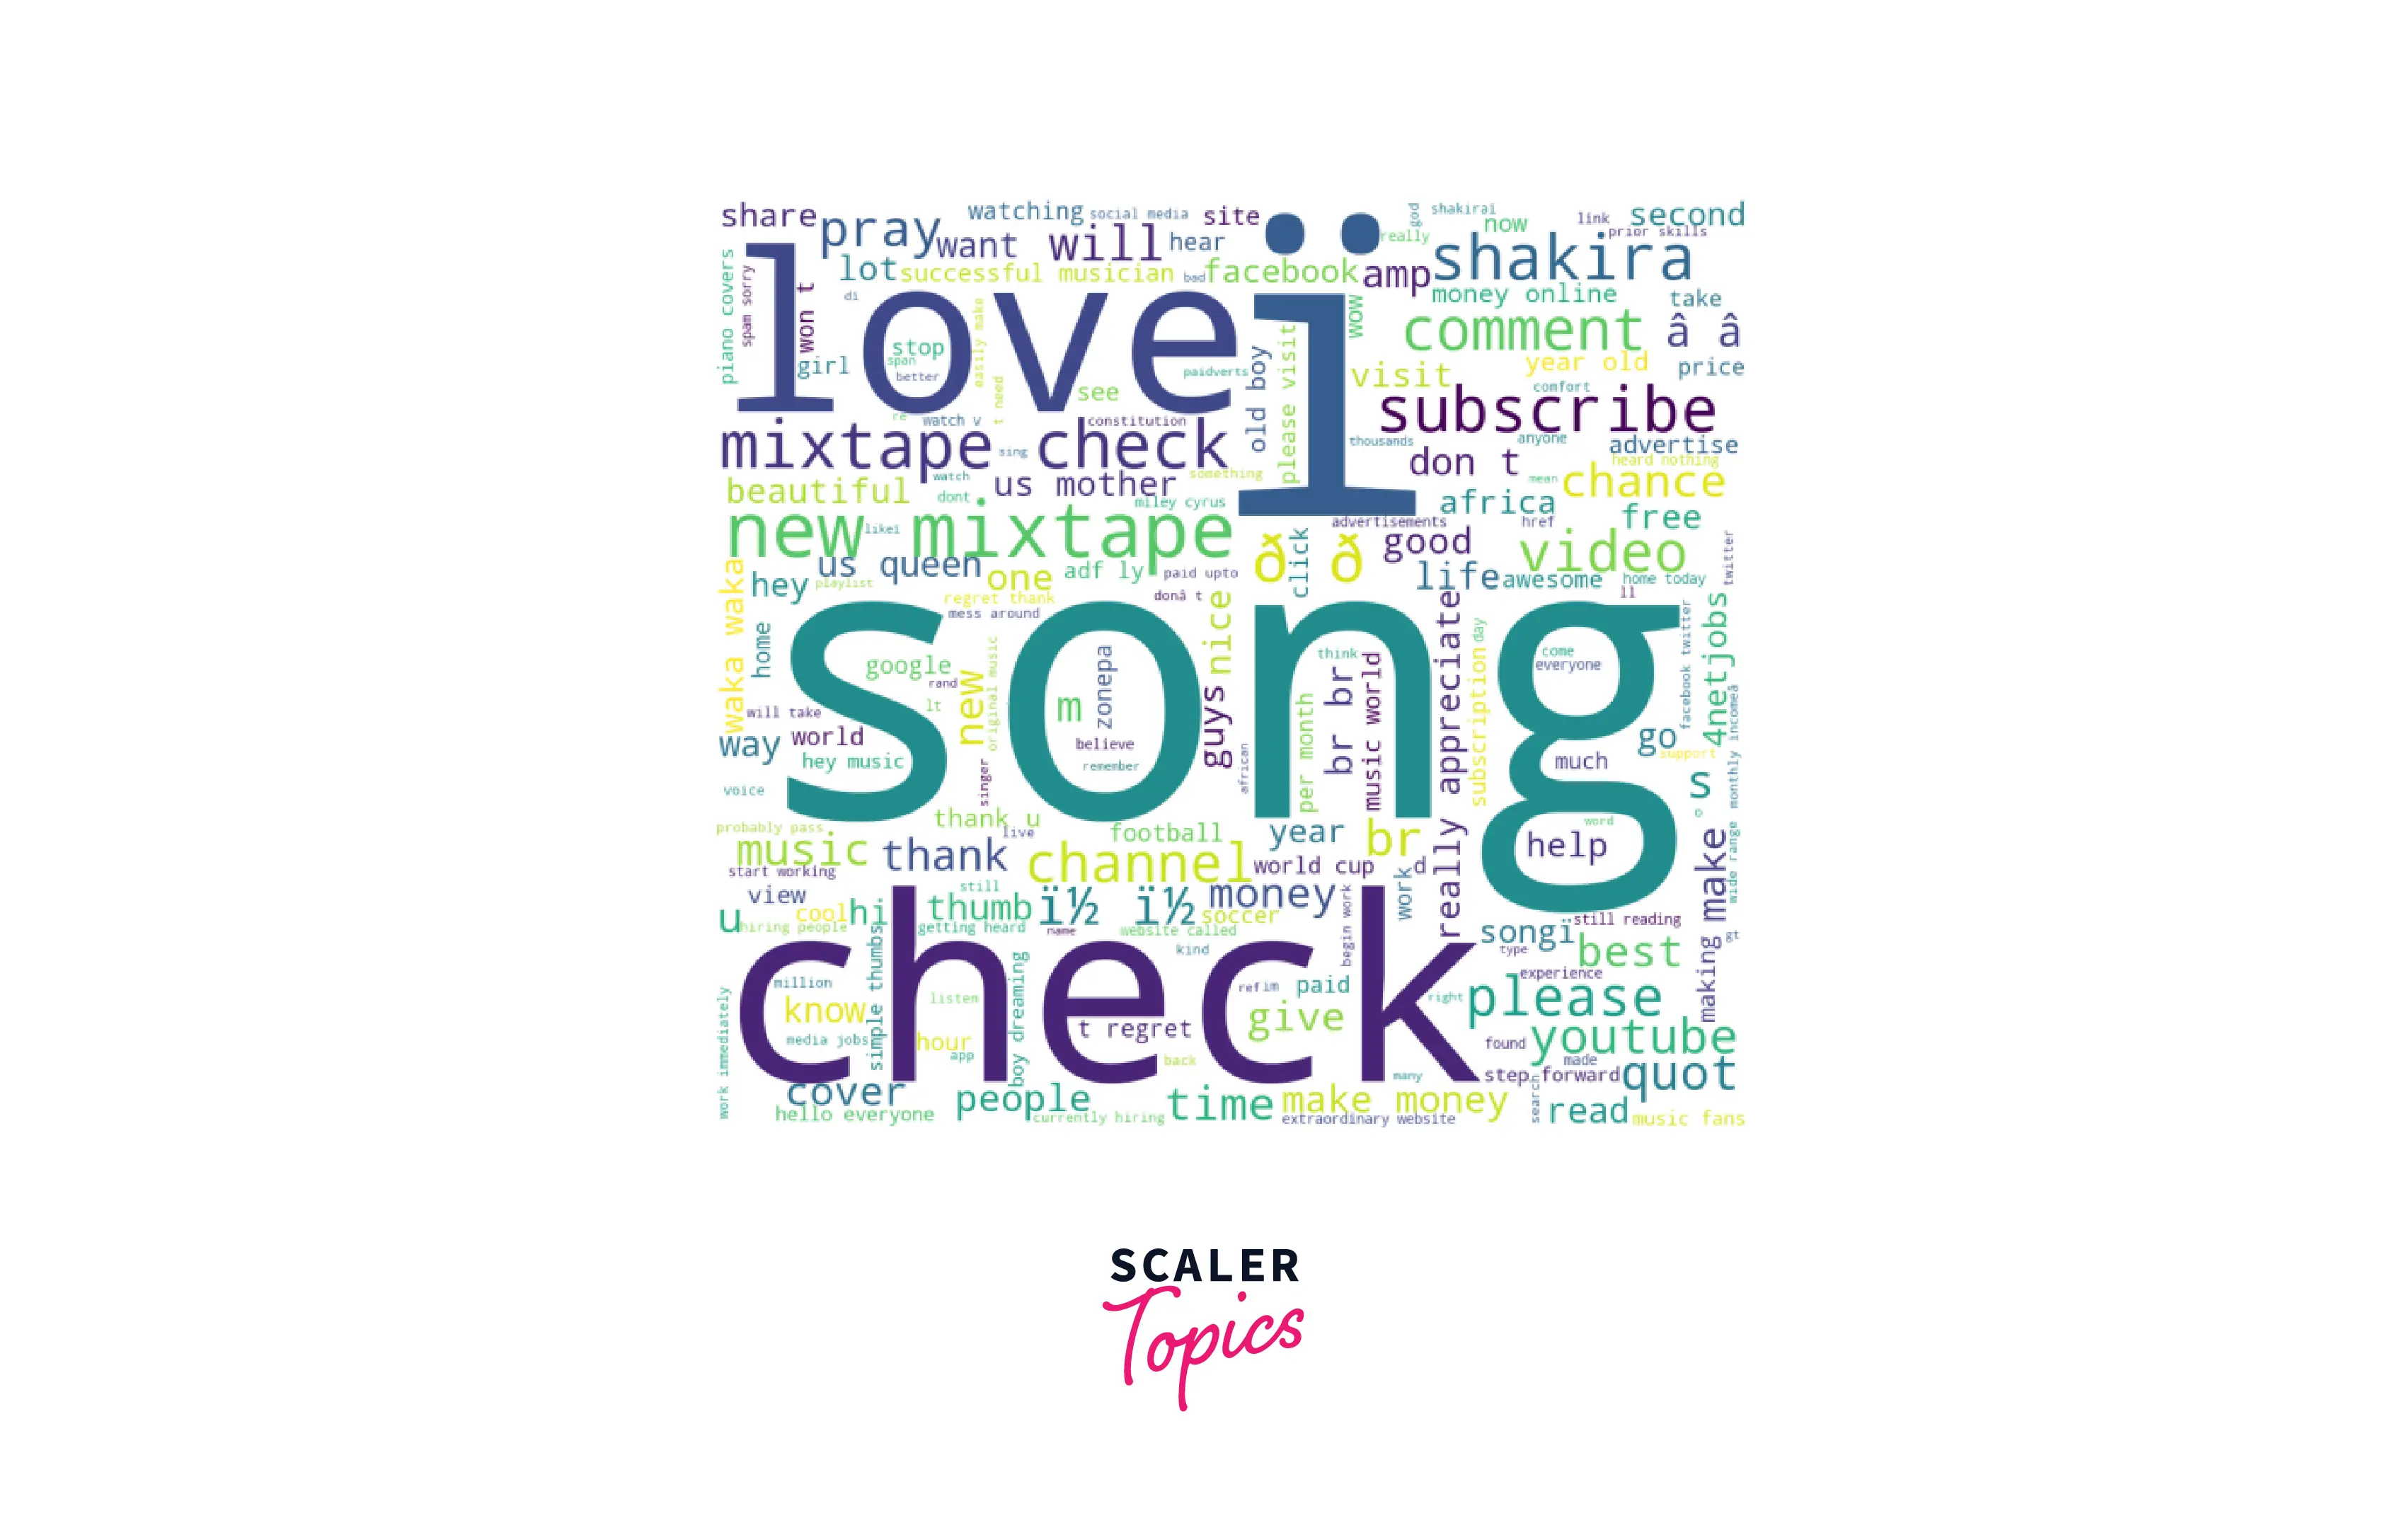
Output:

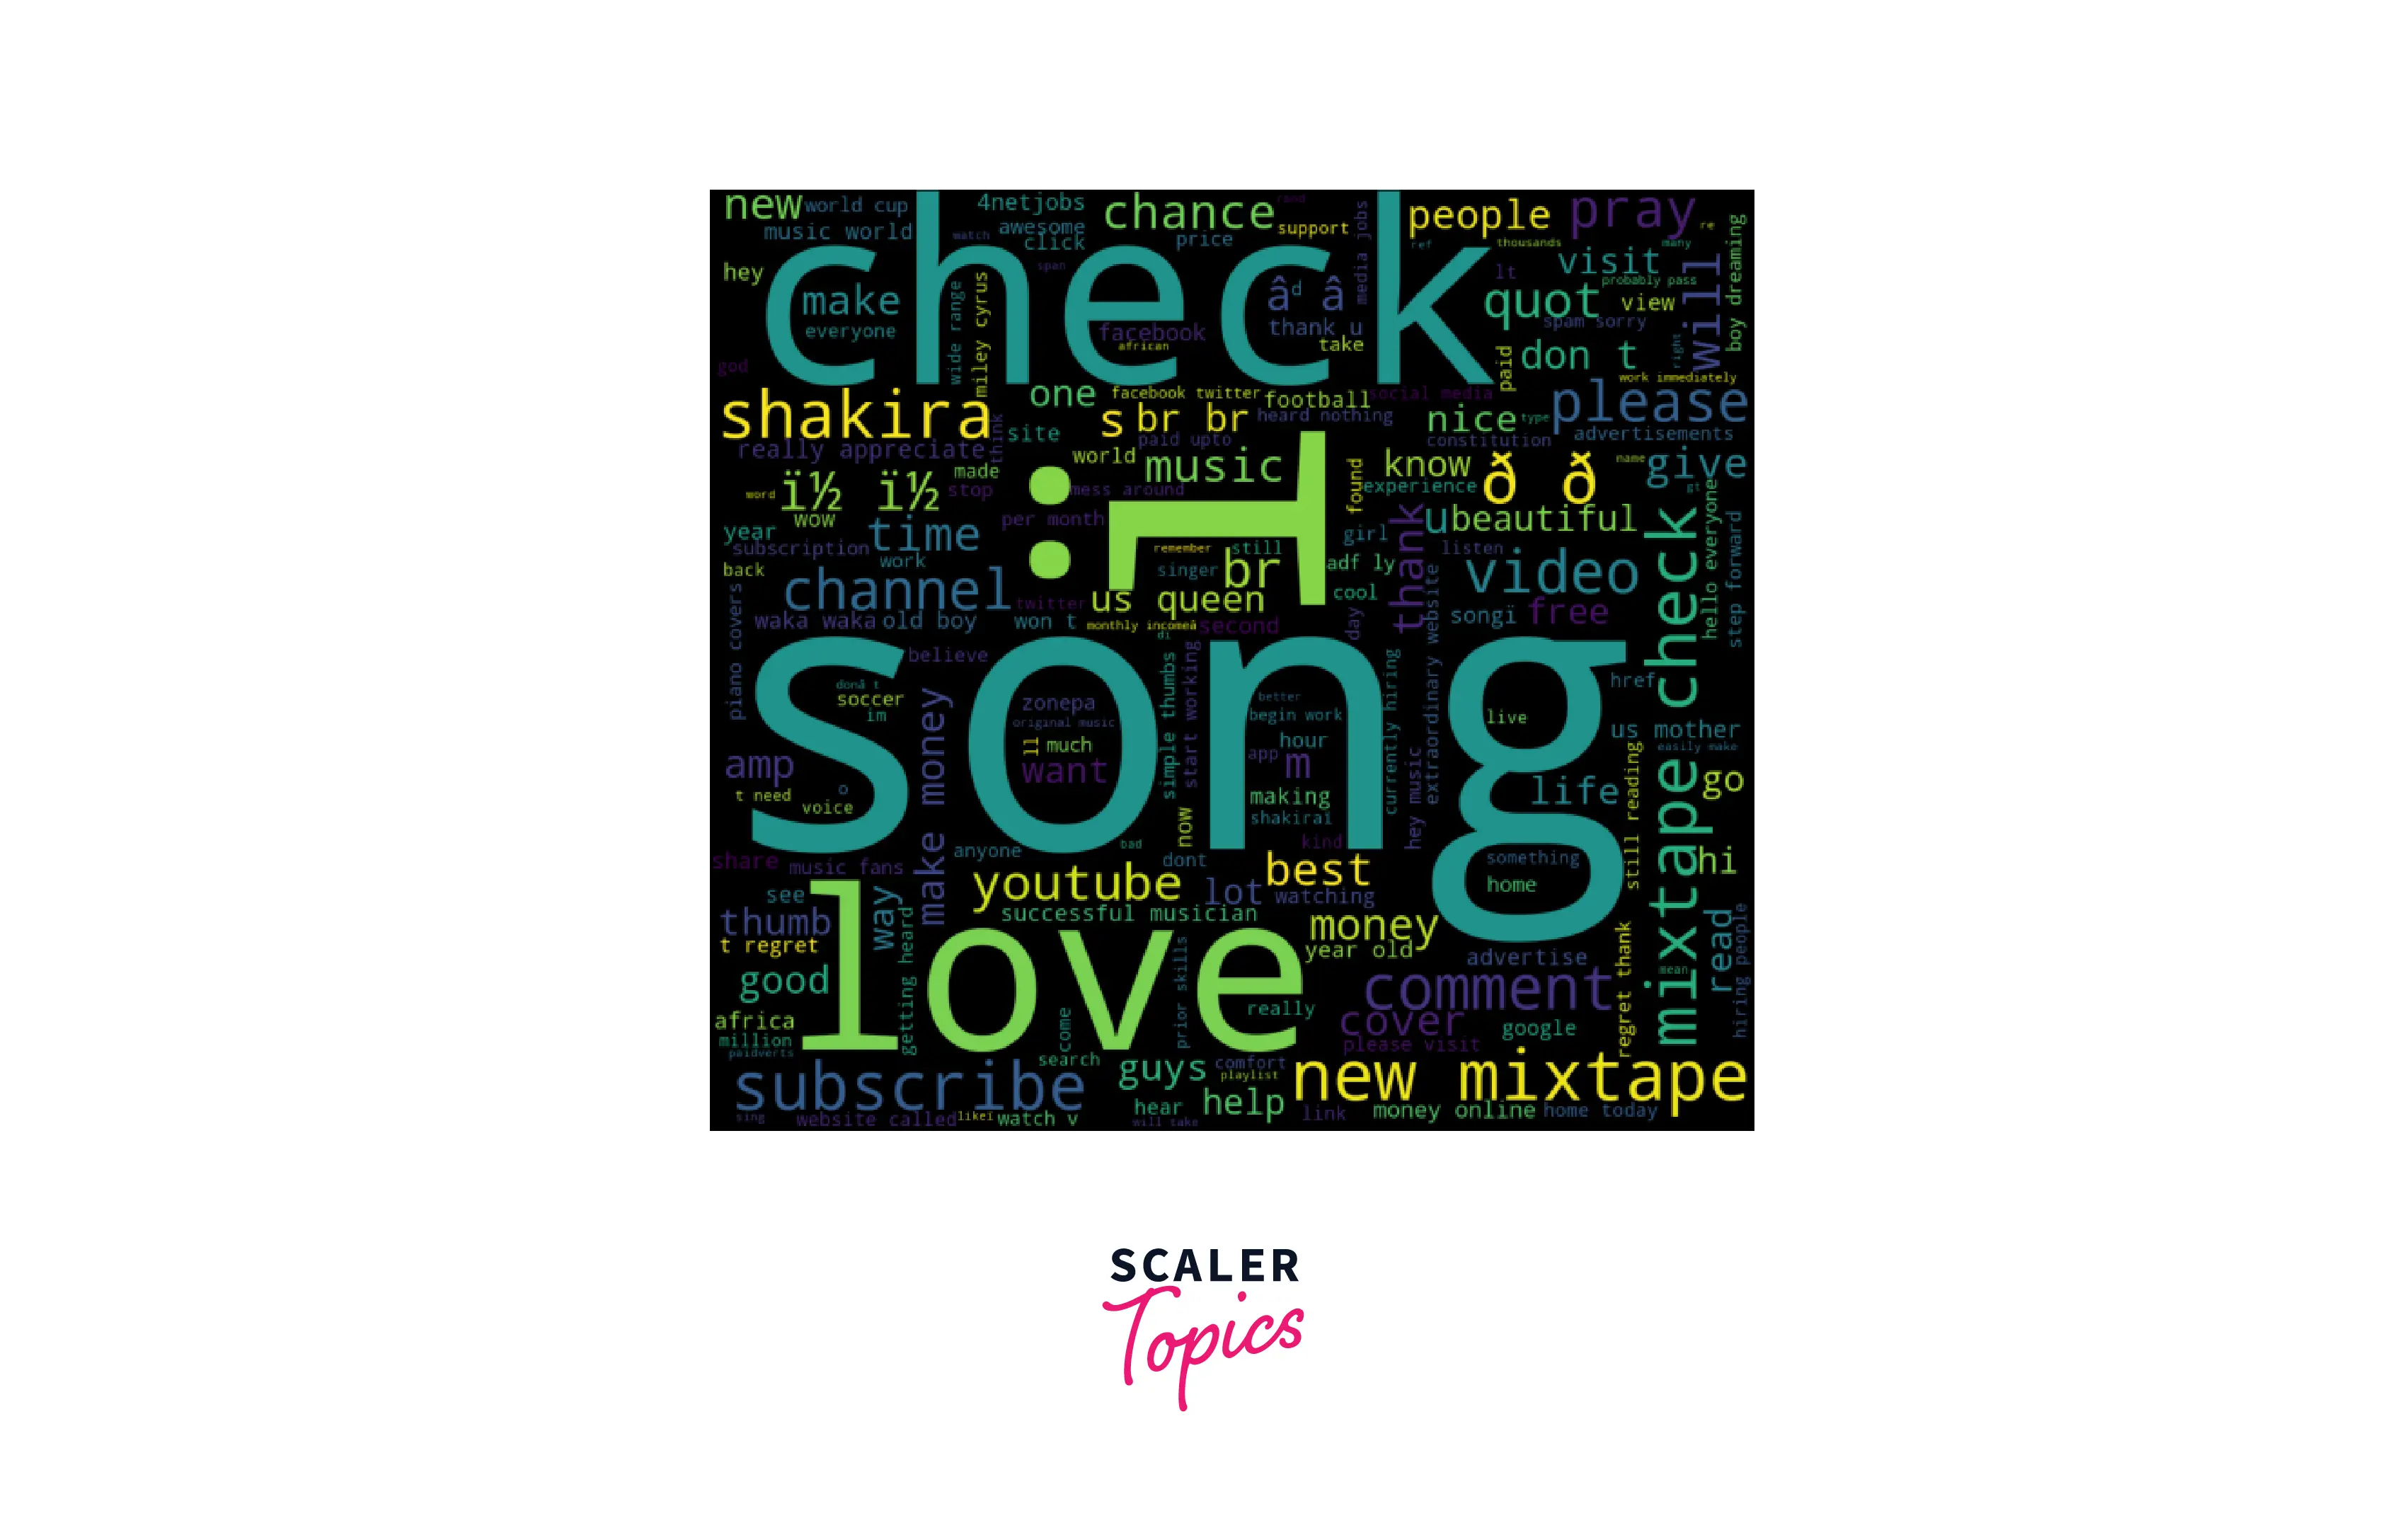
To convert the same into a black background, we can write the code:
Convert image into the black background:
Output:

To save the wordcloud into your personal folder, you can write the below code:
To save into file:
Also, the word clouds can be made up of different shapes. For that, we basically need to find a PNG file to become the mask. Using the correct mask, we can make the word cloud with our desired shape. You might have noticed in the WordCloud function that there is something called a mask. The mask takes the mask(or shape) you have chosen. Also, there are contour_width and contour_color, which adjust the overall outline characteristics of the cloud.
Applications of Word Cloud in Python
- The word cloud is an excellent way to visualize unstructured text data and get insights into trends and patterns.
- Word cloud allows identifying what is more important to the targeted audience and how well they can understand a topic.
- The word clouds also identify the feedback of the audience in their own choice of words, the new ideas or topics to target, and help in promoting peer-to-peer feedback.
Advantages of Word Cloud in Python
- Word clouds are also used as a means to analyze customer and employee feedback in a much more engaging and interesting manner.
- Word clouds are considered to be faster. The use of word clouds allows the viewer to quickly identify which words are used most frequently in a report or survey.
Disadvantages of Word Cloud in Python
- It has been observed that the word cloud generators often allocate random colours to the words from the pallet we have provided.
- Frequency or count of data plays a critical way role in word clouds, In most word clouds, the frequency of the data plays a crucial role. But that is not always the case. Sometimes, we might be misinterpreting the data due to the same reason.
Conclusion
- Word clouds or Tag clouds are methods of visualizing words in texts that are used to visualize keywords or tags from websites.
- The libraries that we need to install to work with word cloud are: numpy, pandas, matplotlib, pillow, and word cloud.
- There are a lot of parameters and attributes for the word cloud; however, the text is the mandatory parameter.
- We learned how to code and make our word cloud. Also, how to save it into a file. Also, we can make word clouds of different shapes.
